Instruction for use URYXXON
®
500
14
Instruction for use URYXXON
®
500 V 2.1 / 01.23
6. Operation and user guidance
The instrument is designed for easy and intuitive use. Nevertheless,
read the following paragraphs carefully to familiarize yourself with
the instrument’s functions and user guidance.
6.1 Touch screen
NOTICE
Do not touch the touch screen with pointed or hard items.
All operations are carried out with a touch‑sensitive screen. An
external keyboard can be connected via the PS/2 interface
chapter 15. Connection of external devices, page 29)
6.2 Operating the user interface
Note some basic rules for operating the instrument’s user interface:
n
All menu items that you can access are framed in blue. That
means, only buttons with a blue frame can be opened, edited or
activated by touch. Depending on the button, a new menu opens
up, or the respective activity is carried out.
n
Entries in large, blue font can be accessed directly. They can be
edited via the input‑menu
abc
.
n
Entries in small, black font cannot be changed.
The options to access functions can be sub‑divided into four
categories:
6.2.1 Activity-buttons
Blue‑framed activity‑buttons include a symbol /
inscription and
trigger a certain activity. The following symbols are used:
– escape / cancel
– confirm
– print information
– enter additional sediment information
– send data to a connected PC / LIS
– scroll in a list up / down
– browse from one screen / entry to another
6.2.2 Option-fields
Option‑fields consist of blue‑framed choice‑buttons. Choice‑
buttons are circles. If a choice‑button is active, it is filled with blue.
Within an option field, only one choice‑button can be active.
Streifen
Eigene
Reihenfolge
Einheiten
Conv SI ARB
Conv+ARB SI+ARB
Aus
An
Bearbeiten
Touch a choice‑button to activate it. Press
to confirm and
save your changes. If you leave menus that include option‑fields by
pressing
, none of your changes will be adopted.
6.2.3 Edit-buttons
Edit‑buttons have blue frames and enable you to enter information,
e.g. patient ID or sequence no. Sometimes, edit‑buttons already
include information. In this case, the font is large and blue, thus
indicating the possibility to edit the information. To edit / enter
information, press the button. An input‑menu with alphanumeric
input‑buttons appears. By touching the numbers / letters in the
input‑menu, you can enter information into the edit‑button.
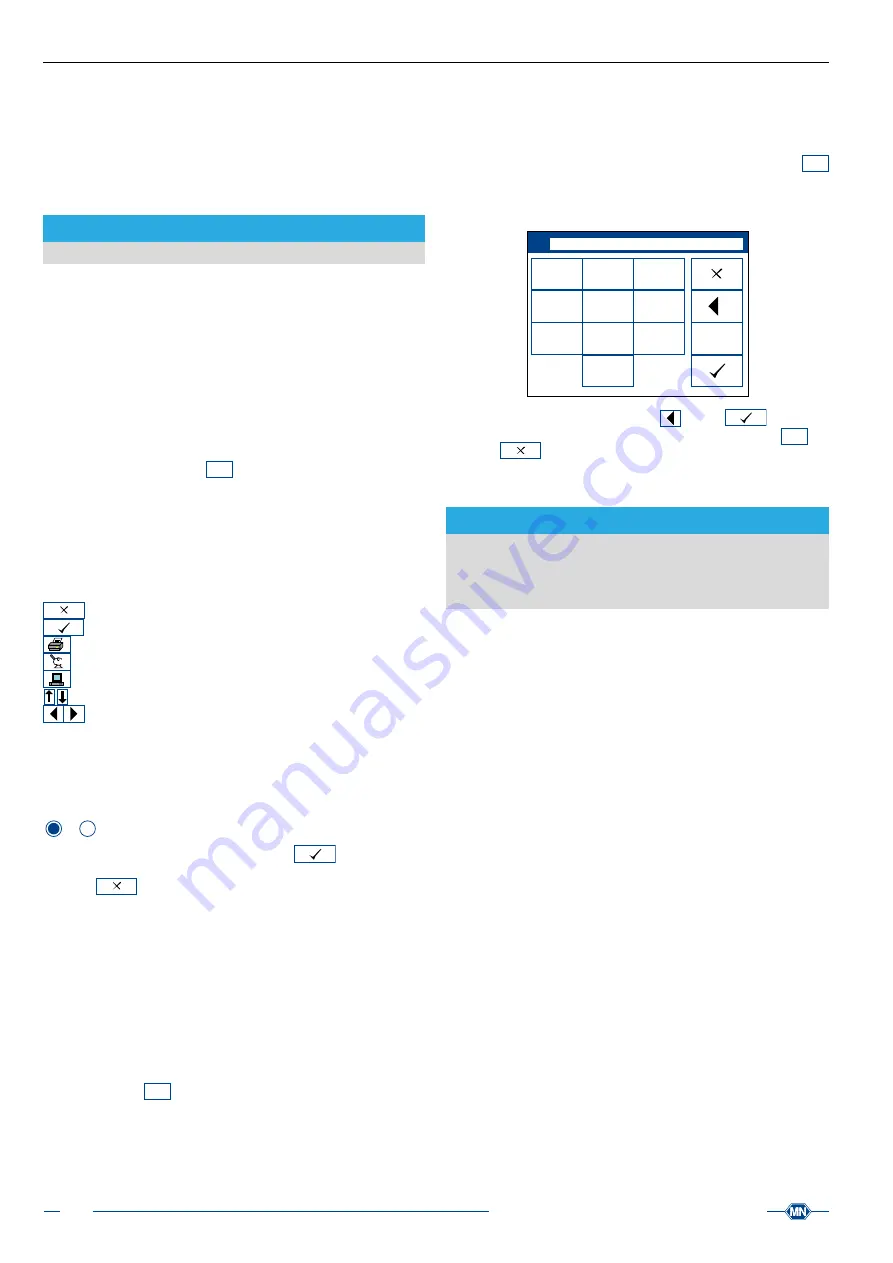
6.2.4 Input-menu
The input‑menu
abc
appears whenever you want to make an
entry. Above the input‑buttons you will find a window which shows
your new entry.
You can enter upper case letters, lower case letters or numbers.
To switch between the options, press the button that shows the
desired form of entry (abc / ABC / 123). Initially, the instrument is
opting for capital letters. Once you make a change, the instrument
remembers your last choice. If you open the input‑menu
abc
again, the former choice is still active.
For new entries touch a letter / number. To enter a different letter /
number than the first one on the button, press the button repeatedly.
ID
_
_./
ABC
DEF
GHI
JKL
MNO
PQRS
TUV
-(+)
WXYZ
abc
You can delete an entry by pressing
. Press
to confirm
and save your changes. If you leave the input‑menu
abc
by
pressing
, none of your changes will be adopted.
6.3 Stand-by mode
NOTICE
If the device is activated from the stand‑by mode, it will always
go to the start screen. Any changes in menus or changes in
settings that have not been saved before the instrument went
into stand‑by mode will be lost.
After 10 minutes without any operation the device goes into stand‑
by mode and the screen saver appears. By pressing the touch
screen you can activate the system again and get directly to the
start screen.


