


Instruction for use URYXXON
®
500
16
Instruction for use URYXXON
®
500 V 2.1 / 01.23
To change the orders of parameters, press the activity‑button
Clear
in the lower part of the screen. The current order disappears
and only the number 1: remains.
By pressing the parameters on the right side of the screen you can
define a new order for all parameters. You can pick the parameters
either by pressing the parameter directly, or by scrolling through
the list using the scroll‑buttons
and pressing the activity‑
button
Select
. Parameters that have already been selected are not
available anymore. They are listed on the right side of the screen
with a preceding position number.
Customized order
Select
Clear
BLD
UBG
NIT
KET
GLU
pH
1: PRO
2: BIL
3: LEU
4: SG
Customized order
Select
Clear
1: PRO
2: BIL
3: LEU
4: SG
5: BLD
6: pH
7: UBG
8: NIT
9: GLU
10: KET
If you are not satisfied with your selection; press
Clear
. The
selection on the right hand side is discarded and you can enter
your personal order again.
Press
to confirm and save your changes. If you leave the
menu by pressing
, none of your changes will be adopted.
8.2 Interface
NOTICE
Changes in the interface settings directly influence data transfer.
This is especially important when the instrument is connected to
a LIS.
In the
Interface
menu you can change the interface settings.
Interface
Interface settings
Unidirectional Bidirectional
HW settings
You can decide whether the interface communication should be
uni‑ or bidirectional. To do so, press the respective choice‑button
in the option‑field. Press
to confirm and save your changes.
If you leave the menu by pressing
, none of your changes
will be adopted.
NOTICE
If bidirectional communication is enabled, the receiver has to be
configured in the same way. If this is not the case the device will
report a communication error.
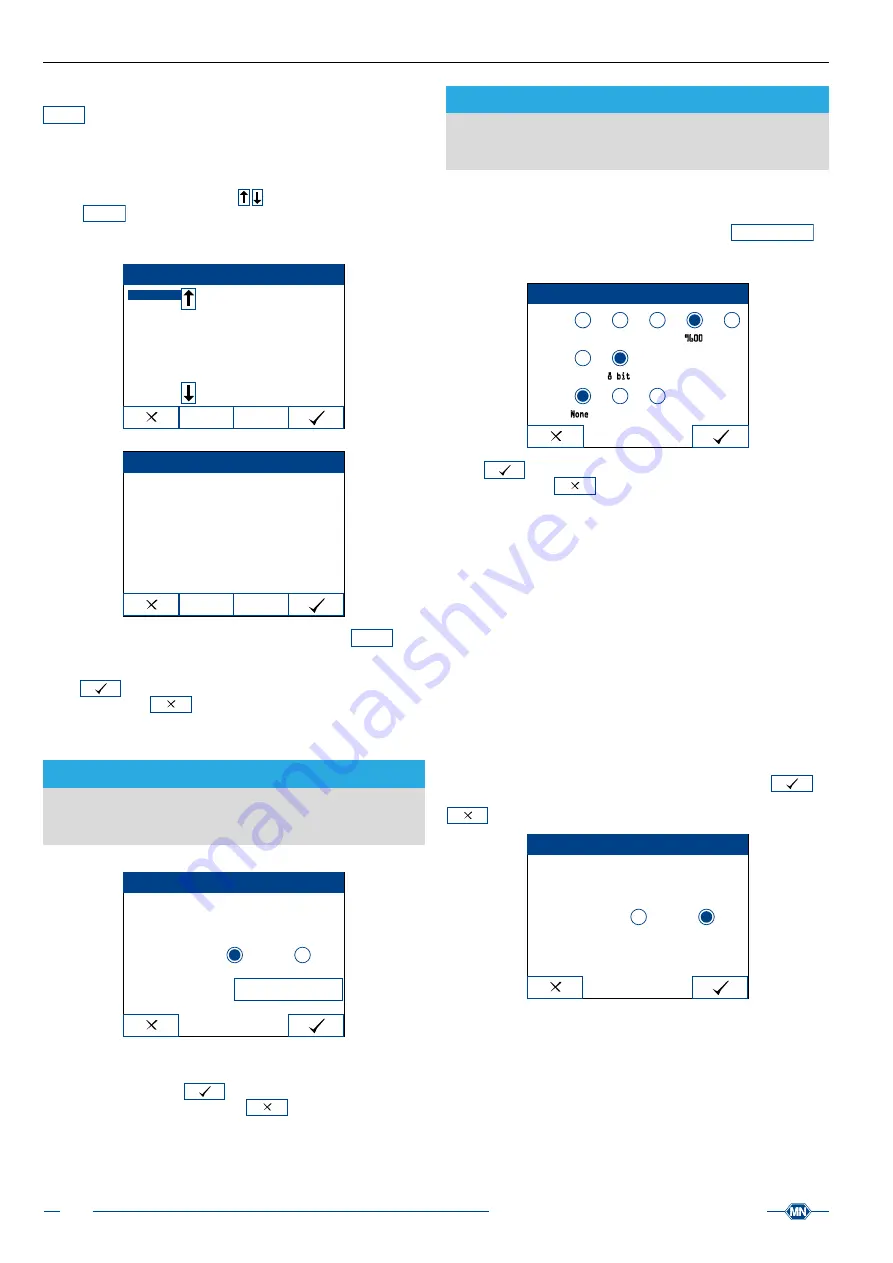
8.2.1 HW settings
In the
HW settings
menu, you can carry out additional hardware
adjustments. Once you press the activity‑button
HW settings
, a
new menu with multiple option‑fields appears. Within the menu,
the bold values show the default settings.
HW settings
Baudrate
Bitlength
Parity
1200 2400 4800 9600 19200
7 bit 8 bit
None Even Odd
Press
to confirm and save your changes. If you leave the
menu by pressing
, none of your changes will be adopted.
8.2.1.1 Baud rate
You have five different choices for the baud rate (1200, 2400, 4800,
9600, 19200). Press the respective choice‑button to change the
baud rate.
8.2.1.2 Bit length
You have two different choices for the bit length (7 Bit / 8 Bit). Press
the respective choice‑button to change the bit length.
8.2.1.3 Parity
You have three choices for the parity (none, even, odd). Press the
respective choice‑button to change the parity.
8.3 Printer
The
Printer
menu allows you to turn the printer on and off. Press
the respective choice‑button in the option‑field. Press
to
confirm and save your changes. If you leave the menu by pressing
, none of your changes will be adopted.
Printer
Printer
Off
On


