3.6. Getting Started Guide - A closer look at the Fixture view
We just had a short look at the Fixture view, but this is a very powerful view that can do a lot of cool things.
The general purpose of the view is to show the fixtures. It allows you to select the fixture and you can see some or all
of the different attributes of the fixtures - including their values.
But this is not a one trick view. There are several ways to display this information to you.
The Title bar and the controls
The title bar controls what part of the Fixture view you are looking at.
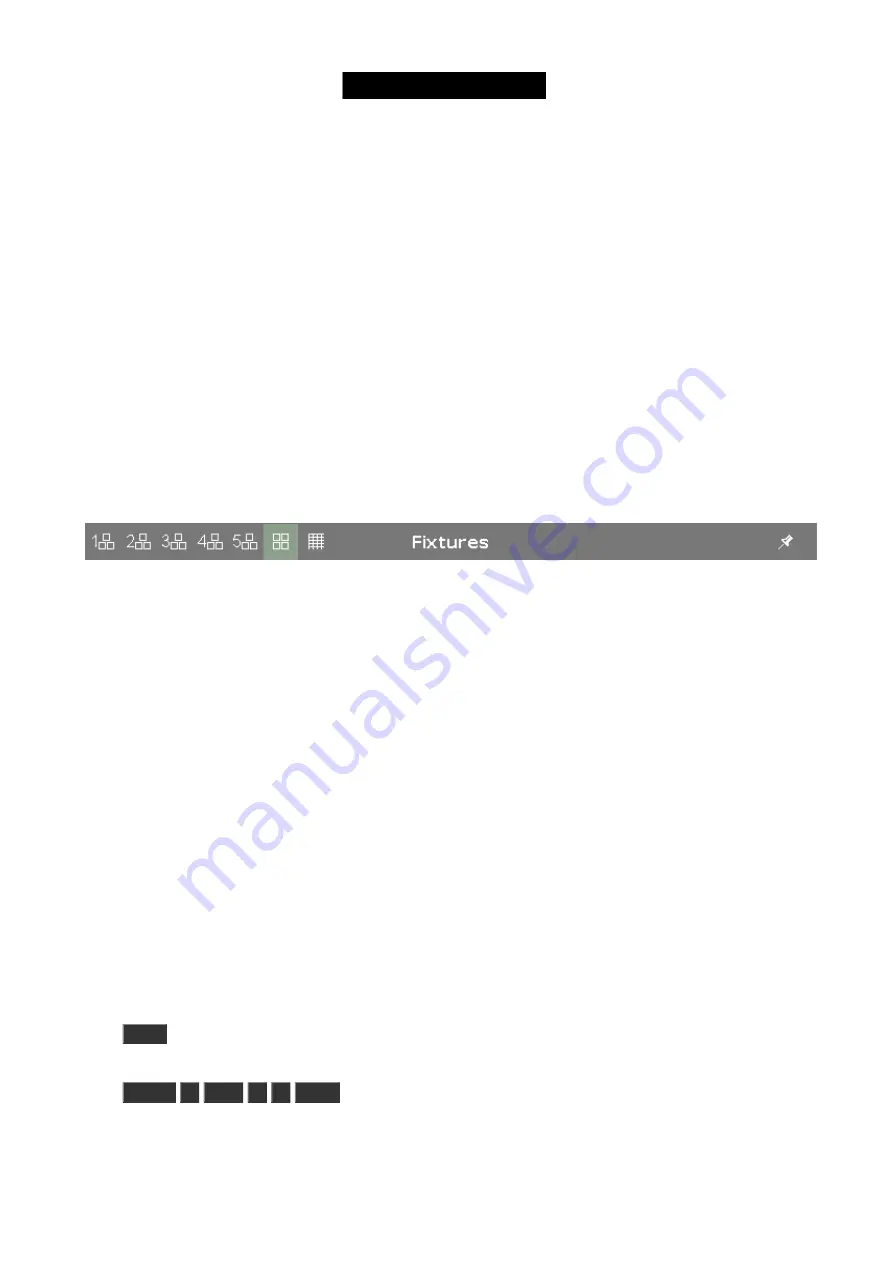
This is the title bar:
Figure 1: Fixture View - Title bar.
The right side have a pin icon. This can be used to lock the view of it doesn't automatically scroll to the selected
fixtures.
The left side have different icons that changes the way the view works.
The 5 icons with numbers are 5 different views called Fixture Layout Views. Here you can arrange the fixture icons
the way you like it. They can contain all or some of the fixtures. But each fixture can only be once in each of the 5
layout views.
The icon that is highlighted in the figure above is the one we saw in the previous chapter. This is called the Fixture
Symbol View, here you can see all the fixtures added to the show. They are automatically organized by the fixture
type.
The last icon is the Fixture Sheet View. Here you can see all the fixtures added to your show. They are organized by
fixture ID. it also displays all the different attributes and their values.
Fixture Layout views
Let's try to arrange our fixtures in the first fixture layout view and let's arrange them as they are in our plot.
Press
Clear
this makes sure you haven't selected any of the fixtures (we are going to have a closer look at what this
means in the next chapter).
Press
Fixture
1
Thru
1
2
Store
and then tap the number one symbol (the left most) in the title bar on the
left screen.
Now tap somewhere in the center of the screen.
28


