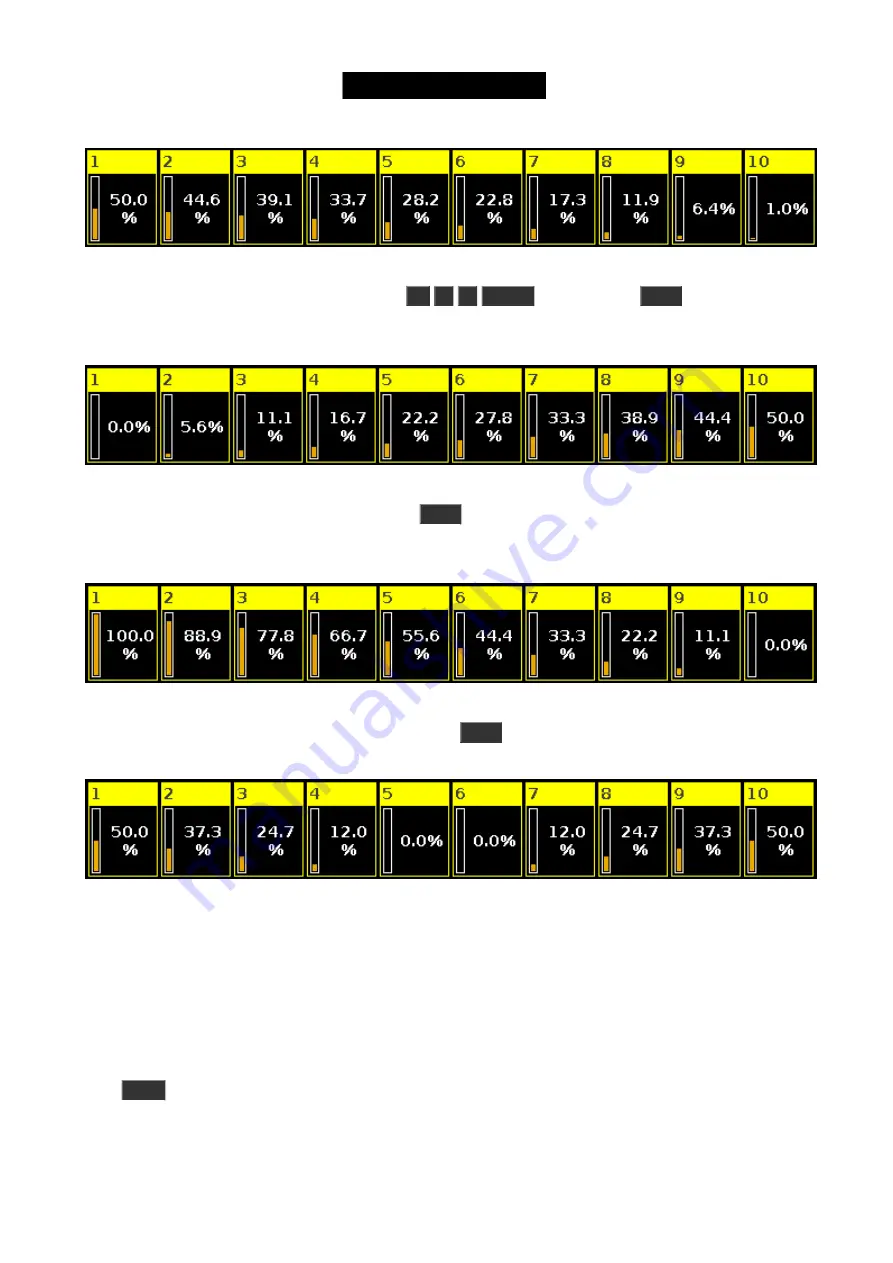
Figure 5: Align <.
Now let's reset and give all the fixtures 50% again (
At
5
0
Please
). Now press the
Align
key until the pop-up
says the mode is "Align >". And now try to turn down the dimmer encoder again. Now the result is that we change
fixture 1 and the value is spread up to fixture 10, that doesn't change. It could look like this:
Figure 6: Align >.
Reset again with a 50% to all fixtures. Now press the
Align
key until the mode is "Align ><" and then turn the
encoder. Now it's like we have a pivot point in the middle of our 10 fixtures and we can tip the values one way or
the other. It could look like this:
Figure 7: Align ><.
Reset one more time with all the fixtures at 50%. Press the
Align
key until the mode is "Align <>" and then turn the
encoder. Now the first and last fixture stay fixed at 50% and the middle moves the most. It could look like this:
Figure 8: Align <>.
Did you notice that every time you reset the value to 50% then the align key doesn't light up anymore, and when you
press it then you needed to go through all the mode we have already tried. This is actually the fifth and default
mode called "Align Off". Every time you do something other than rotating the encoder (after having activated one of
the active align modes), then it resets the align mode to off.
Ok, you might wanna play around a little bit with the controls. When you feel happy and comfortable, you should
press
Clear
two times and move on to the next chapter, where we are going to have a closer look at the
Fixture
view
.
27


