®
GRAFIK Eye
®
QS Control Unit Installation and Operation Guide 55
Timeclock Operation (continued)
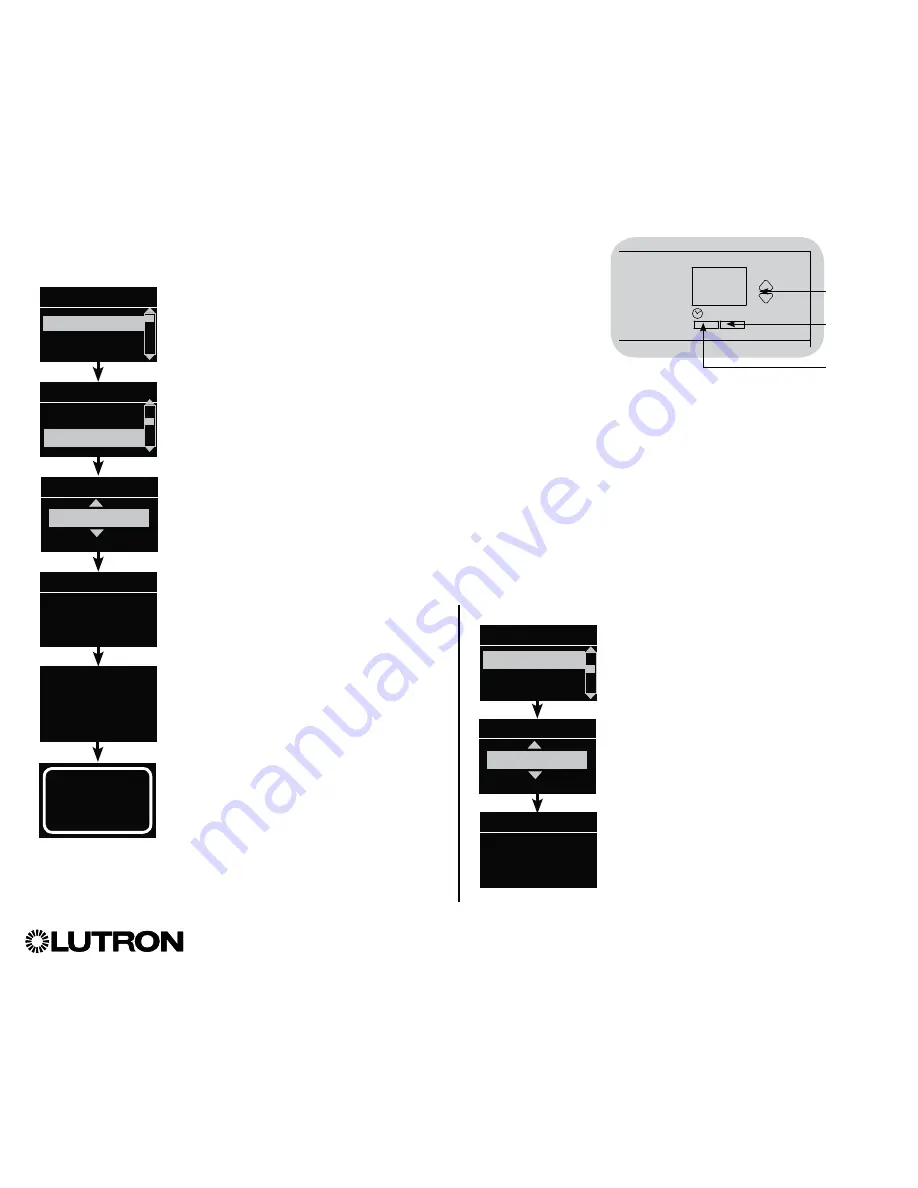
Deleting an Event
1.
Enter programming mode.
2. Use the Master buttons to highlight
“Timeclock” and press the “OK” button
to accept.
3. Use the Master buttons to highlight
“Delete events” and press the
“OK” button to accept.
4. Use the Master buttons to highlight the
day of the week (or holiday) when the
event occurs; press the “OK” button to
accept.
5. Use the Master buttons to highlight the
event to delete; press the “OK” button to
accept.
6. A screen will appear, verifying you wish to
delete the event. Press the “OK” button
to accept and delete; otherwise, press
the Timeclock button to go back.
7. The info screen will confirm that your
event has been deleted.
8. Exit programming mode.
Main menu
Timeclock
Scene setup
Timeclock
Copy schedule
Timeclock
Delete?
Delete
8:00 AM
Scene 5
Delete
Monday
01/03
Viewing an Event
1. Enter programming mode, select
“Timeclock,” and select “View events.”
2. Use the Master buttons to highlight the
day of the week (or holiday) when the
event occurs; press the “OK” button to
accept.
3. Use the Master buttons to highlight the
event to view; press the “OK” button to
accept.
4. Press the “OK” button to return to the
Timeclock menu.
5. Exit programming mode.
Timeclock
Delete events
Add events
View events
Monday
View
8:00 AM
Scene 5
View events
Monday
1/3
L
Delete events
Deleted
OK
Master
buttons
“OK”
button
Timeclock
(back) button


