Action
Yes
No
Step 2
a
Perform Color Adjust.
From the home screen, touch
Settings
>
>
Quality
>
Advanced Imaging
>
Color Adjust
.
b
Print the document.
Does gray or colored background appear on prints?
Go to step 3.
The problem is
solved.
Step 3
a
Remove, and then insert the imaging unit.
Warning—Potential Damage:
Do not expose the imaging unit
to direct light for more than 10 minutes. Extended exposure
to light may cause print quality problems.
Warning—Potential Damage:
Do not touch the
photoconductor drum under the imaging unit. Doing so may
affect the quality of future print jobs.
b
Print the document.
Does gray or colored background appear on prints?
Contact
The problem is
solved.
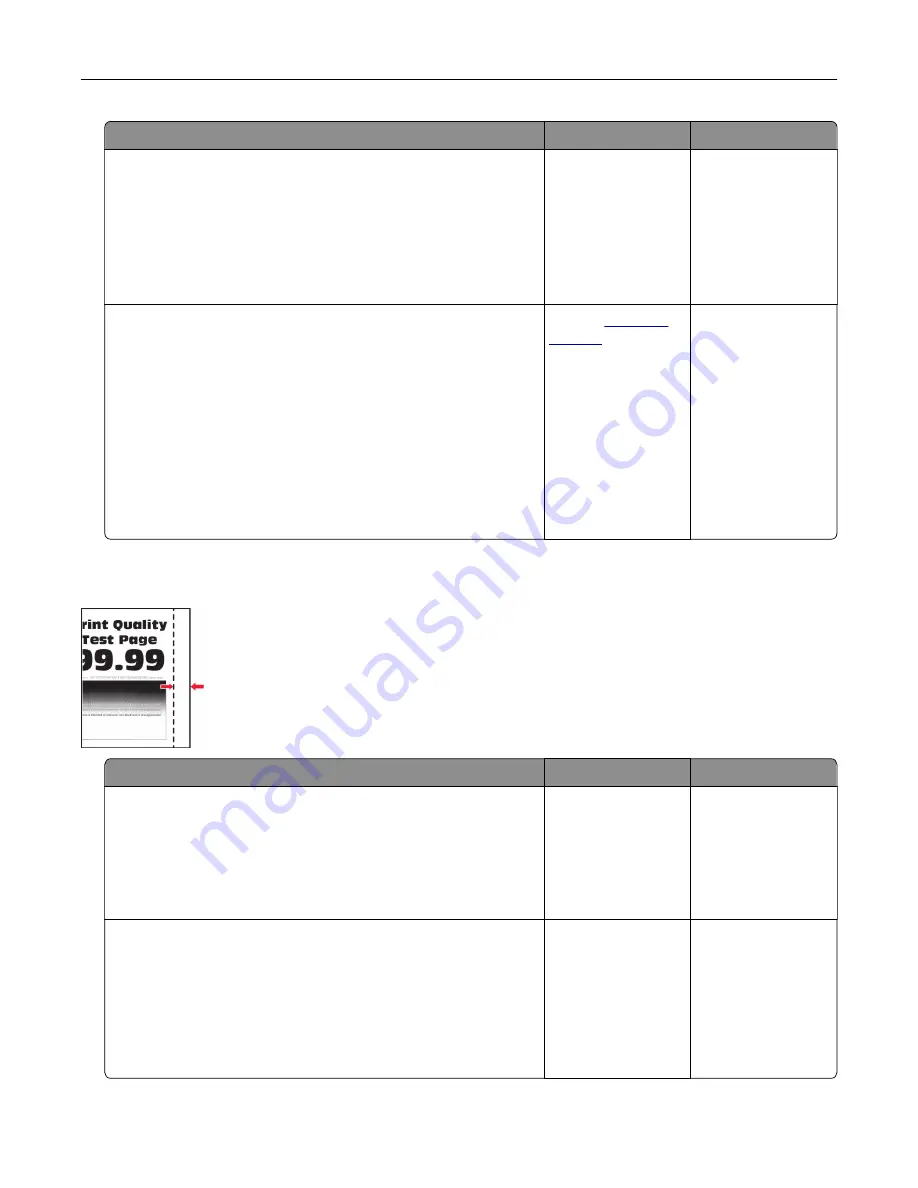
Incorrect margins
Action
Yes
No
Step 1
a
Adjust the paper guides to the correct position for the paper
loaded.
b
Print the document.
Are the margins correct?
The problem is
solved.
Go to step 2.
Step 2
a
Set the paper size.
From the control panel, navigate to:
Settings
>
Paper
>
Tray Configuration
>
Paper Size/Type
b
Print the document.
Are the margins correct?
The problem is
solved.
Go to step 3.
Troubleshooting
247
Summary of Contents for XC8155
Page 66: ...5 Touch Scan Here If necessary change the scan settings 6 Scan the document Scanning 66 ...
Page 176: ...3 Remove the pick roller 4 Unpack the new pick roller Maintaining the printer 176 ...
Page 195: ...2 Open door G 3 Pull out the staple cartridge holder Maintaining the printer 195 ...
Page 218: ...2 Open door G 3 Pull out the staple cartridge holder Clearing jams 218 ...
Page 222: ... Area J1 Areas J3 and J4 Areas J5 and J6 3 Close door J Clearing jams 222 ...
Page 227: ...5 Insert the staple cartridge holder 6 Close door J Clearing jams 227 ...
Page 287: ...4 Open the covers at the side of the caster base 5 Open door C Upgrading and migrating 287 ...


