Action
Yes
No
Step 3
a
Check if the trays are linked.
For more information, see
.
b
Print the document.
Is the document printed from the correct tray?
The problem is
solved.
Contact
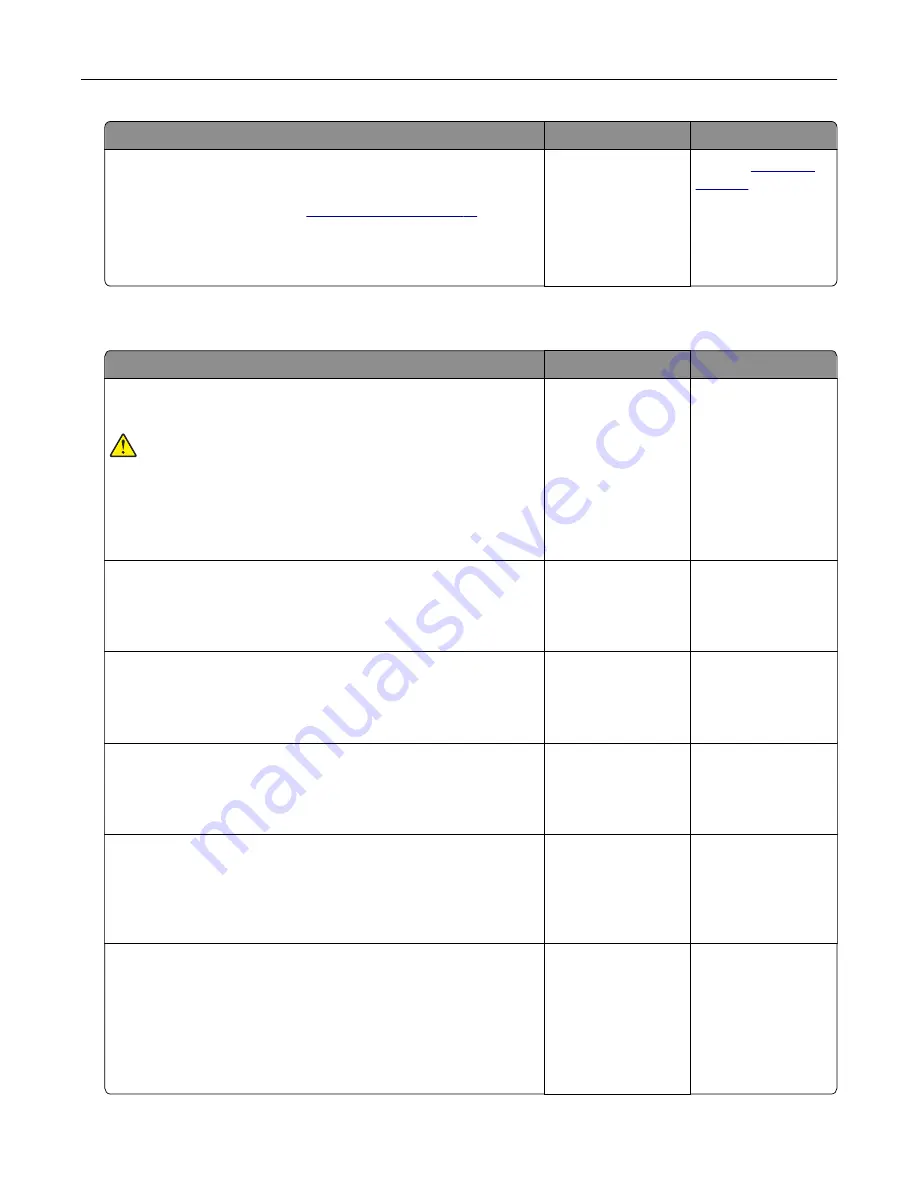
The printer is not responding
Action
Yes
No
Step 1
Check if the power cord is connected to the electrical outlet.
CAUTION—POTENTIAL INJURY:
To avoid the risk of fire or
electrical shock, connect the power cord to an appropriately
rated and properly grounded electrical outlet that is near the
product and easily accessible.
Is the printer responding?
The problem is
solved.
Go to step 2.
Step 2
Check if the electrical outlet is turned off by a switch or breaker.
Is the electrical outlet turned off by a switch or breaker?
Turn on the switch or
reset the breaker.
Go to step 3.
Step 3
Check if the printer is on.
Is the printer on?
Go to step 4.
Turn on the printer.
Step 4
Check if the printer is in Sleep or Hibernate mode.
Is the printer in Sleep or Hibernate mode?
Press the power
button to wake the
printer.
Go to step 5.
Step 5
Check if the cables connecting the printer and the computer are
inserted to the correct ports.
Are the cables inserted to the correct ports?
Go to step 6.
Insert the cables to
the correct ports.
Step 6
Turn off the printer, install the hardware options, and then turn on
the printer.
For more information, see the documentation that came with the
option.
Is the printer responding?
The problem is
solved.
Go to step 7.
Troubleshooting
242
Summary of Contents for XC8155
Page 66: ...5 Touch Scan Here If necessary change the scan settings 6 Scan the document Scanning 66 ...
Page 176: ...3 Remove the pick roller 4 Unpack the new pick roller Maintaining the printer 176 ...
Page 195: ...2 Open door G 3 Pull out the staple cartridge holder Maintaining the printer 195 ...
Page 218: ...2 Open door G 3 Pull out the staple cartridge holder Clearing jams 218 ...
Page 222: ... Area J1 Areas J3 and J4 Areas J5 and J6 3 Close door J Clearing jams 222 ...
Page 227: ...5 Insert the staple cartridge holder 6 Close door J Clearing jams 227 ...
Page 287: ...4 Open the covers at the side of the caster base 5 Open door C Upgrading and migrating 287 ...


