


Menu item
Description
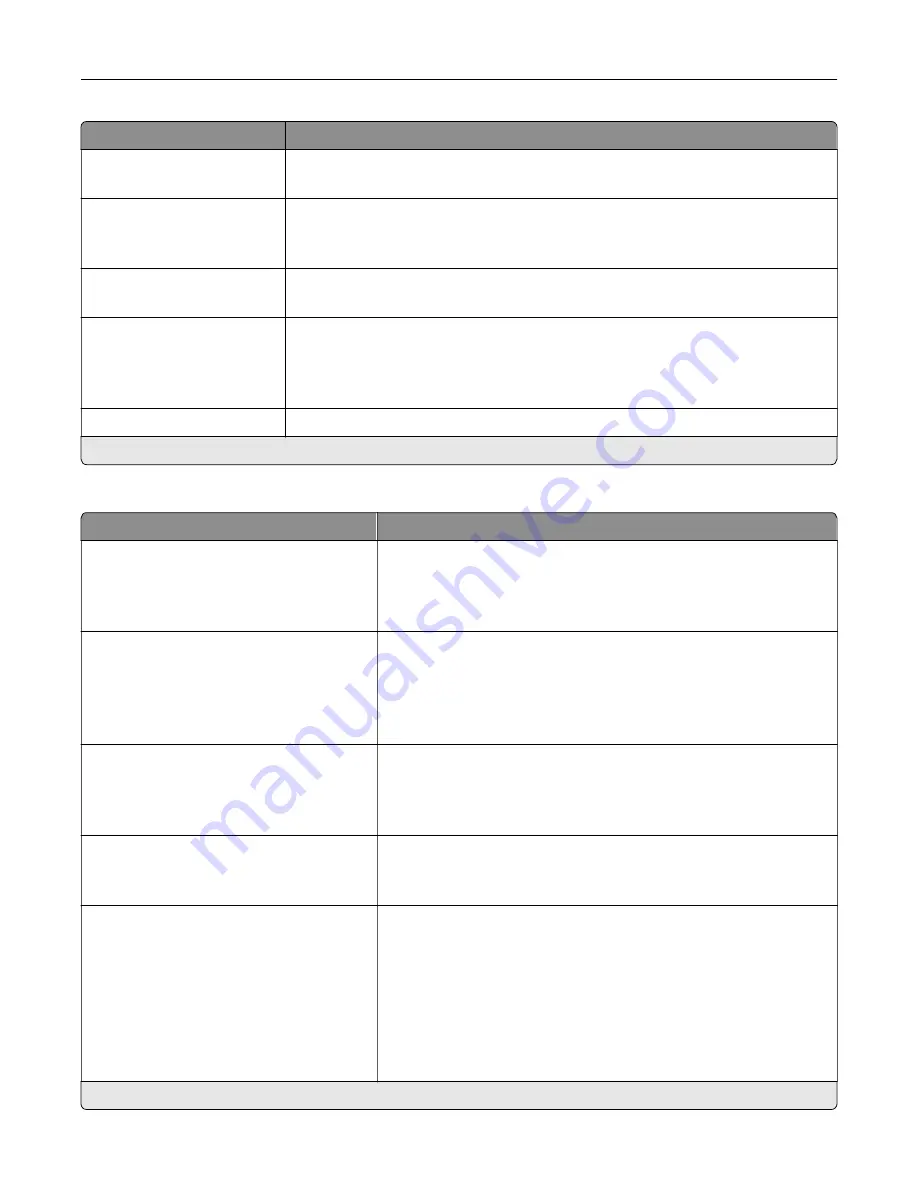
Darkness
1–9 (5*)
Adjust the darkness of the scanned image.
Orientation
Portrait*
Landscape
Specify the orientation of the original document.
Original Size
Mixed Sizes*
Set the paper size of the original document.
Sides
Off*
Long Edge
Short Edge
Specify the orientation when scanning on both sides of the document.
File Name
Specify the file name of the scanned image.
Note:
An asterisk (*) next to a value indicates the factory default setting.
Advanced Imaging
Menu item
Description
Color Balance
Cyan (0*)
Magenta (0*)
Yellow (0*)
Adjust the color intensity for cyan, magenta, and yellow.
Color Dropout
Color Dropout (None*)
Default Red Threshold (128*)
Default Green Threshold (128*)
Default Blue Threshold (128*)
Specify which color to drop during scanning, and adjust the dropout
setting for that color.
Auto Color Detect
Color Sensitivity (5*)
Area Sensitivity (5*)
FTP Bit Depth (1 bit*)
Configure the auto color detection setting.
JPEG Quality
Best for content*
5–95
Set the JPEG quality of the scanned image.
Contrast
Best for content*
0
1
2
3
4
5
Specify the contrast for the scanned image.
Note:
An asterisk (*) next to a value indicates the factory default setting.
Understanding the printer menus
120
Summary of Contents for XC8155
Page 66: ...5 Touch Scan Here If necessary change the scan settings 6 Scan the document Scanning 66 ...
Page 176: ...3 Remove the pick roller 4 Unpack the new pick roller Maintaining the printer 176 ...
Page 195: ...2 Open door G 3 Pull out the staple cartridge holder Maintaining the printer 195 ...
Page 218: ...2 Open door G 3 Pull out the staple cartridge holder Clearing jams 218 ...
Page 222: ... Area J1 Areas J3 and J4 Areas J5 and J6 3 Close door J Clearing jams 222 ...
Page 227: ...5 Insert the staple cartridge holder 6 Close door J Clearing jams 227 ...
Page 287: ...4 Open the covers at the side of the caster base 5 Open door C Upgrading and migrating 287 ...