Action
Yes
No
a
Remove, and then insert the imaging kit.
Warning—Potential Damage:
Do not expose the imaging kit
to direct light. Extended exposure to light may cause print
quality problems.
Warning—Potential Damage:
Do not touch the
photoconductor drum under the imaging kit. Doing so may
affect the quality of future print jobs.
b
Print the document.
Is the print density uneven?
Contact
The problem is
solved.
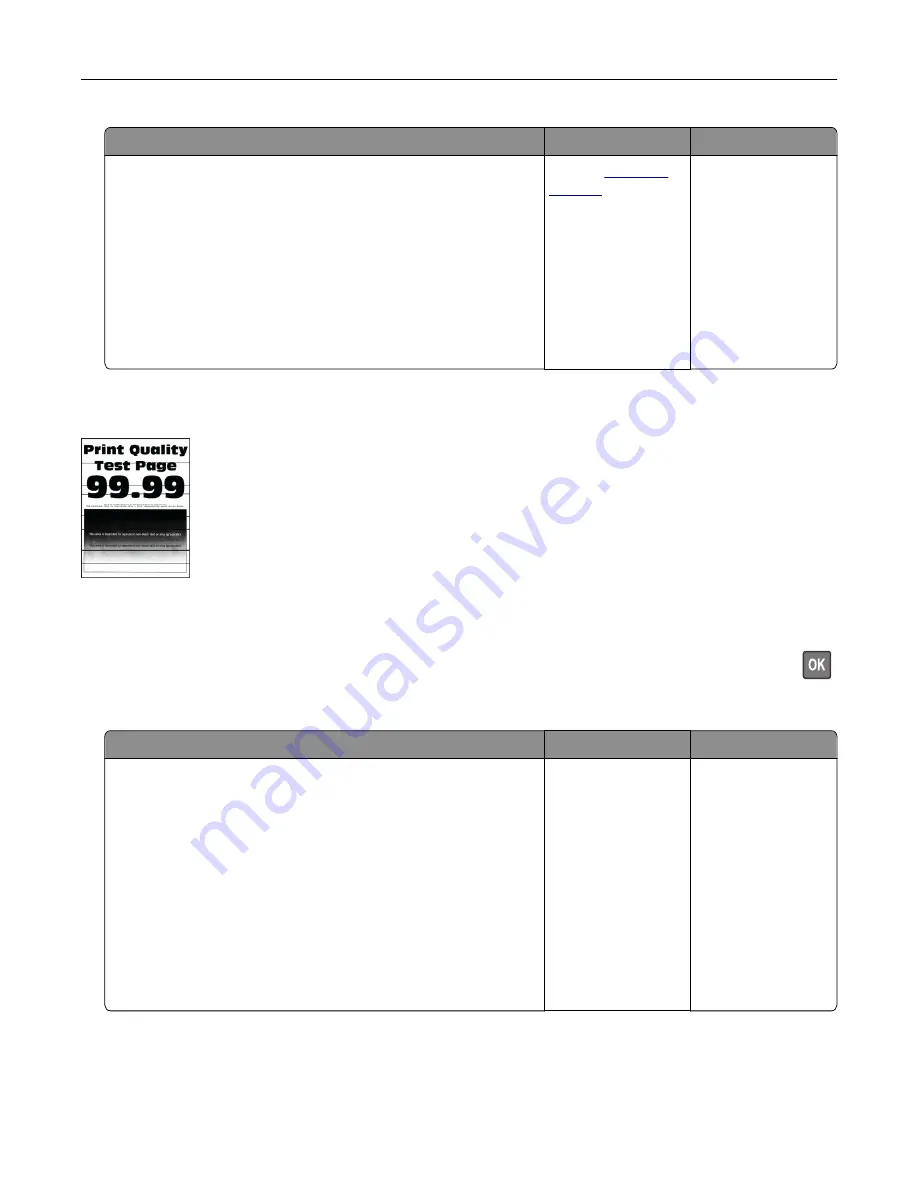
Horizontal dark lines
Notes:
•
Before solving the problem, print the Print Quality Test Pages. From the control panel, navigate to
Settings
>
Troubleshooting
>
Print Quality Test Pages
. For non-touch-screen printer models, press
to navigate through the settings.
•
If horizontal dark lines keep appearing on the prints, then see the “Repeating defects” topic.
Action
Yes
No
Step 1
a
Depending on your operating system, specify the paper type
from the Printing Preferences or Print dialog.
Notes:
•
Make sure that the setting matches the paper loaded.
•
You can also change the setting on the printer control
panel. Navigate to:
Settings
>
Paper
>
Tray Configuration
>
Paper Size/Type
b
Print the document.
Do dark lines appear on prints?
Go to step 2.
The problem is
solved.
Troubleshooting
176
Summary of Contents for C9235
Page 1: ...C9235 Printer User s Guide May 2020 www lexmark com Machine type s 5059 Model s 190...
Page 108: ...9 Insert the waste toner bottle and then close the door Maintaining the printer 108...
Page 112: ...8 Insert the waste toner bottle and then close the door Maintaining the printer 112...
Page 135: ...Below the fuser area Duplex area Clearing jams 135...
Page 140: ...2 Open door J 3 Open door H Clearing jams 140...
Page 188: ...6 Remove the controller board shield Upgrading and migrating 188...
Page 197: ...4 Remove the controller board shield Upgrading and migrating 197...
Page 203: ...7 Connect the tray connector to the printer 8 Open trays 2 and 3 Upgrading and migrating 203...
Page 208: ...9 Remove the stabilizing feet from the tray Upgrading and migrating 208...
Page 212: ...17 Secure the tray cable with the clamp Upgrading and migrating 212...
Page 219: ...7 Remove the paper guides 8 Attach the sensor cover Upgrading and migrating 219...
Page 225: ...8 Attach the nisher to the printer Upgrading and migrating 225...


