15
Connect the power cord to the printer, and then to the electrical outlet.
CAUTION—POTENTIAL INJURY:
To avoid the risk of fire or electrical shock, connect the power cord
to an appropriately rated and properly grounded electrical outlet that is near the product and easily
accessible.
CAUTION—POTENTIAL INJURY:
Do not use this product with extension cords, multioutlet power
strips, multioutlet extenders, or UPS devices. The power capacity of these types of accessories can
be easily overloaded by a laser printer and may result in a risk of fire, property damage, or poor
printer performance.
16
Turn on the printer.
Add the finisher in the print driver to make it available for print jobs. For more information, see
available options in the print driver” on page 229
Installing the staple, hole punch or booklet finisher
CAUTION—TIPPING HAZARD:
Installing one or more options on your printer or MFP may require a
caster base, furniture, or other feature to prevent instability causing possible injury. For more information
on supported configurations, see
www.lexmark.com/multifunctionprinters
.
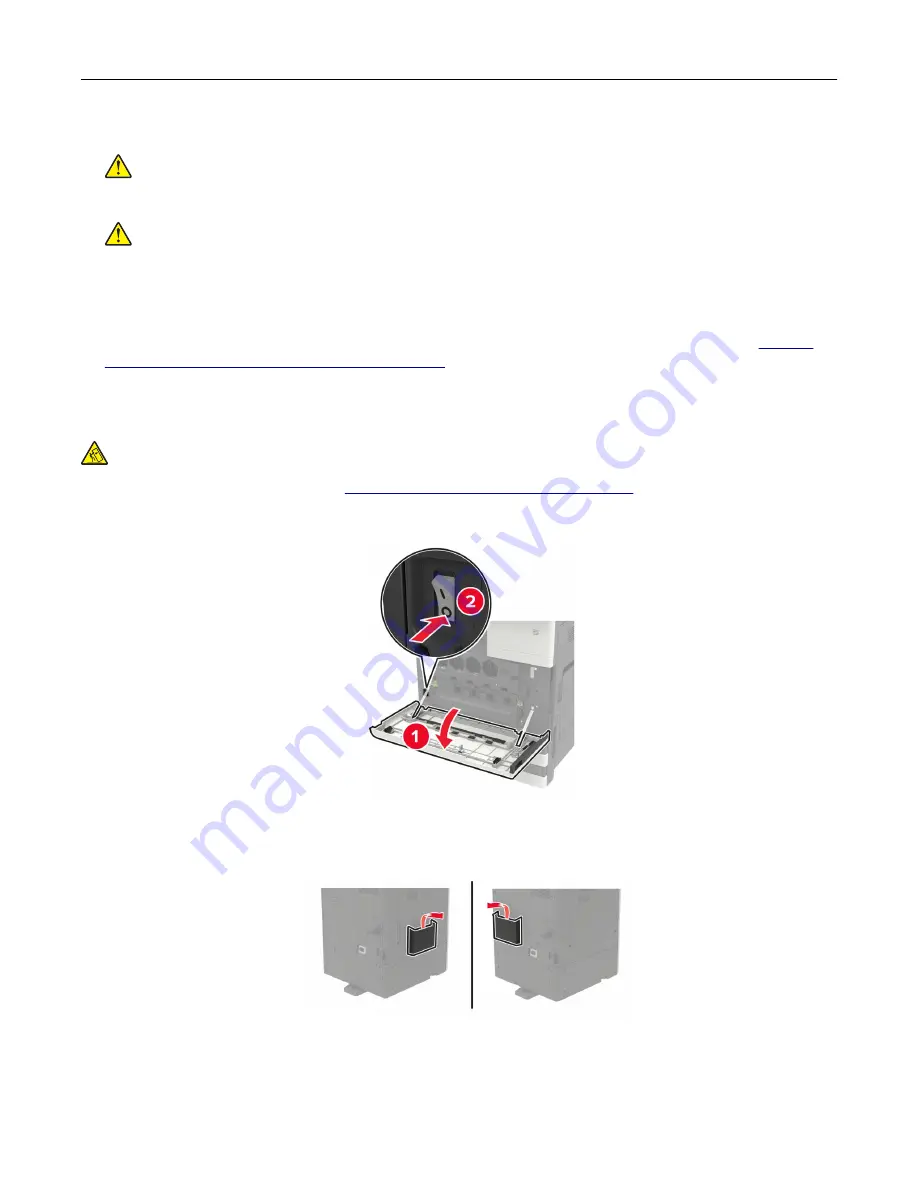
1
Turn off the printer.
2
Unplug the power cord from the electrical outlet, and then from the printer.
3
Remove the publications holder from the side or rear of the printer.
4
Unpack the staple, hole punch or booklet finisher.
Upgrading and migrating
223
Summary of Contents for C9235
Page 1: ...C9235 Printer User s Guide May 2020 www lexmark com Machine type s 5059 Model s 190...
Page 108: ...9 Insert the waste toner bottle and then close the door Maintaining the printer 108...
Page 112: ...8 Insert the waste toner bottle and then close the door Maintaining the printer 112...
Page 135: ...Below the fuser area Duplex area Clearing jams 135...
Page 140: ...2 Open door J 3 Open door H Clearing jams 140...
Page 188: ...6 Remove the controller board shield Upgrading and migrating 188...
Page 197: ...4 Remove the controller board shield Upgrading and migrating 197...
Page 203: ...7 Connect the tray connector to the printer 8 Open trays 2 and 3 Upgrading and migrating 203...
Page 208: ...9 Remove the stabilizing feet from the tray Upgrading and migrating 208...
Page 212: ...17 Secure the tray cable with the clamp Upgrading and migrating 212...
Page 219: ...7 Remove the paper guides 8 Attach the sensor cover Upgrading and migrating 219...
Page 225: ...8 Attach the nisher to the printer Upgrading and migrating 225...


