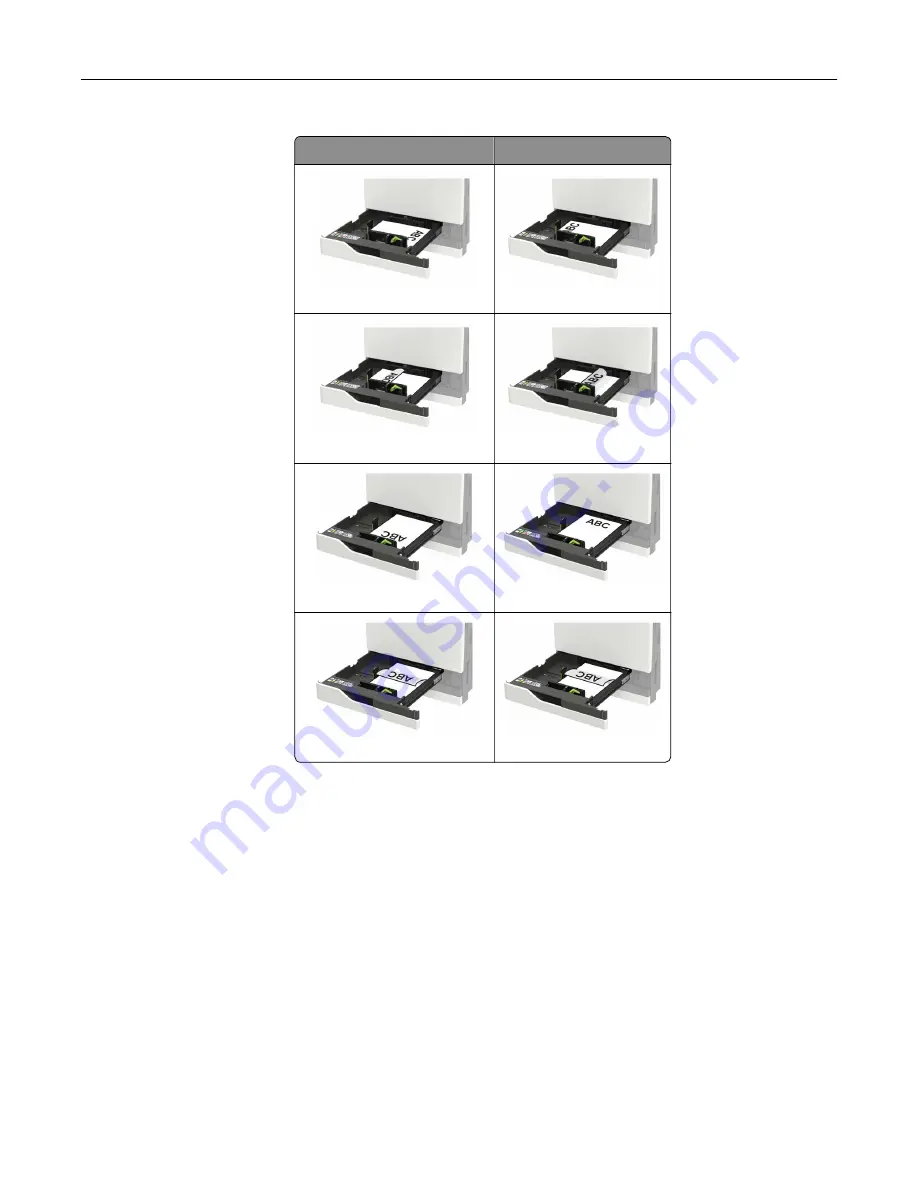
Without an optional finisher With an optional finisher
One
‑
sided printing
One
‑
sided printing
Two
‑
sided printing
Two
‑
sided printing
One
‑
sided printing
One
‑
sided printing
Two
‑
sided printing
Two
‑
sided printing
•
Load pre
‑
punched paper with the holes toward the front or left side of the tray.
•
Do not slide paper into the tray.
•
To avoid paper jams, make sure that the stack height is below the maximum paper fill indicator.
5
Insert the tray.
If loading a paper type other than plain, from the control panel, set the paper size and paper type to match
the paper loaded.
Loading paper and specialty media
28
Summary of Contents for C9235
Page 1: ...C9235 Printer User s Guide May 2020 www lexmark com Machine type s 5059 Model s 190...
Page 108: ...9 Insert the waste toner bottle and then close the door Maintaining the printer 108...
Page 112: ...8 Insert the waste toner bottle and then close the door Maintaining the printer 112...
Page 135: ...Below the fuser area Duplex area Clearing jams 135...
Page 140: ...2 Open door J 3 Open door H Clearing jams 140...
Page 188: ...6 Remove the controller board shield Upgrading and migrating 188...
Page 197: ...4 Remove the controller board shield Upgrading and migrating 197...
Page 203: ...7 Connect the tray connector to the printer 8 Open trays 2 and 3 Upgrading and migrating 203...
Page 208: ...9 Remove the stabilizing feet from the tray Upgrading and migrating 208...
Page 212: ...17 Secure the tray cable with the clamp Upgrading and migrating 212...
Page 219: ...7 Remove the paper guides 8 Attach the sensor cover Upgrading and migrating 219...
Page 225: ...8 Attach the nisher to the printer Upgrading and migrating 225...


