36
To help avoid jams or poor print quality:
•
Always use new, undamaged paper.
•
Before loading paper, know the recommended print side of the paper you’re using. This
information is usually indicated on the paper package.
•
Do not use paper that you have cut or trimmed yourself.
•
Do not mix paper sizes, weights, or types in the same paper source;
mixing results in jams.
•
Do not use coated papers.
•
Do not remove trays while a job is printing or
Busy
is displayed on the operator panel.
•
Make sure the Paper Type, Paper Texture, and Paper Weight settings are correct. (See
Paper
Menu
for detailed information about these settings.)
•
Make sure the paper is properly loaded in the paper source.
•
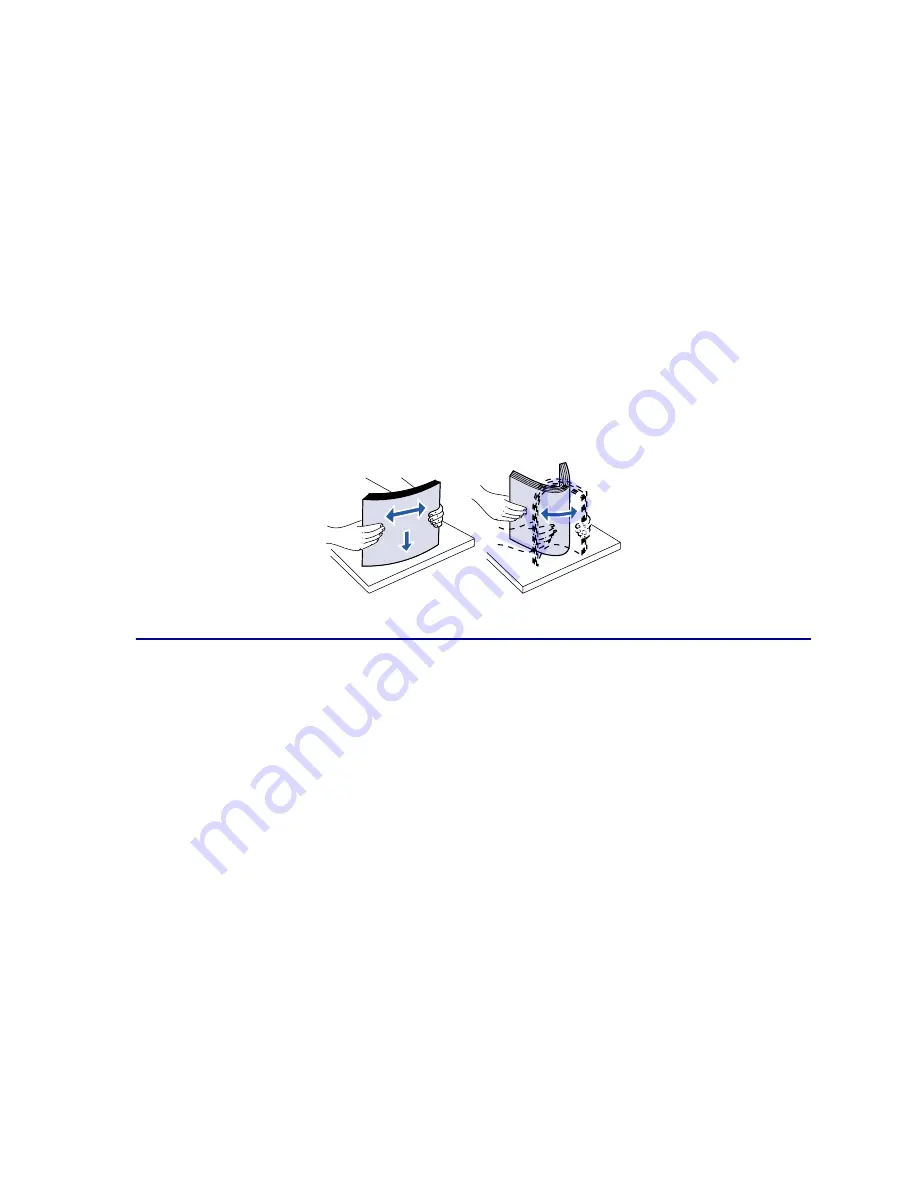
Flex paper back and forth. Do not fold or crease the paper. Straighten the edges on a level
surface.
Choosing envelopes
When printing on envelopes:
•
To achieve the best possible print quality, use only high-quality envelopes that are designed for
use in laser printers.
•
Use only new, undamaged envelopes.
•
Load only one size of envelope at a time in the multipurpose feeder.
•
Make sure the glue is not exposed.
•
Do not use envelopes that contain moisture or high humidity.
Moist envelopes or envelopes containing high humidity (over 60%) may become sealed from
the high fuser temperature.
•
Be sure to select MP Feeder as the paper source in the
Paper Menu
and set the correct
envelope size.
The laser printing process heats envelopes to a temperature of 165°C (329°F). Use only envelopes
that are able to withstand these temperatures without sealing, excessive curling, wrinkling, or releasing
hazardous emissions. If you have any doubts about the envelopes you are considering using, check
with the envelope supplier.
Summary of Contents for 12N0003 - C 910 Color Laser Printer
Page 1: ...www lexmark com User s Reference October 2001 Lexmark C910 ...
Page 2: ......
Page 10: ...viii ...
Page 53: ...51 4 Close the multipurpose feeder door ...
Page 100: ...98 7 Loosen the thumbscrews on each side of the transfer belt 8 Pull the transfer belt out ...
Page 127: ...125 5 Lift the optional drawer ...
Page 128: ...126 36 Removing the duplex unit 1 Turn the printer off 2 Open the duplex unit door ...
Page 129: ...127 3 Loosen the thumbscrews securing the duplex unit 4 Slide the duplex unit out ...
Page 130: ...128 5 Close the duplex unit door ...


