143
46
Solving print quality problems
Problem
Action
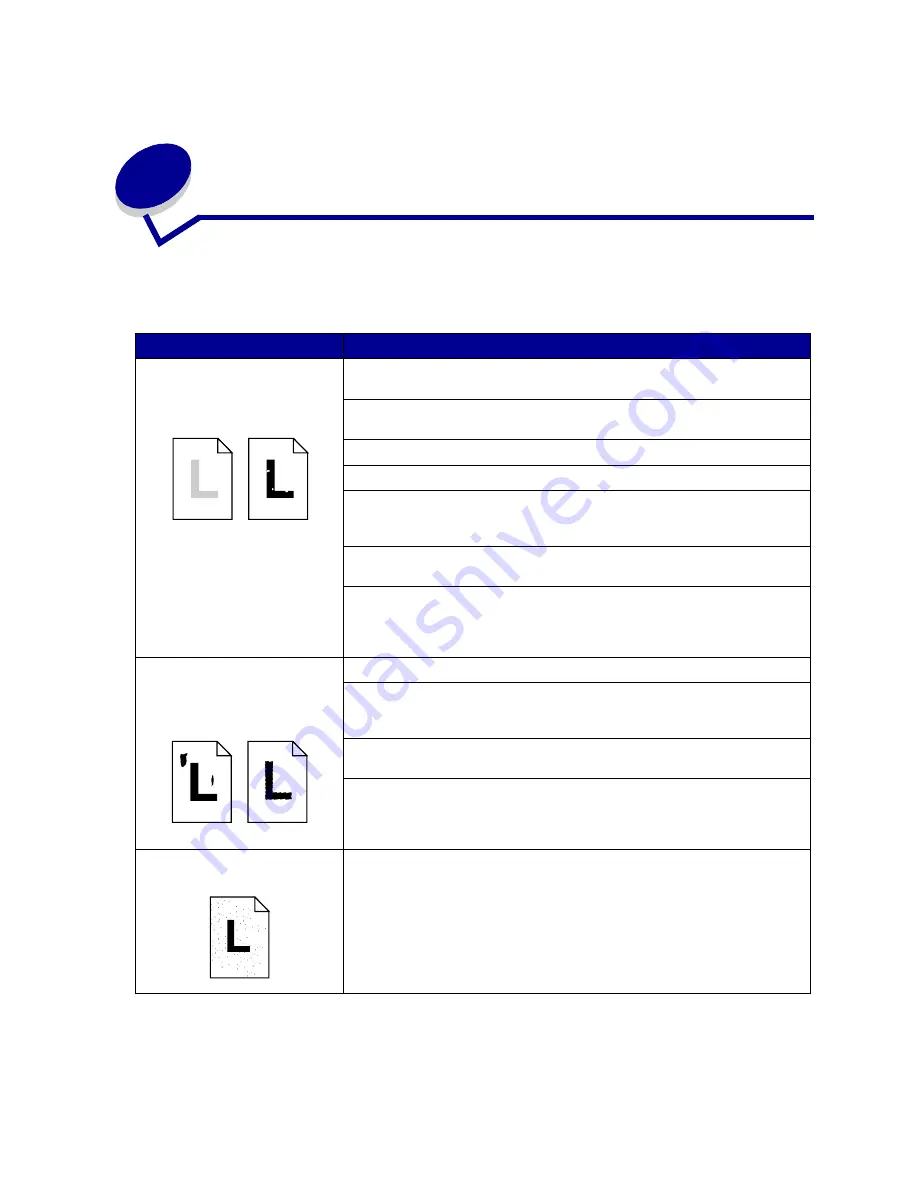
Print is too light, or printed
images or characters have voids
or dropouts.
Make sure you’re using recommended paper or other media. Use media
from a new package. See
Media guidelines
.
Make sure you have selected the correct
Paper Type
setting for the media
you’re using.
Set
Toner Darkness
to 4 in the
Color Menu
.
Clean the LEDs. See
Cleaning the LEDs
.
If you suspect a toner cartridge is low on toner, remove the appropriate
cartridge and gently shake it back-and-forth to distribute the toner evenly.
Reinsert the cartridge and try printing the job again.
Replace the toner cartridge that matches the color on the page that is too
light or not present in the void areas. See
Replacing a toner cartridge
.
Replace the photodevelopers. If only black print appears light, you can
replace just the black photodeveloper. If one of the colors prints too light,
replace all three of the color photodevelopers. See
Replacing a
photodeveloper
.
Colored lines, streaks, or
smudges appear on the printed
page, or print appears blurred or
unclear.
Clean the LEDs. See
Cleaning the LEDs
.
Remove the affected toner cartridge and gently shake it back-and-forth to
distribute the toner evenly. Reinsert the cartridge and try printing the job
again. See
Replacing a toner cartridge
.
Replace the toner cartridge that matches the color of the lines, streaks, or
smudges on the page. See
Replacing a toner cartridge
.
Replace the photodevelopers. If only black print appears light, you can
replace just the black photodeveloper. If one of the colors prints too light,
replace all three of the color photodevelopers. See
Replacing a
photodeveloper
.
Toner specks appear on the
page.
Replace the oil coating roll. See
Ordering supplies
.
Summary of Contents for 12N0003 - C 910 Color Laser Printer
Page 1: ...www lexmark com User s Reference October 2001 Lexmark C910 ...
Page 2: ......
Page 10: ...viii ...
Page 53: ...51 4 Close the multipurpose feeder door ...
Page 100: ...98 7 Loosen the thumbscrews on each side of the transfer belt 8 Pull the transfer belt out ...
Page 127: ...125 5 Lift the optional drawer ...
Page 128: ...126 36 Removing the duplex unit 1 Turn the printer off 2 Open the duplex unit door ...
Page 129: ...127 3 Loosen the thumbscrews securing the duplex unit 4 Slide the duplex unit out ...
Page 130: ...128 5 Close the duplex unit door ...


