www.javad.com
80
Stake Out Alignments
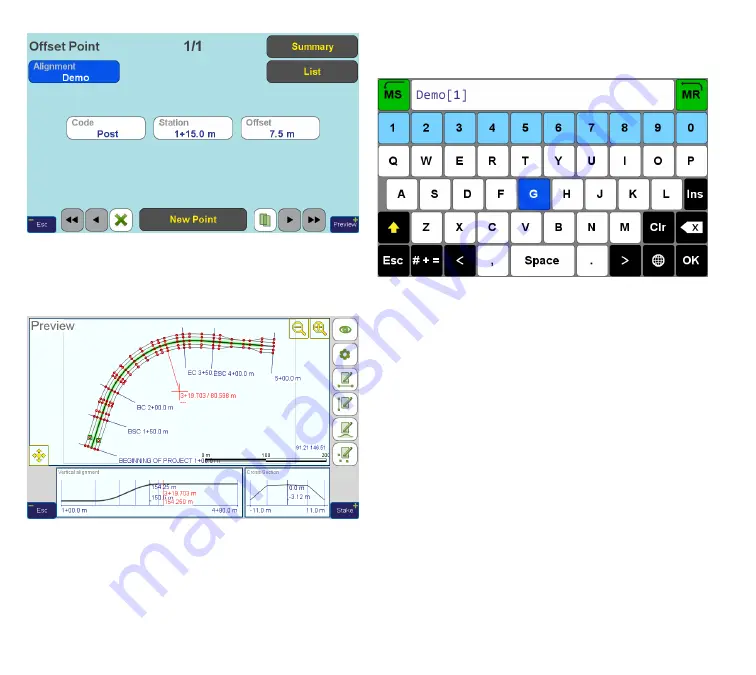
Figure 42
As usual, tap “
Preview
” to see the final layout of our
alignment (Figure 43).
Figure 43
Modifying the Alignment
Finally, let us do small editing test. Return to the
Alignment Summary
screen and tap the “
Alignment
”
button, which is equivalent to conventional “save as”
command. The system suggests a new name for the
alignment (Figure 44).
Figure 44
Tap “
Done
” to agree with the suggested name. Return
to the
Summary
screen, already with the new align-
ment (which is the copy of the one we created). Our
“
Demo
” alignment stays intact, and we can return to it
any time by performing the “
Open Alignment
” com-
mand from the
Stake-Out/Prepare
screen.
Tap “
Horizontal
”, pass through all sections and for
each arc or spiral section, change “
Turn Direction
”
from
Right
to
Left
. Return to the section 1/5 (Straight
Line), edit the “
Direction
” field so that it says “118°” in-
stead of “18°” we have set initially.
Tap “
Preview
” and note that alignment shape have
changed as we expected, keeping everything consis-
tent and smooth (Figure 45).
Summary of Contents for TRIUMPH-LS
Page 1: ...U S E R S G U I D E TO T H E T R I U M P H L S E Version 20160121 ...
Page 17: ...www javad com 17 Introduction ...
Page 39: ...www javad com 39 Collect Screens ...
Page 59: ...www javad com 59 Stake Out Points ...
Page 91: ...www javad com 91 Stake Out Alignments ...
Page 93: ...www javad com 93 Using ShapeTags and Codes Data Structure ...
Page 105: ...www javad com 105 Using ShapeTags and Codes ...
Page 149: ...www javad com 149 Localization ...


