


c.
To adjust the detection zone position on the screen, click on the desired detection
zone, hold the left mouse button down and drag the selected zone to the desired
position.
d.
Click Undo to delete the last detection zone
e.
Click Clear to delete all detection zones for the selected camera
f.
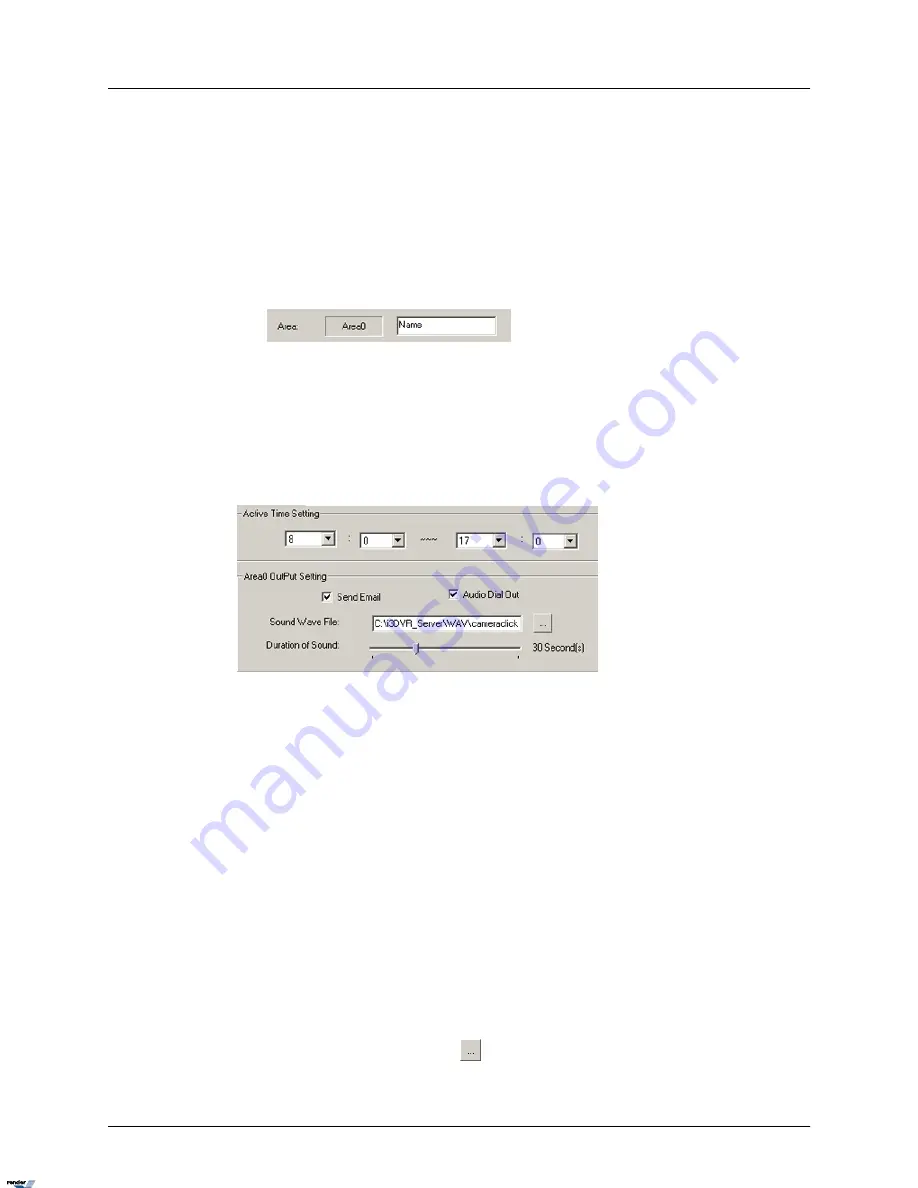
Name the detection zone in the Area field if required. Enter the desired name in the
text field under the live view window.
4.
Set the Active Time for each detection zone. In the example below, the Area alarm is
active from 8 AM to 5 PM.
Note
Active Time must be configured. Unless the Active Time is set, object detection
will not occur in the selected area.
5.
Configure the Alarm Output Setting for the selected detection zone
a.
Check the Send Email checkbox to send an emergency Email every time that the
alarm is triggered in this detection zone. The email address is must be configured
in the Email Setup tab.
b.
Check the Audio Dial Out checkbox to make an emergency phone call every time
that the alarm is triggered in the Area. Emergency phone numbers must be con-
figured in the Communication Setup tab.
Note
If the Audio Dial Out checkbox is enabled, the chosen *.wav file will be
played as a message for the emergency phone call.
If the Audio Dial Out checkbox is unchecked, the file will only be played
locally on the DVMS.
c.
Select the Sound Wave File for the audio alarm
i.
Click the Browse button
and locate the *.wav sound file that will play every
time that the alarm is triggered
88
i³Server
XML to PDF by RenderX XEP XSL-FO Formatter, visit us at
http://www.renderx.com/


