


4.
Check the Overwrite old image(s) checkbox to replace old snapshots with the new
ones every time the Snapshot button is clicked. Uncheck to create a new copy of a
snapshot every time the Snapshot button is clicked.
When checked, no time stamp is used in the file name. (E.g. "Front Door__01.jpg"). The
snapshot from the selected camera is replaced every time the Snapshot button is clicked.
When unchecked, the time stamp is added to the file name. The template for the time
stamp is the following:
YYYYMMDD_HHMMSS (E.g. "Front
Door_20060104_165235_01.jpg"). Every time the Snapshot button is clicked, the
snapshot copy is created in the selected folder.
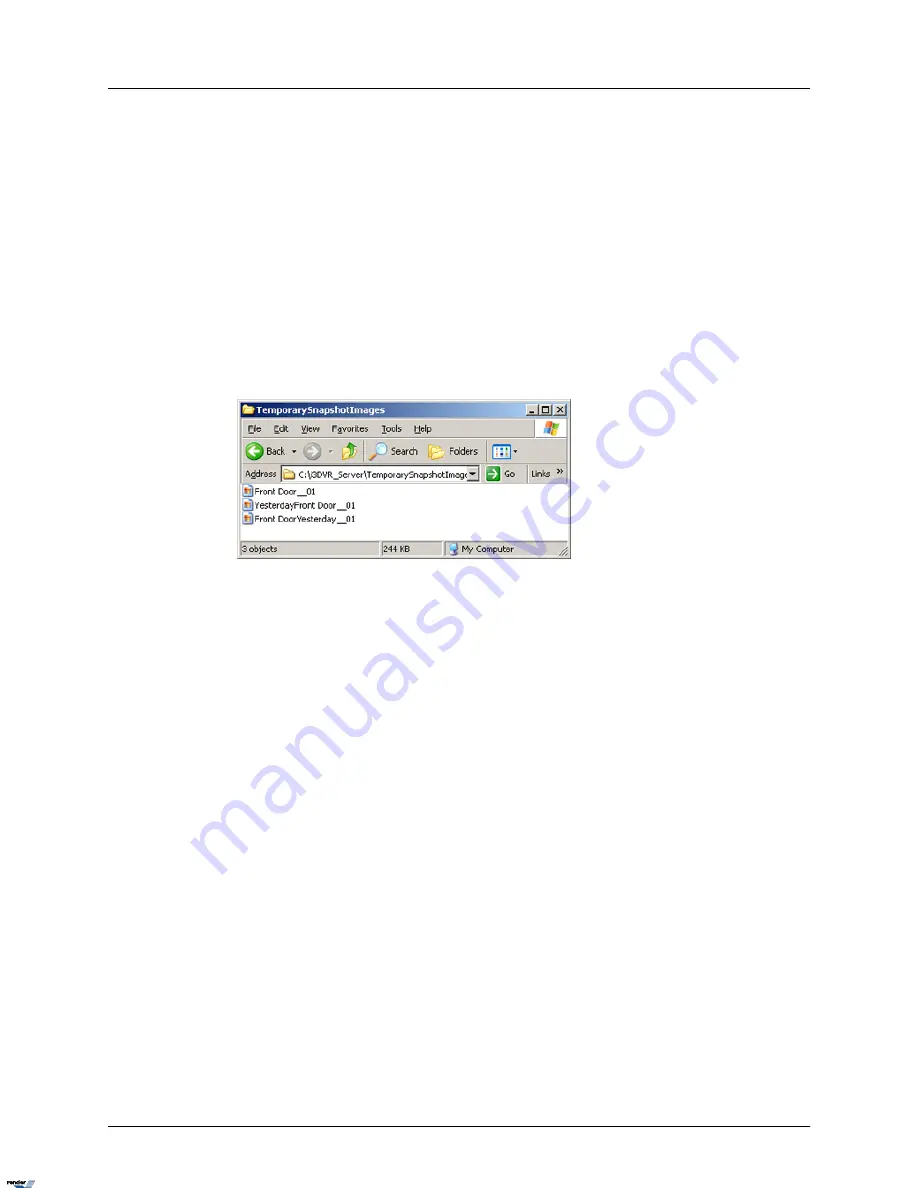
In the example below, three snapshots have been taken with the Overwrite old image(s)
feature on. The File Name Extension was set to File Name, then to Suffix and, finally,
to Prefix.
5.
Check the Embed text to image(s) checkbox to use the embedded text with the snap-
shots. The embedded text can be customized for each individual camera. The embedded
text will be positioned in the bottom left corner of the snapshot. The date and time are
automatically embedded in the top right corner of the snapshot.
6.
Click the camera number. The chosen camera will be displayed in the live view screen.
7.
Configure the settings for the selected camera.
a.
Click Select Folder and set the snapshot destination folder for the selected camera.
A different destination folder can be configured for each individual camera. Only
local and remote folders can be used. The same folder will be used by the Snapshot
feature in the Search window. To save the snapshots onto the DVD-R/CD-R, please
use the Snapshot backup in the Search window.
Note
Please avoid using the D:\ drive.
b.
Enter the embedded text for the selected camera in the Embed Text field. This text
can be customized for each individual camera.
8.
Click Default to set the destination folder to default (C:\i3DVR_Server\TemporarySnap-
shotImages) and to disable the snapshot feature for all cameras.
Related Topics: PTZ mode | Snapshot Backup
96
i³Server
XML to PDF by RenderX XEP XSL-FO Formatter, visit us at
http://www.renderx.com/


