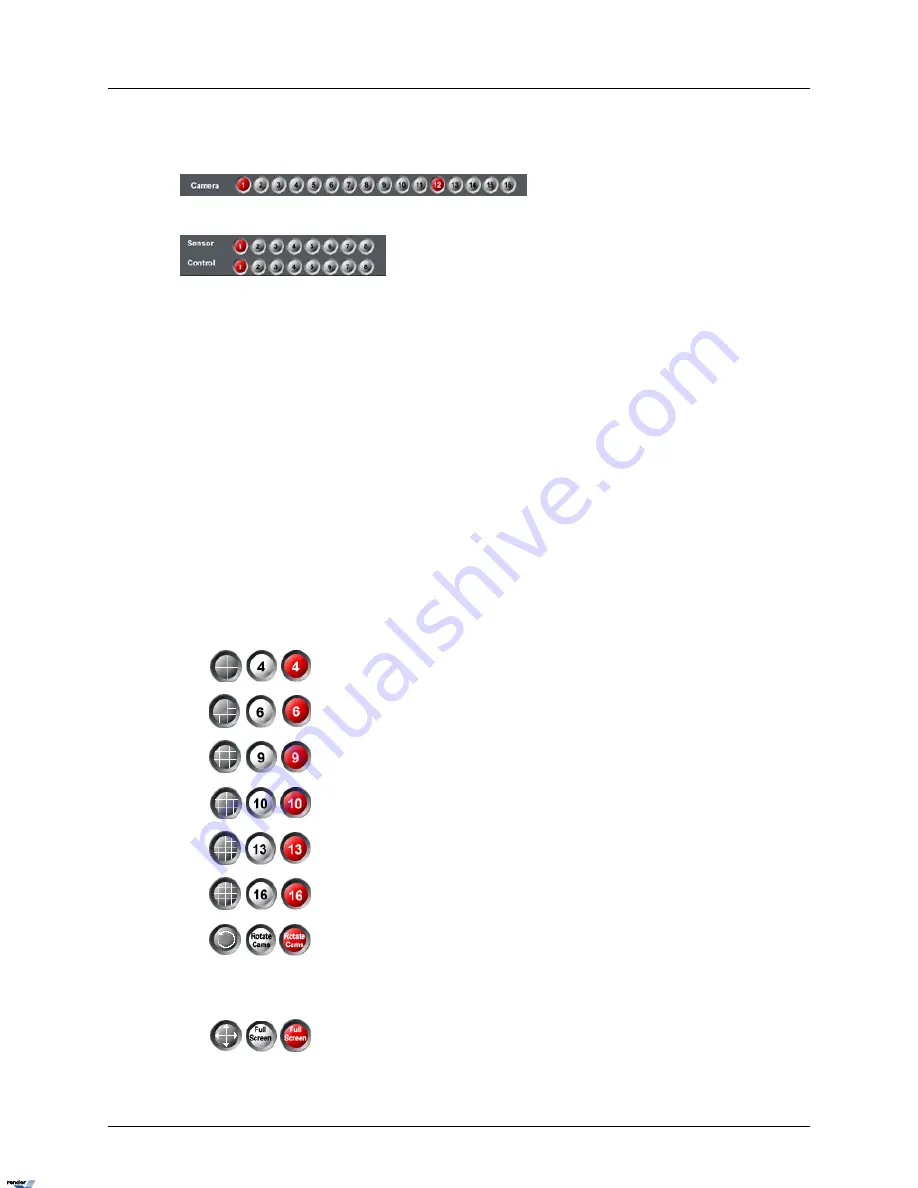
Camera panel indicates the DVMS recording activity. Camera numbers highlighted in red represent
currently recording cameras. In the example below, cameras 1 and 12 are currently recording.
Sensor and Control panel
The Sensor/Control panel activates selected controls and displays sensor status. Selected controls
and triggered sensors are highlighted in red on the Sensor/Control panel. In the example above,
Sensor 1 is triggered and Control 1 is activated. Control acts as a relay and can be controlled by
a user (turned on/off) from the Sensor/Control panel (authorized users only). Sensor works as a
switch and cannot be manually controlled from the main screen.
Screen Division
The Screen Division buttons allow for customization of the main screen appearance. When a
specific Screen Division is chosen, the corresponding amount of cameras will be displayed on
the main screen. Important: The first available cameras will be displayed. E.g. If the DVMS has
12 available cameras and the 9-cameras screen division is selected, Cameras 1-9 will be displayed
on the main screen in a 9-cameras screen division. Screen Division button settings can be cus-
tomized in the Screen Division Setup to display the selected cameras instead of the first available
cameras. E.g. The 4-cameras Screen Division button can be customized to display Cameras 2,
8, 10 and 11 instead of Cameras 1-4.
The Screen Division buttons change on cursor-over and when clicked. The red Screen Division
button is the one currently activated
Displays the first 4 available cameras in a 4-cameras Screen division
on the Main Display Screen. Click again to display next 4 cameras
Displays the first 6 available cameras in a 6-cameras Screen division
on the Main Display Screen
Displays the first 9 available cameras in a 9-cameras Screen division
on the Main Display Screen
Displays the first 10 available cameras in a 10-cameras Screen division
on the Main Display Screen
Displays first 13 available cameras in 13-cameras Screen division on
the Main Display Screen
Displays the first 16 available cameras in a 16-cameras Screen division
on the Main Display Screen
Rotate Cameras - This button continuously rotates cameras in the quad
screen division (4-cameras screen division) in a sequence (1-4, 5-8, 9-
12, 13-16, 17-20, 21-24, 25-28, 29-32 (if applicable)). To stop camera
rotation, click the desired Screen Division button or click Rotate
Cameras again to deactivate it.
Full Screen - This button displays a single camera or chosen screen
division without any menu bars (no interface shown). Right-click to exit
the full-screen mode.
10
i³Server
XML to PDF by RenderX XEP XSL-FO Formatter, visit us at
http://www.renderx.com/


