FusionModule1000A40 ICT Solution
Maintenance Guide
4 Parts Replacement
Issue 01 (2019-03-05)
Copyright © Huawei Technologies Co., Ltd.
65
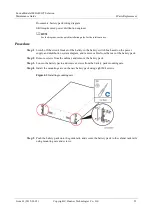
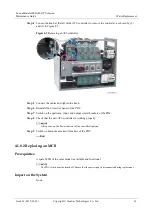
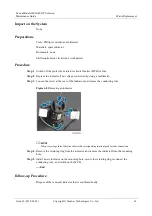
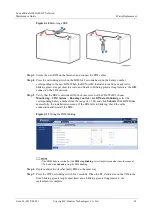
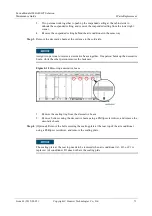
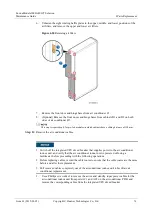
Figure 4-10
Removing a BIM
Step 3
Secure the new BIM on the fastener, and connect the BIM cables.
Step 4
Press the networking switch on the BIM for 2 seconds based on the battery number
corresponding to the new BIM. When the RUN/ALM indicator turns from steady red to
blinking green at super short intervals, and finally to blinking green at long intervals, the BIM
connects to the CIM network.
Step 5
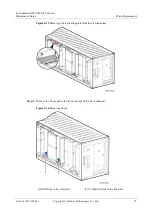
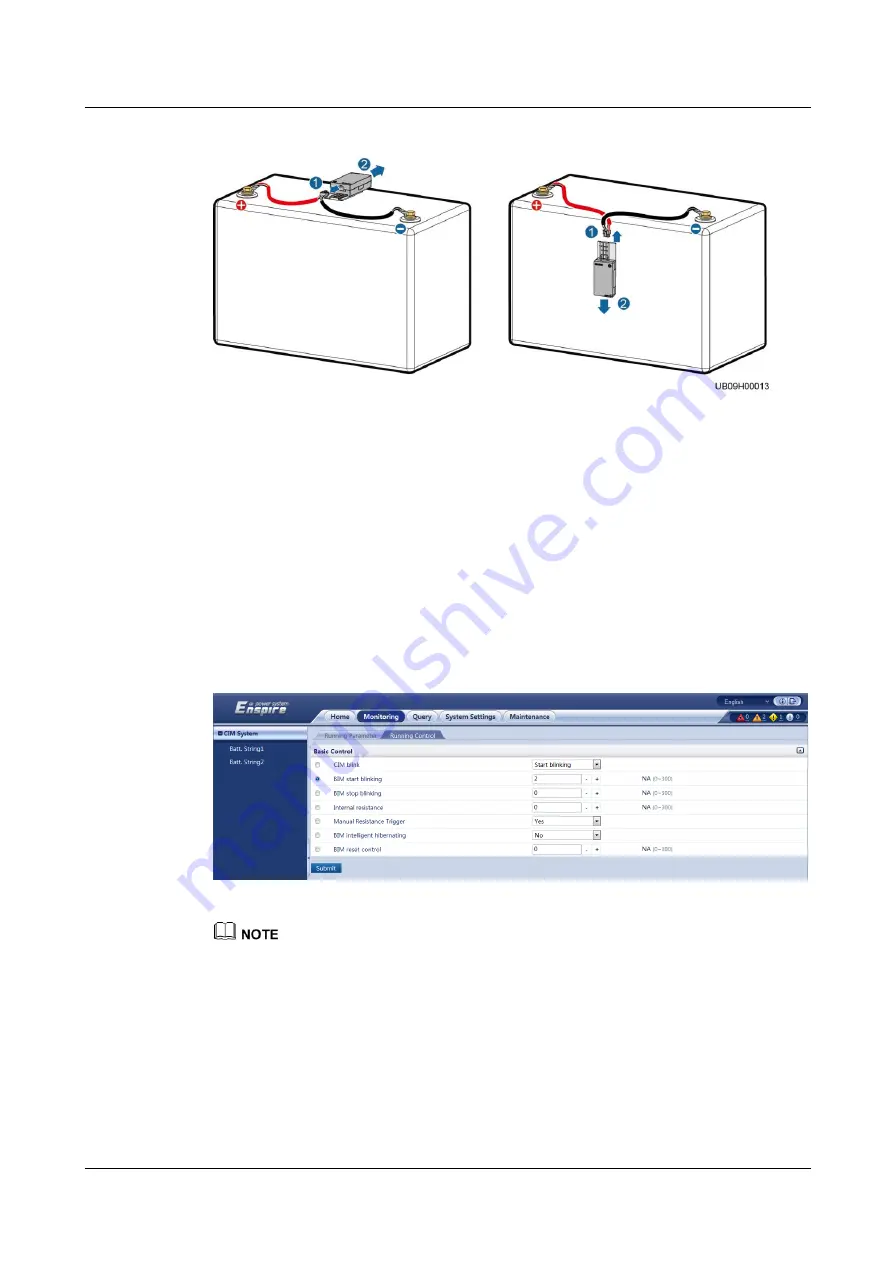
Verify that the BIM is networked. On the home screen of the CIM WebUI, choose
Monitoring
>
CIM System
>
Running Control
, click
BIM start blinking
, select the
corresponding battery number from the range of 1–300, and click
Submit
. If the BIM blinks
successfully, the installation succeeds. If the BIM fails in blinking, check the cable
connections and reinstall the BIM.
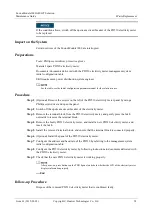
Figure 4-11
Setting the BIM blinking
If the BIM blinks successfully, click
BIM stop blinking
, select the battery number from the range of
1–300, and click
Submit
to stop the BIM blinking.
Step 6
Replace and network other faulty BIMs in the same way.
Step 7
Press the CIM networking switch for 2 seconds. When the RF_Z indicator on the CIM turns
from blinking green at super short intervals to blinking green at long intervals, the
replacement is complete.

