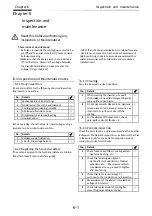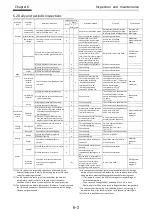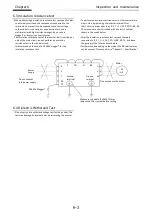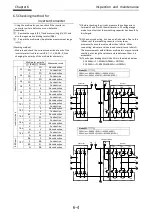
Quick start
<a>24V supply state, <b>
<c>
<e>
mode,
indication
Quick start
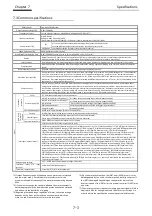
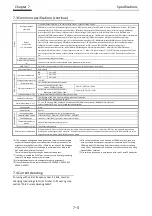
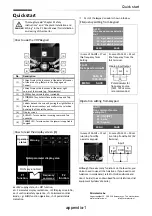
Thoroughly read “Chapter 1 Safety
Instructions” and “Chapter 2 Installation and
Wiring” in the P1 Basic Manual for installation
and wiring of the inverter.
How to use the
No.
Description
(1)
F1 key Displays the functions in the lower left corner
of the screen (e.g. Return to the top page and
Cancel).
(2)
F2 key Displays the functions in the
corner of the screen (e.g. Data memory).
(3)
RUN key Runs when the key is enabled.
(4)
STOP/RESET key Selects Deceleration stop and Trip
reset.
(5)
Selects data on the screen by using the right/left and
the up/down arrow keys and confirms
by using the O key at the center.
(6)
Display screen
(7)
RUN LED.
operation.
(8)
POWER LED.
keypad.
How to read the display screen (6)
<a>24V supply state, <b>
<c> Parameter display restr
<e> Functional safety operation, <f>
mode, <g> EzSQ function operation
indication
F1
function
Data/parameter display area
RUN key
Operation
status
DANGER
(1)
(8)
(3)
Quick start
Thoroughly read “Chapter 1 Safety
Instructions” and “Chapter 2 Installation and
Wiring” in the P1 Basic Manual for installation
and wiring of the inverter.
How to use the VOP keypad
Description
F1 key Displays the functions in the lower left corner
of the screen (e.g. Return to the top page and
Cancel).
F2 key Displays the functions in the
corner of the screen (e.g. Data memory).
RUN key Runs when the key is enabled.
STOP/RESET key Selects Deceleration stop and Trip
reset.
Selects data on the screen by using the right/left and
the up/down arrow keys and confirms
by using the O key at the center.
Display screen
RUN LED. Turns on when
operation.
POWER LED. Turns on when
keypad.
How to read the display screen (6)
<a>24V supply state, <b> SET function,
Parameter display restr
Functional safety operation, <f>
EzSQ function operation
function
Data/parameter display area
RUN key-enabled
Operation
Warning
(1)
(8)
(3)
Thoroughly read “Chapter 1 Safety
Instructions” and “Chapter 2 Installation and
Wiring” in the P1 Basic Manual for installation
and wiring of the inverter.
keypad
F1 key Displays the functions in the lower left corner
of the screen (e.g. Return to the top page and
F2 key Displays the functions in the
corner of the screen (e.g. Data memory).
RUN key Runs when the key is enabled.
STOP/RESET key Selects Deceleration stop and Trip
Selects data on the screen by using the right/left and
the up/down arrow keys and confirms
by using the O key at the center.
Turns on when incoming
Turns on when the power is supplied to
How to read the display screen (6)
SET function,
Parameter display restrictions, <d> Display
Functional safety operation, <f> Command control
EzSQ function operation, <h> Special status
Frequency
command
Data/parameter display area
<b>
<a>
<g>
(6)
(5)
appendix
Thoroughly read “Chapter 1 Safety
Instructions” and “Chapter 2 Installation and
Wiring” in the P1 Basic Manual for installation
F1 key Displays the functions in the lower left corner
of the screen (e.g. Return to the top page and
F2 key Displays the functions in the lower right
corner of the screen (e.g. Data memory).
RUN key Runs when the key is enabled.
STOP/RESET key Selects Deceleration stop and Trip
Selects data on the screen by using the right/left and
the up/down arrow keys and confirms the selection
incoming command for
the power is supplied to
How to read the display screen (6)
Display screen No.,
Command control
, <h> Special status
F2
function
Frequency
Data/parameter display area
<d>
<c>
<f>
<e>
(2)
(7)
(4)
appendix
Instructions” and “Chapter 2 Installation and
Wiring” in the P1 Basic Manual for installation
F1 key Displays the functions in the lower left corner
STOP/RESET key Selects Deceleration stop and Trip
Selects data on the screen by using the right/left and
the selection
command for
the power is supplied to
screen No.,
Command control
, <h> Special status
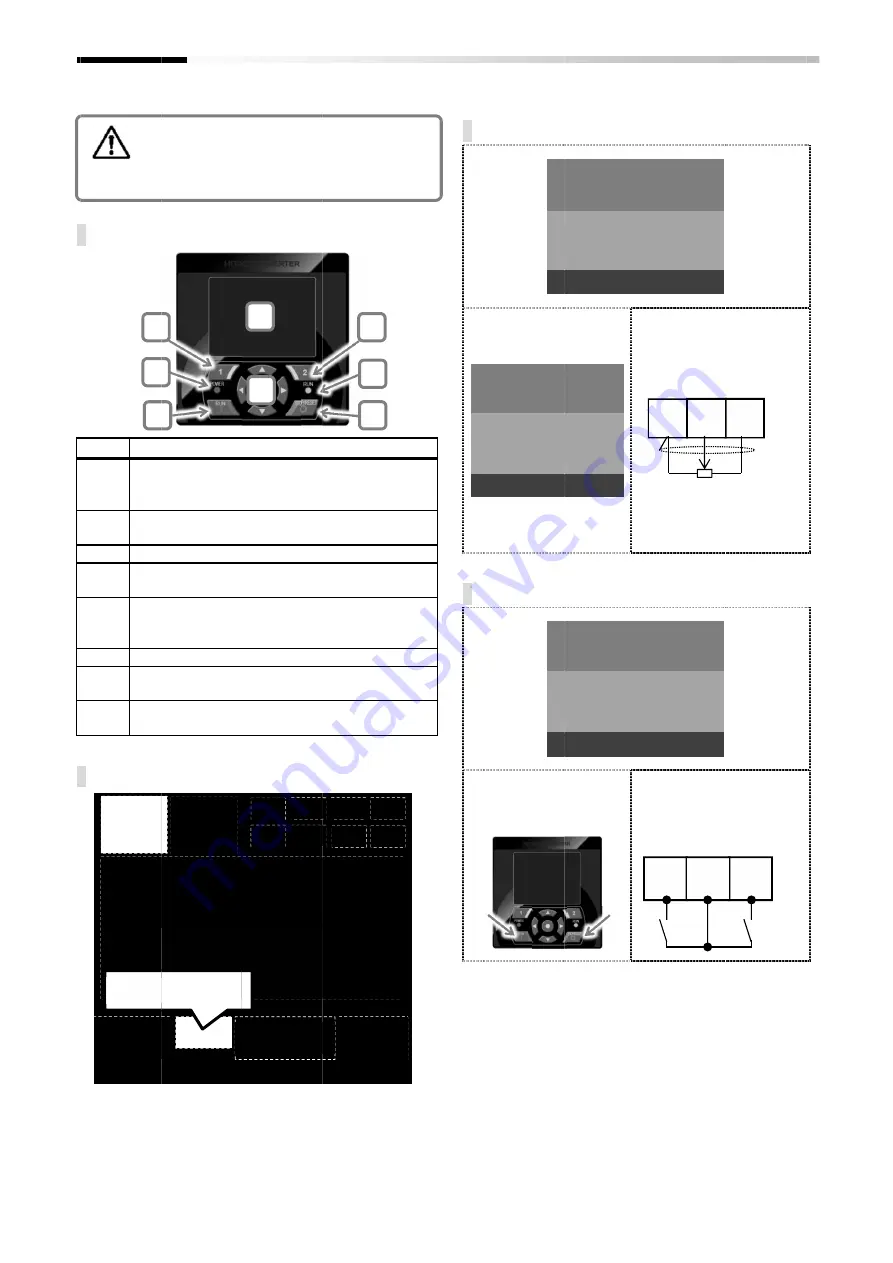
Frequency setting
In case of AA101 = 0
the frequency from
Setting.
Operation setting
In
run/stop
operator keypad.
Although there are
do not need to use all the
functions in more detail,
User’s Guide
Equipment Systems’ Website)
function
FA
Set
MENU
appendix-1
Part of the keypad
Frequency setting
In case of AA101 = 0
the frequency from
Setting.
Operation setting
In case of AA111 = 0
run/stop from the
operator keypad.
Although there are
do not need to use all the
functions in more detail,
User’s Guide (You can download from Hitachi Industr
Equipment Systems’ Website)
AA101
Main speed source selection
No.1
MENU
FA-01
Set speed source
46.49 Hz
[0.00
MENU
AA111
Run command source
setting No.1
MENU
Part of the keypad screen
Frequency setting from keypad
In case of AA101 = 07 set
the frequency from
In case of AA101 = 01
the frequency from
Ai1 terminal.
Operation setting from keypad
case of AA111 = 02 set
from the
operator keypad.
In case of AA111 =
run/stop
terminal.
Although there are many functions on the inverter,
do not need to use all the functions. If you need t
functions in more detail, refer to this Basic
(You can download from Hitachi Industr
Equipment Systems’ Website).
AA101
Main speed source selection
No.1
01: Input via Ai1 terminal
02: Input via Ai2 terminal
03: Input via Ai3 terminal
MENU
speed source-M
46.49 Hz
[0.00-60.00]
SAVE
Analog input/output
AA111
Run command source
setting No.1
00: [FW]/[RV]
01: 3-wire
02: Keypad
MENU
Quick start
screen is shown in below.
keypad
In case of AA101 = 01
the frequency from
Ai1 terminal.
keypad
In case of AA111 =
run/stop from the FW/RV
terminal.
many functions on the inverter,
functions. If you need t
refer to this Basic Guide
(You can download from Hitachi Industr
.
Main speed source selection
Input via Ai1 terminal
02: Input via Ai2 terminal
03: Input via Ai3 terminal
SAVE
Analog input/output
Ai1
L
Potentiometer
frequency source
(1k
Ω
, 1W or more
is recommended
Run command source
: [FW]/[RV]
SAVE
Input
9
[FW]
COM
Quick start
is shown in below.
In case of AA101 = 01 set
the frequency from the
In case of AA111 = 00 set
from the FW/RV
many functions on the inverter, you
functions. If you need to set
Guide and
(You can download from Hitachi Industrial
Analog input/output
H
Potentiometer for
frequency source
, 1W or more
is recommended)
Input
8
[RV]
Quick start
Microlectra bv.
Augustapolder 12. 2992 SR Barendrecht. The Netherlands.
www.microlectra.nl
Summary of Contents for P1-00041HFEF
Page 6: ...0 5 Contents Contents Memo ...
Page 42: ...2 26 Chapter 2 Installation and Wiring Memo ...
Page 129: ...Index Index 3 memo ...
Page 130: ...Index Index 4 memo ...

