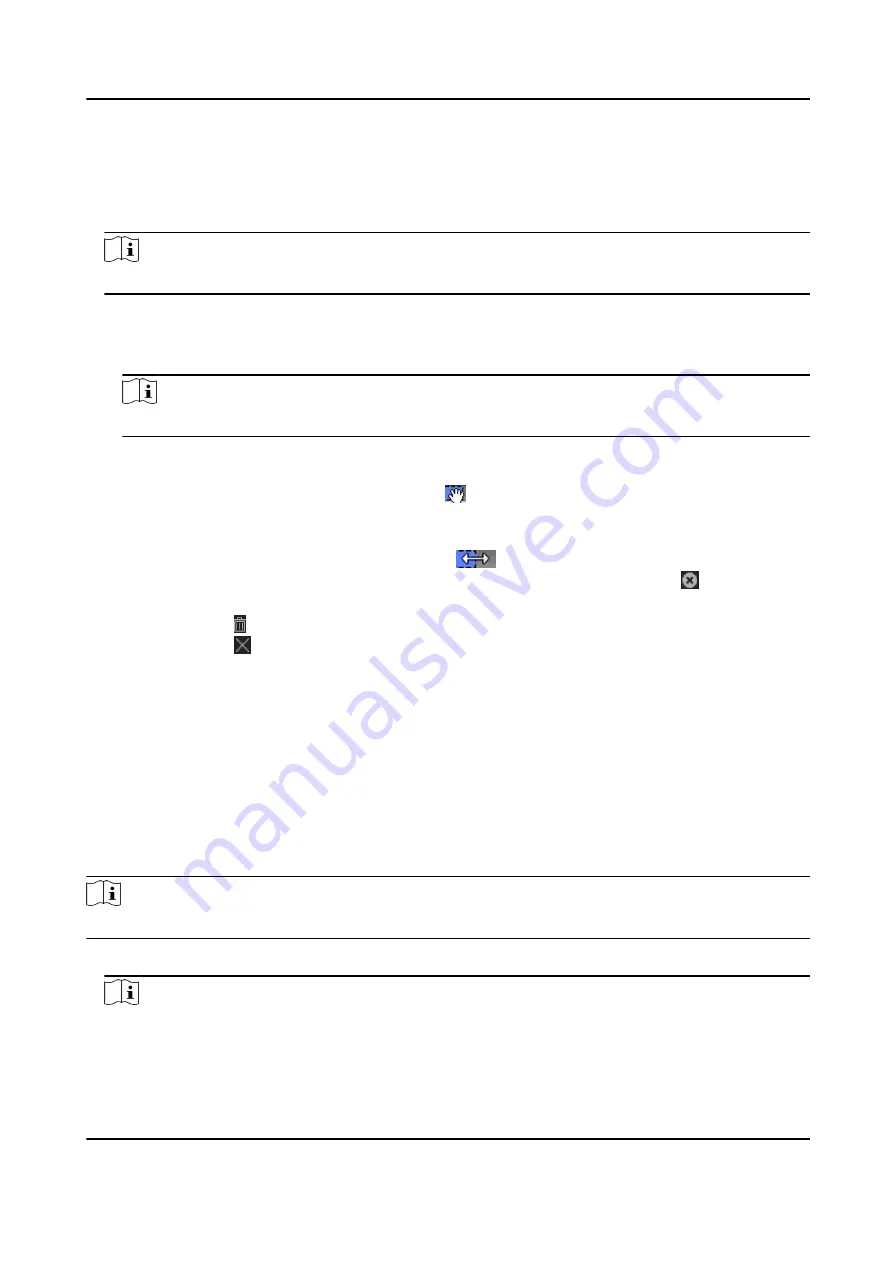
2. Click Add on the left panel.
3. Create a name for the holiday.
4. Optional: Enter the descriptions or some notifications of this holiday in the Remark box.
5. Add a holiday period to the holiday list and configure the holiday duration.
Note
Up to 16 holiday periods can be added to one holiday.
1) Click Add in the Holiday List field.
2) Drag the cursor to draw the time duration, which means in that duration of time, the
configured access group is activated.
Note
Up to 8 time durations can be set to one holiday period.
3) Optional: Perform the following operations to edit the time durations.
●
Move the cursor to the time duration and drag the time duration on the timeline bar to the
desired position when the cursor turns to .
●
Click the time duration and directly edit the start/end time in the appeared dialog.
●
Move the cursor to the start or the end of time duration and drag to lengthen or shorten
the time duration when the cursor turns to
.
4) Optional: Select the time duration(s) that need to be deleted, and then click in the
Operation column to delete the selected time duration(s).
5) Optional: Click in the Operation column to clear all the time duration(s) in the time bar.
6) Optional: Click in the Operation column to delete this added holiday period from the
holiday list.
6. Click Save.
6.3.2 Add Template
Template includes week schedule and holiday. You can set week schedule and assign the time
duration of access authorization for different person or group. You can also select the added
holiday(s) for the template.
Steps
Note
You can add up to 255 templates in the software system.
1. Click Access Control → Schedule → Template to enter the Template page.
Note
There are two default templates: All-Day Authorized and All-Day Denied, and they cannot be
edited or deleted.
DS-K1A802A Series Fingerprint Time Attendance Terminal User Manual
62


