


181
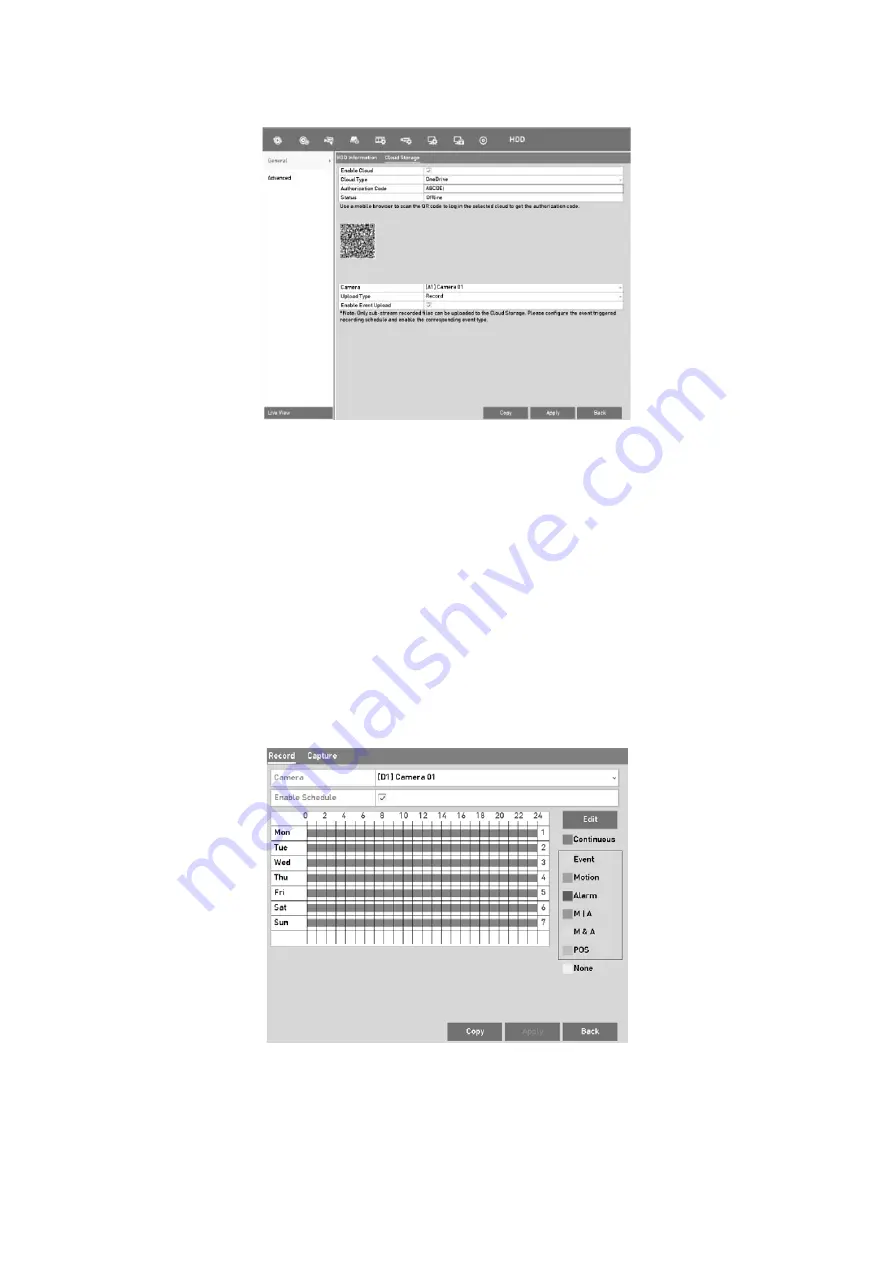
Cloud Storage Interface
Step
4
According to the prompts, you are required to use a mobile browser to scan the QR
code to log in the selected cloud to get the authentication code. And then copy the
authentication code to the
Authentication Code
text filed.
Step
5
Click
Apply
and then back to the main menu.
Step
6
Enter the cloud storage interface again about 20s later. When the
Status
shows
online, it indicates the successful registration.
Step
7
Configure the recording schedule.
Back to enter the
record interface, choose a certain camera from the
Camera
drop-down list and check the
Enable
Schedule
checkbox to enable the schedule
recording. For detailed recording schedule, refer to
5.2 Configuring the Recording
and Capture Schedule.
Record Schedule
Step
8
Upload the event triggered recording files to the cloud storage.
Summary of Contents for GD-RT-5008P
Page 2: ......
Page 134: ...134 Set PTZ Linking Step 8 Click OK to save the settings...


