18. Click the
Apply
button. In the Save Zoning & Error Check dialog, click
Save Zoning
, then
Yes
,
OK
, and
Close
on to save changes to the zoning database.
19. Close the Edit Zoning dialog box.
20. Connect to the other switch as necessary to configure. In SANsurfer Switch Manager, expand
the tree view and select the other Fibre Channel switch. For the purposes of this procedure, this
switch is designated as switch B.
The Faceplate display opens.
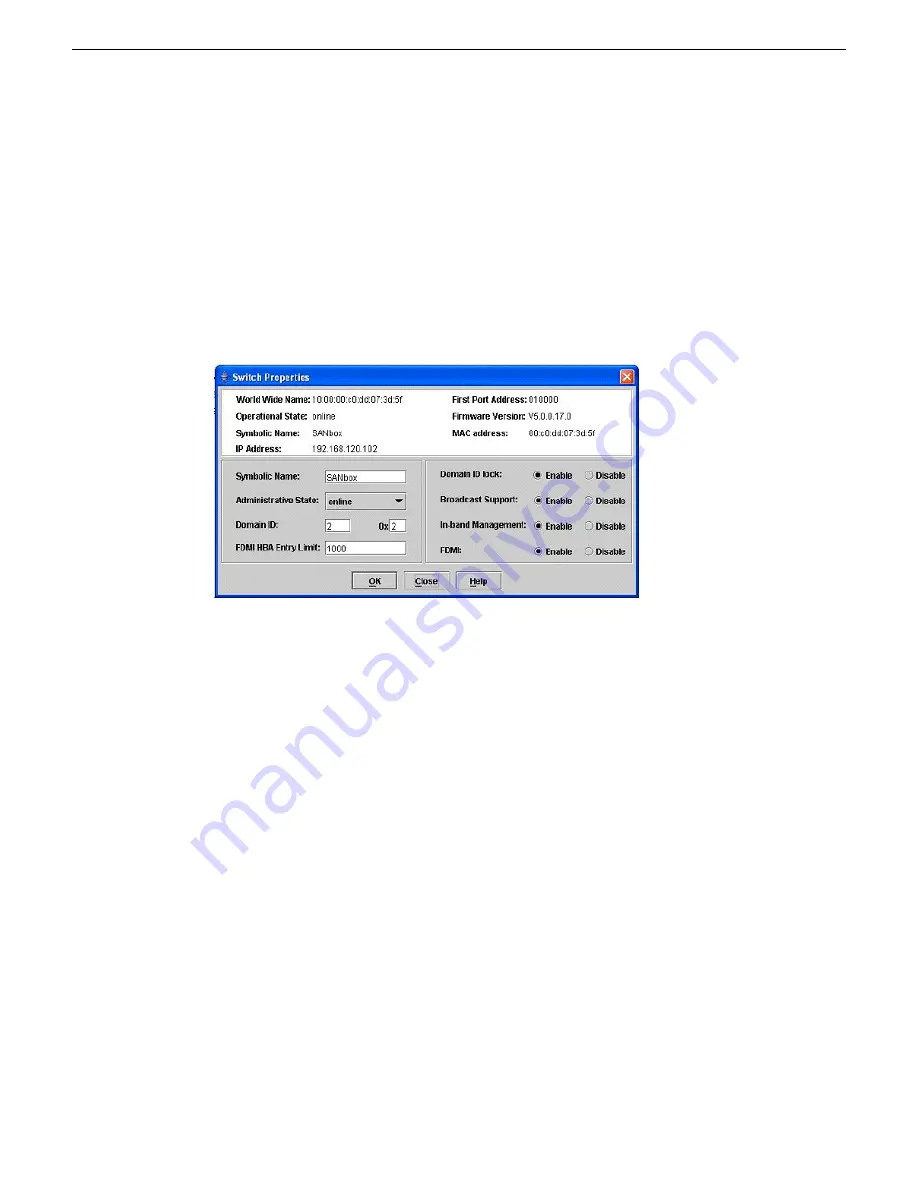
21. Open the
Switch
menu and select
Switch Properties
.
The Switch Properties dialog box opens.
22. Set
Domain ID
to
2
.
23. Set
Domain ID lock
to
Enable
.
24. Click
OK
.
SANsurfer Switch Manager updates the switch. When a message box reports status complete,
click
OK
.
The Switch Properties dialog box closes.
25. Open the Zoning menu, and select
Edit Zoning
to open the Edit Zoning dialog.
26. Open the Edit menu, and select
Create Zone Set
to open the Create A Zone Set dialog.
27. Enter
ZoneSetB
as the name for the zone set and click the
OK
button.
The new zone set name is displayed in the Zone Sets tree.
28. Right-click
ZoneSetB
and select
Create A Zone
from the popup menu.
29. In the Create a Zone dialog, enter
Zone3
as the name for the new zone and click the
OK
button.
The new zone name is displayed in the Zone Sets tree.
30. Right-click
ZoneSetB
and select
Create A Zone
from the popup menu.
31. In the Create a Zone dialog, enter
Zone4
as the name for the new zone and click the
OK
button.
The new zone name is displayed in the Zone Sets tree.
32. Click the
Apply
button to save changes to the zoning database.
02 February 2012
K2 SAN Installation and Service Manual
351
Custom K2 SAN systems
Summary of Contents for K2 BASECAMP EXPRESS
Page 28: ......
Page 38: ......
Page 62: ......
Page 112: ......
Page 124: ......
Page 248: ...248 K2 SAN Installation and Service Manual 02 February 2012 Operating the K2 SAN ...
Page 256: ......
Page 340: ......
Page 354: ......
Page 366: ...366 K2 SAN Installation and Service Manual 02 February 2012 Index ...


