


Advanced Operations
Make Sub-clips from the Current Clip
390
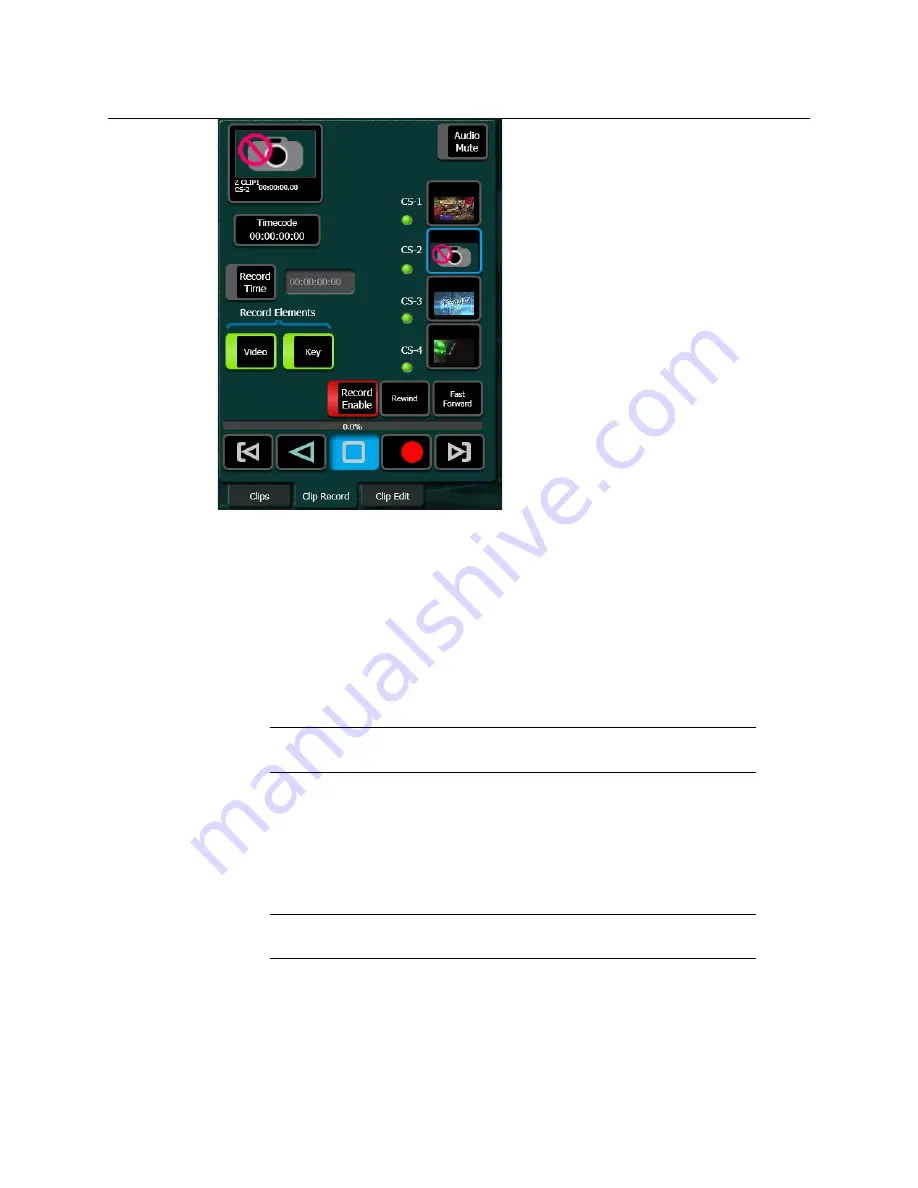
When the
Record Enable
button is selected, ClipStore ejects the clip from the selected
channel, places the ClipStore channels in E/E mode, and displays a pop-up keyboard. Type
in the name of the new clip. Once the name is typed,
Enter
is pressed, and the keyboard
closes, the
Record Enable
button is highlighted red and the menu has changed to display
recording controls and parameters in readiness for recording. The
Play
device control
button is replaced by a
Record
button.
Clips can be overwritten by entering an existing clip name into the pop-up keyboard or by
selecting the Cancel button in the pop-up keyboard and selecting a clip (or folder then clip)
in the Folders/Clips menu. Once either operation is completed, you are returned to the
Record mode menu and the Record button is present and highlighted in red.
Note:
Thumbnails do not display in the Current Thumbnail Viewer in
Record Enable mode except when overwriting an existing clip.
The
Video
and
Key Record Elements
buttons allow you to route the Aux Bus selections:
•
Video Only—Video + Full Raster White,
•
Key Only—Key + Key, and
•
Video/Key—Video + Key.
•
Set a Record Time using the Record Time button.
Note:
If an Aux Bus is not configured for the ClipStore output, the
Video
and
Key
buttons will always be on.
Set a Record Time
Video and Key Record elements are also very useful for editing when you want to build or
join clips (see
To set a record time:
1
Select the
Record Time
button, a pop-up keypad will appear.
Summary of Contents for GV KORONA
Page 16: ...Table of Contents xvi ...
Page 38: ...40 ...
Page 122: ......
Page 406: ...Kayenne Karrera GV Korona User Manual 409 ...