CHAPTER 3
26
Setting up the GERBER SOLARA UV2
To connect the GERBER SOLARA UV2 to computer on a network using DHCP
1
If not already connected, connect the computer to your network hub or Ethernet
switch using a straight though RJ45 cable.
2
Connect the GERBER SOLARA UV2 to your network hub or Ethernet switch using the
supplied straight-through RJ45 cable. Install one end into the RJ45 jack on the back of
the GERBER SOLARA UV2 and the other end in the hub or switch.
3
Power on the GERBER SOLARA UV2. The DHCP server will automatically search for
and assign the proper TCP/IP Settings to the printer.
4
You may view the network settings including the IP Address of the printer from the
Network Info menu. See “Viewing the current network settings” on page 32.
Resetting the IP Source to Automatic (DHCP)
The GERBER SOLARA UV2 ships from the factory with DHCP as the default network setting.
In the event that it has been changed to Fixed and needs to be reset, you can change it in the
NETWORK CONFIGURE menu.
To reset the GERBER SOLARA UV2 to Automatic (DHCP)
1
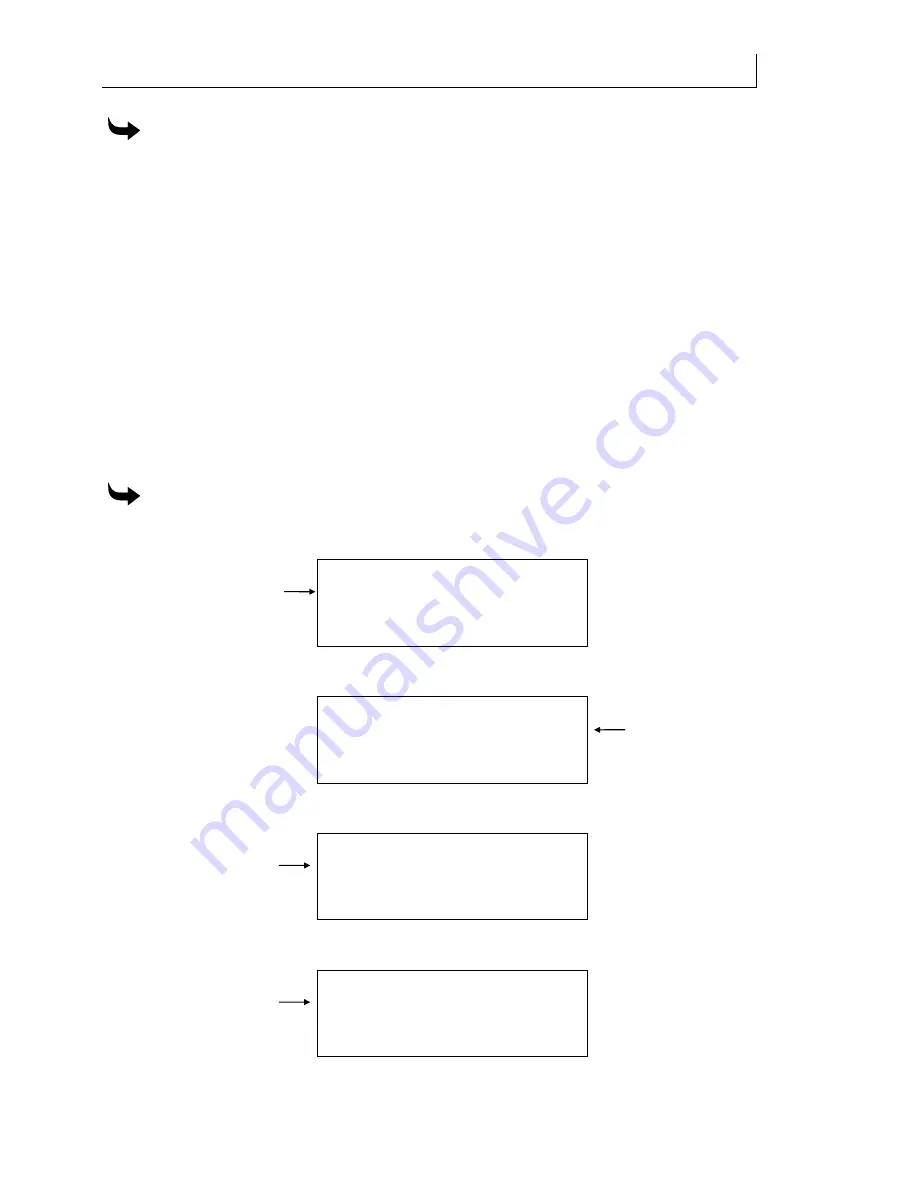
From the MAIN MENU press F3 to open the SETUP MENU.
SETUP MENU
F1 Network
Calibrate
Diag
Vacuum
ENTER for Main Menu
2
Press F1, Network to open the NETWORK INFO menu.
NETWORK INFO
IP
Address
Configure F3
MAC
Address
SOLARA UV2-A1
3
Press F3, Configure to open the NETWORK CONFIGURE menu.
NETWORK CONFIGURE
F1 IP
Settings
Name
SOLARA UV2-A1
4
Press F1, IP Settings to open the IP Source menu.
IP Source:
F1 Fixed
Gateway
IP
Address
Subnet
ENTER = Save Changes
Summary of Contents for SOLARA UV2
Page 1: ...GERBER SOLARA UV2 Ink Jet Printer Owner s Guide ...
Page 2: ......
Page 10: ......
Page 24: ......
Page 38: ...CHAPTER 3 38 Setting up the GERBER SOLARA UV2 ...
Page 74: ......
Page 96: ...CHAPTER 5 96 Printing Jobs on the GERBER SOLARA UV2 ...
Page 134: ......
Page 159: ......
Page 163: ...P79665A Rev D 83 Gerber Road South Windsor CT 06074 9864 USA www gspinc com ...


