3-66
L60 LINE PHASE COMPARISON SYSTEM – INSTRUCTION MANUAL
CONNECT TO THE L60
CHAPTER 3: INSTALLATION
3
When unable to connect, ensure that the same IP address is not assigned to multiple L60 ports, for example under
Settings > Product Setup > Communications > Network
.
3.8.1 Connect to the L60 in EnerVista
For information on using the EnerVista software, see the Interfaces chapter.
To access the relay in EnerVista:
1.
Open the
Settings > Product Setup > Display Properties
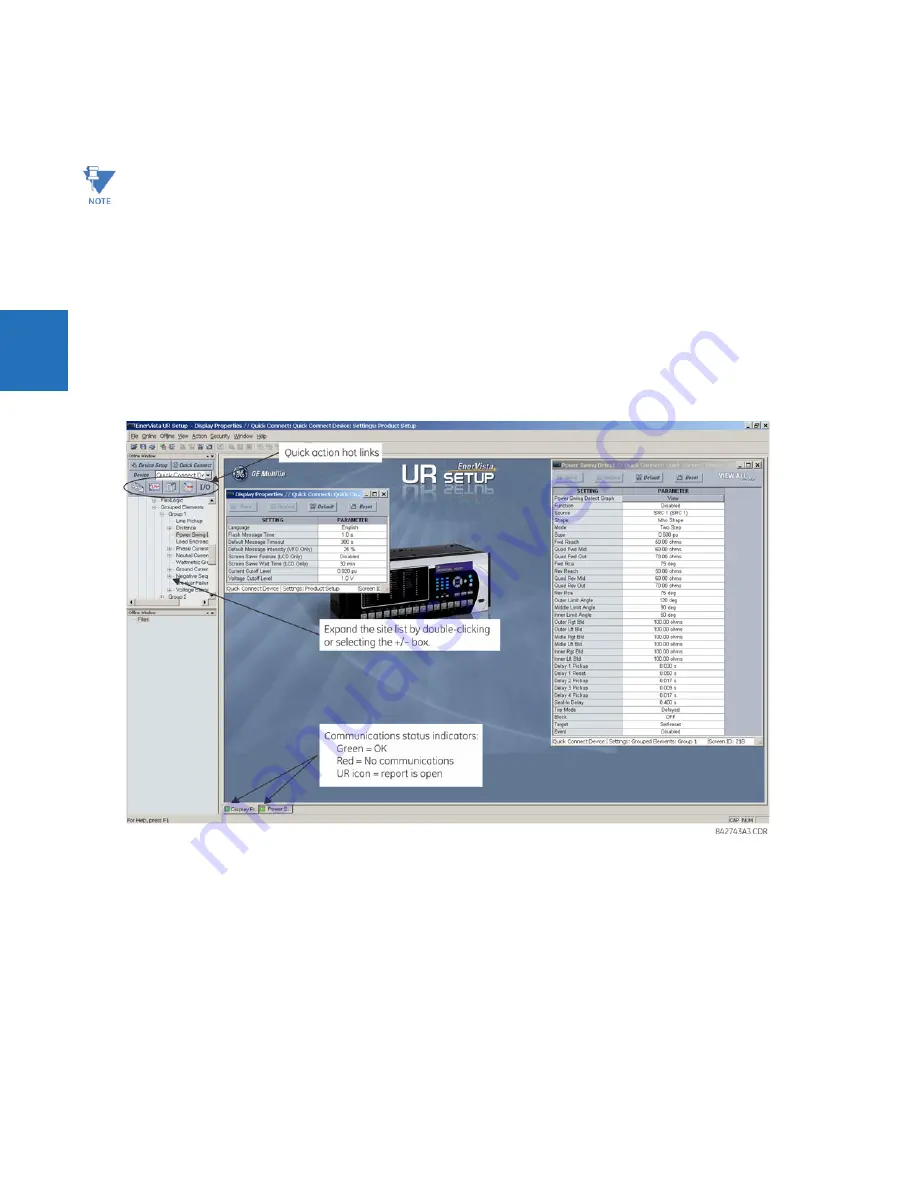
window as shown. The window opens with a status indicator
on the lower left of the EnerVista UR Setup window.
Figure 3-69: EnerVista window
2.
If the status indicator is red, verify that the Ethernet network cable is properly connected to the Ethernet port on the
back of the relay and that the relay has been properly set up for communication.
3.
If a relay icon appears in place of the status indicator, then a report (such as an oscillography or event record) is open.
Close the report to re-display the green status indicator.
4.
The Display Properties settings can now be viewed, edited, or printed.
3.8.1.1 Quick action hot links
The EnerVista UR Setup software has several quick action buttons to provide instant access to several functions that are
performed often when using URs. From the online window, users can select the relay to interrogate from a pull-down
window, then click the button for the action to perform. The following quick action functions are available:
•
View the event record
When multiple computers are connected to a L60 device, EnerVista settings windows are not updated
automatically. They are refreshed when re-opened. If a user changes a setting on one computer, the other users
need to refresh the display by closing and opening the settings window to see the change. To ensure that current
settings are always viewed, close settings windows when not in use so that they are up-to-date when next
accessed.


