


8.
Press the [Scan/Stop] button on the ScanSnap to finish scanning.
a
The scanned image is saved.
ATTENTION
l
The scanned image is output at the center of the page in the size specified for [Paper size] in the
[Carrier Sheet Settings] window.
l
If [Automatic detection] is specified for [Paper size] in the [Carrier Sheet Settings] window, an
optimal size will be selected automatically from the available standard sizes in [Paper size]. Note
that the size of the image may become smaller than the original document depending on the
document scanned, or part of the image may appear missing.
Example: When the contents are printed to fit in A5 size in the center of an A4 size document,
the scanned image is output in A5 size.
To output the scanned image in its original size, specify the document size in [Paper size].
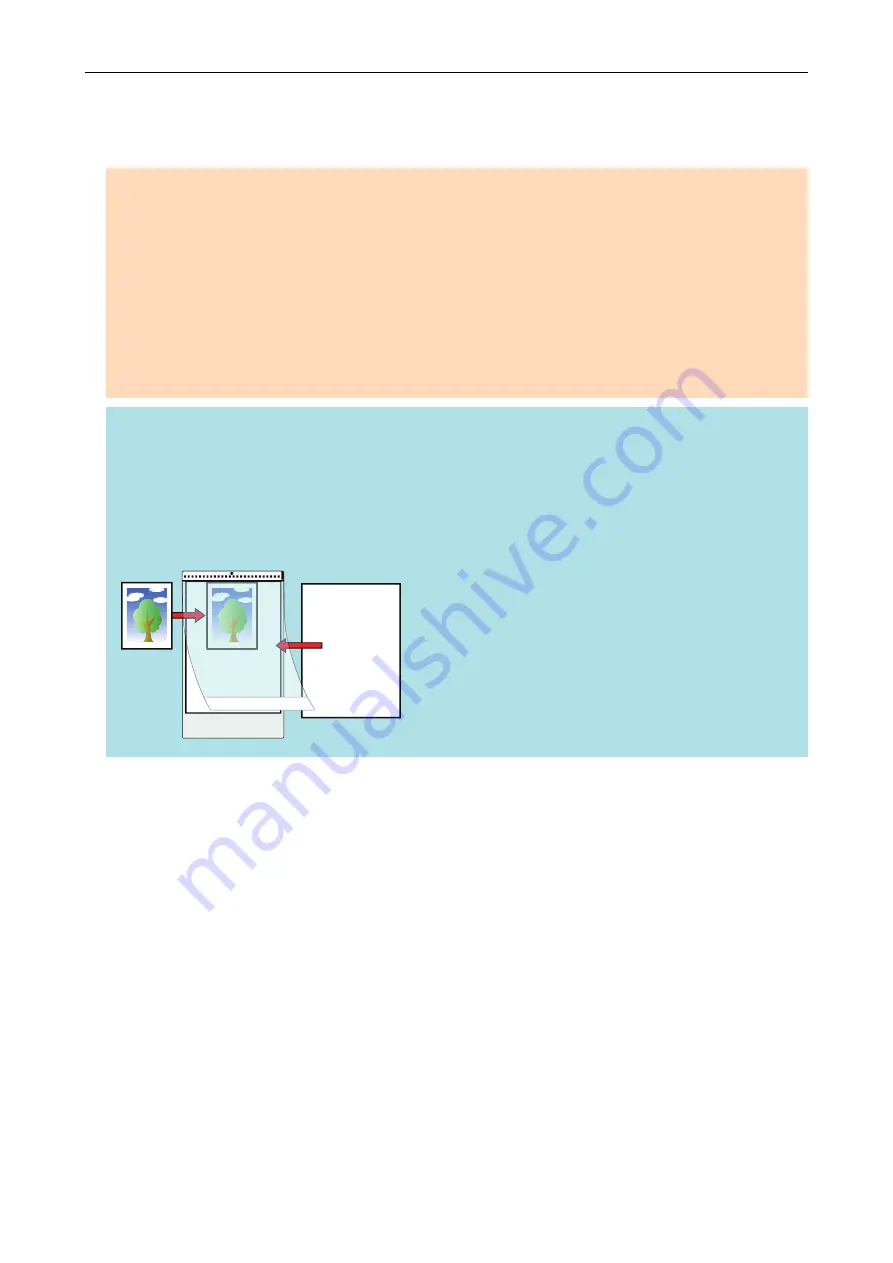
HINT
In the following cases, place a blank (white) sheet of paper underneath the document when scanning:
l
The scanned image is not saved in the correct size (when [Automatic detection] is selected for
[Paper size] in the [Carrier Sheet Settings] window)
l
Shadows appear around the edges of the scanned image
l
Black lines appear around the edges of a uniquely shaped cutting
Scanning Documents with S1100i
344
Summary of Contents for ScanSnap iX100
Page 1: ...P3PC 6912 02ENZ2 Basic Operation Guide Windows ...
Page 67: ...What You Can Do with the ScanSnap 67 ...
Page 88: ...Example When SV600 and iX1600 are connected to a computer Right Click Menu 88 ...
Page 90: ...ScanSnap Setup Window 90 ...
Page 114: ...Example iX1600 Attaching the Receipt Guide iX1600 iX1500 iX1400 114 ...
Page 256: ...For details refer to the Advanced Operation Guide Scanning Documents with iX100 256 ...
Page 331: ...For details refer to the Advanced Operation Guide Scanning Documents with S1100i 331 ...


