


8.
Turn over the Carrier Sheet and insert it as described in step 6.
ATTENTION
Make sure to scan the front and back side of the Carrier Sheet consecutively.
a
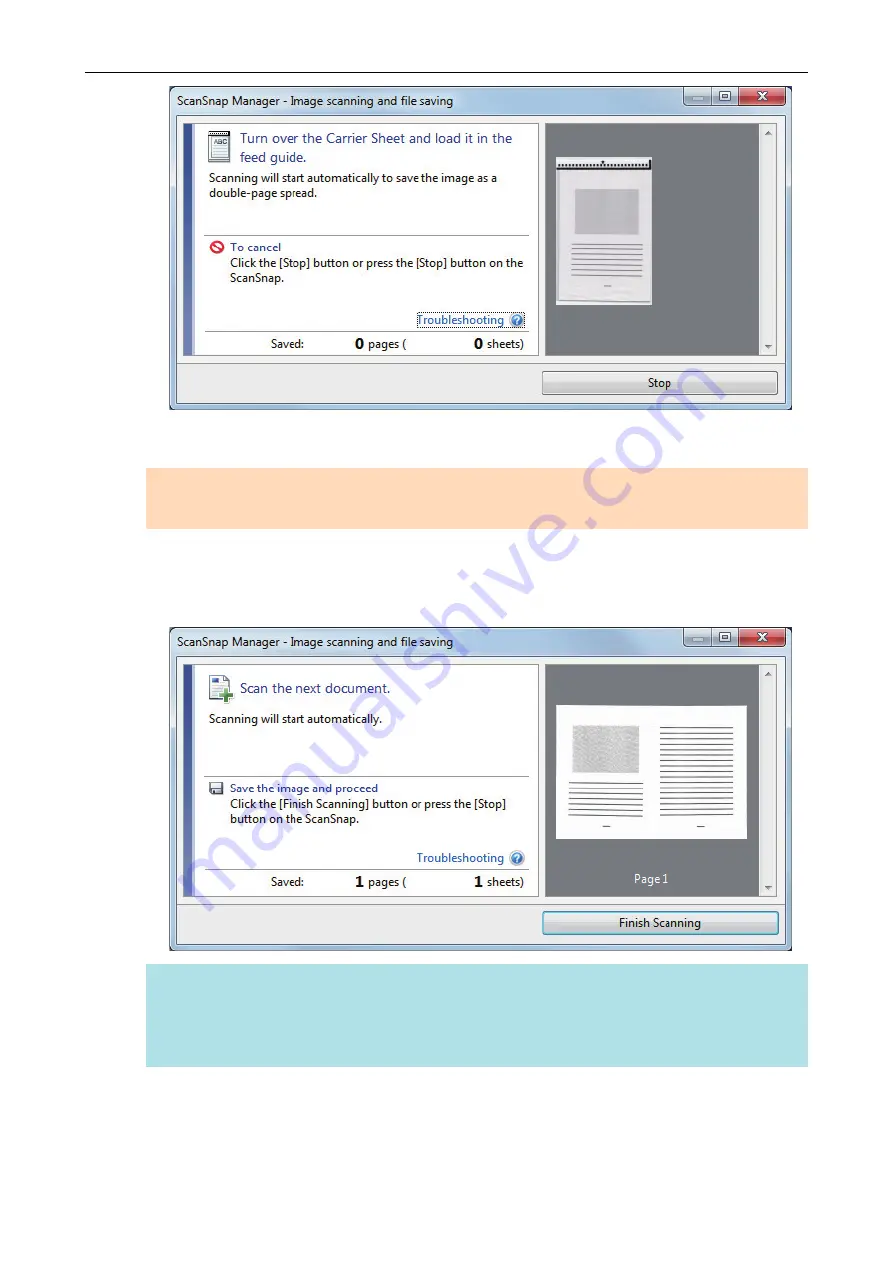
Scanning starts automatically and the [ScanSnap Manager - Image scanning and file
saving] window appears. When scanning is completed, scanned images of the front and
back side of the document inside the Carrier Sheet are displayed as a double-page spread
image in the preview area.
HINT
Repeat steps 5 to 8 to scan more documents larger than A4/Letter size. You can continue to
scan documents that can be inserted directly in the ScanSnap.
For details about how to perform a scan, refer to
"Scanning Documents (iX100)" (page 245)
9.
Press the [Scan/Stop] button on the ScanSnap to finish scanning.
a
The scanned images of the front and back sides of the document are saved as a double-
page spread image.
Scanning Documents with iX100
264
Summary of Contents for ScanSnap iX100
Page 1: ...P3PC 6912 02ENZ2 Basic Operation Guide Windows ...
Page 67: ...What You Can Do with the ScanSnap 67 ...
Page 88: ...Example When SV600 and iX1600 are connected to a computer Right Click Menu 88 ...
Page 90: ...ScanSnap Setup Window 90 ...
Page 114: ...Example iX1600 Attaching the Receipt Guide iX1600 iX1500 iX1400 114 ...
Page 256: ...For details refer to the Advanced Operation Guide Scanning Documents with iX100 256 ...
Page 331: ...For details refer to the Advanced Operation Guide Scanning Documents with S1100i 331 ...


