Doc Q7.0
185
Selecting Scenes
16.15.1
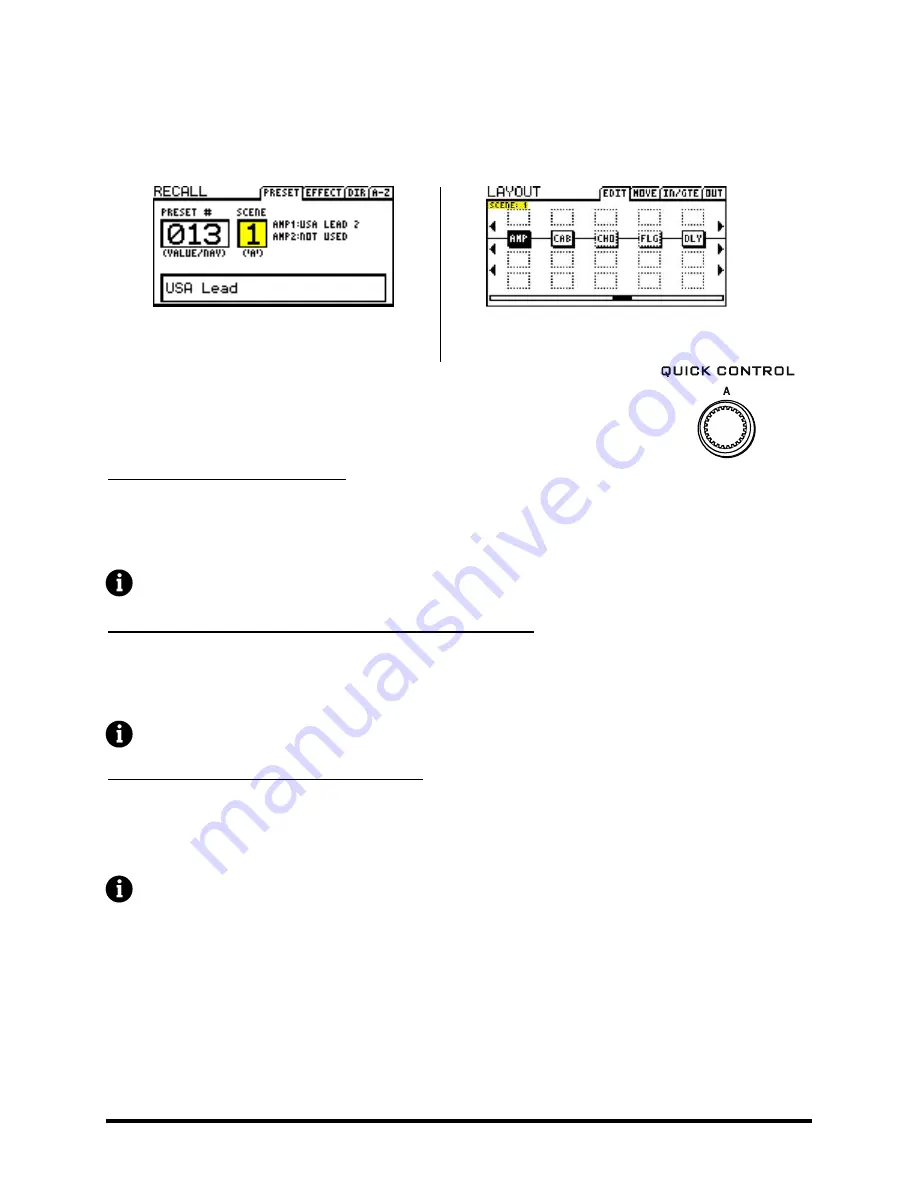
The current scene is shown on RECALL:PRESET screen, and on all pages of the LAYOUT menu.
Figure 16-5 - "Scene 1" shown on the RECALL:PRESET screen
Figure 16-6 "Scene 1" shown on the LAYOUT:EDIT (grid) screen.
To select a scene, turn the “A” QUICK CONTROL knob on the front panel of the Axe-Fx.
Scenes can also be selected via MIDI. See SCENES AND MIDI on p. 186.
SETTING UP SCENES
16.15.2
To Set Up Scene Bypass States…
Press LAYOUT to display the EDIT (grid) page.
Select the desired scene by turning the “A” QUICK CONTROL knob.
Use the NAV and FX BYP buttons to set up the scene as desired.
Note: All blocks in a preset will be engaged by default in scenes 2–8.
To set the X/Y STATES for a given block in a given scene…
Select the scene as described above.
Navigate to the desired block and enter its EDIT menu.
Press X or Y to set the desired state.
Note: X/Y is supported for Amp, Cab, Chorus, Delay, Drive, Flanger, Pitch, Phaser, Reverb & Wah.
To set the MAIN output level for a scene…
Press LAYOUT.
Page to the OUT screen.
Set the level using the MAIN output level fader.
Note: MAIN output level controls everything you hear, including the level of effect “tails.”
If you’re using Axe-Edit, you may enjoy the ability to copy and paste scenes, found by right- or control-clicking the
SCENE switches.
SAVING SCENES
16.15.3
To save scene changes, simply save the preset. When using the “A” QUICK CONTROL knob to select scenes, you can
make changes across multiple scenes before saving. If you’re using MIDI to select scenes, you may need to save
changes to the current scene before selecting a new one, depending on the setting of SCENE REVERT.


