


162
Camera
S
til
l Im
a
g
e
S
h
o
o
t
4
Press .
Continuous shooting starts.
If you select “Manual” in step 3, press
the number of times of shooting frames.
p
To cancel shooting, press
. If you select “Auto” in step 3, you can cancel also by pressing
(
).
p
The image appears horizontally reversed (mirrored) when you take a shot with the inside camera; however the image is correctly
displayed after it is saved.
p
When “Auto save set” is set to “ON”, the images are automatically saved. Go to step 7.
5
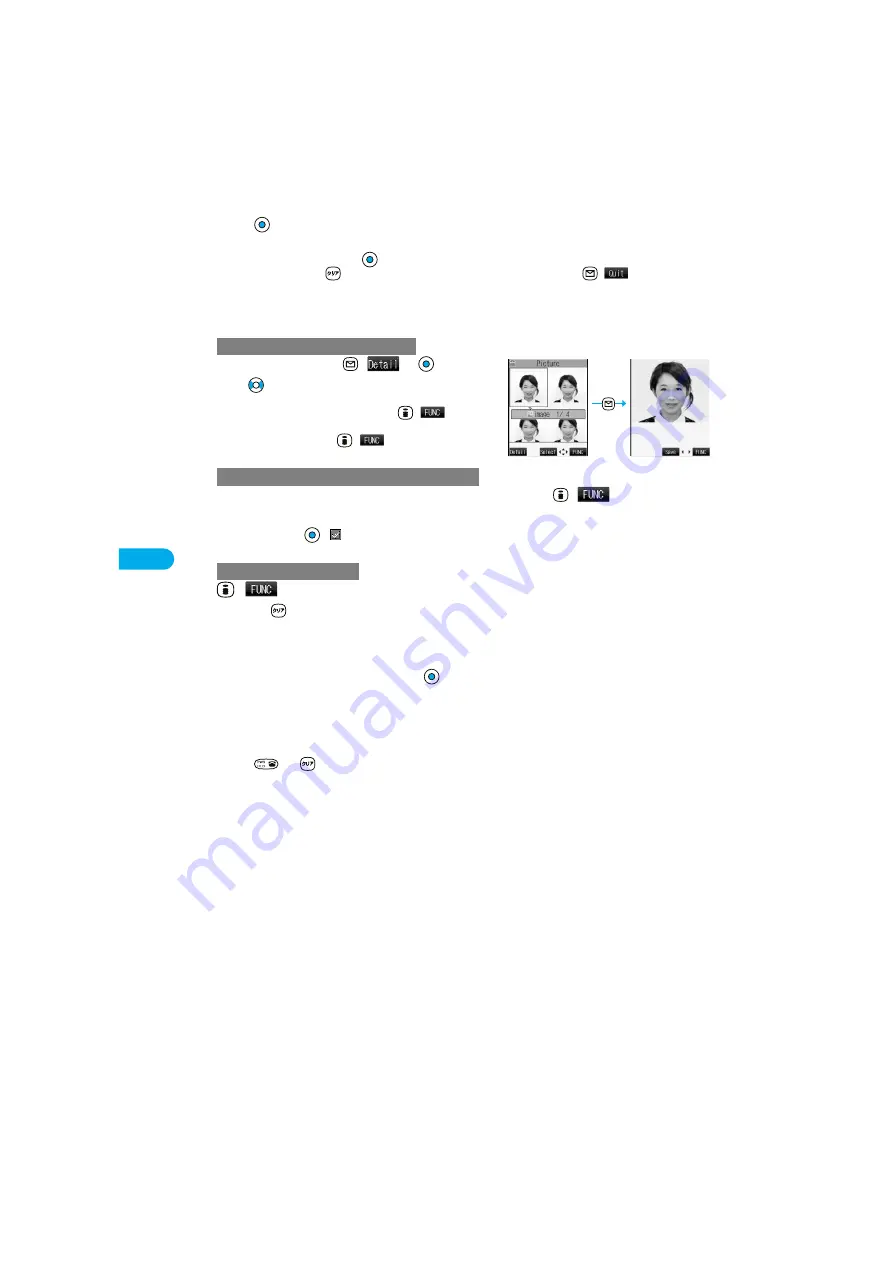
Select a still image
(
)
p
Press
from the detailed display to bring up the previous or following
still image.
p
You can save the still image also by pressing
(
) and
selecting “Save”. To save the still image as an mirrored image
(horizontally reversed), press
(
) and select “Mirror save”.
Put a check mark for the still images you want to store
(
)
Store selection
Save or Mirror save
p
Each time you press
, “
” is displayed.
(
)
Store all
Save or Mirror save
p
If you press
from the Post View display, the confirmation display appears asking whether to cancel the shot still image.
Select “YES” to return to the Finder display.
p
If you switch to Viewer style when unsaved still images are found, the confirmation display appears asking whether to save the
unsaved still images. Select “YES” to save the still images. (See step 3 on page 163)
6
YES
Select a destination folder
p
When “Store in” is set to “miniSD”, the still image is saved to the folder selected by “Select storage”.
p
When all still images have been saved, the Finder display returns. When unsaved still images are found, the confirmation display
appears asking whether to save the unsaved still images. When you select “YES” to select a destination folder, all still image files
are saved. Select “NO” to return to the Finder display.
7
Press
or
to end the camera.
p
See page 330 for how to display saved still images.
To select a still image and save it
To select multiple still images and save them
To save all still images
<Post View display>
<Detailed display>
*
You need to obtain a miniSD memory card separately to use the functions related to the miniSD memory card. (See page 354)
Summary of Contents for P901ITV
Page 85: ...78 ...
Page 145: ...138 ...
Page 235: ...228 ...
Page 305: ...298 ...
Page 317: ...310 ...
Page 321: ...314 ...
Page 443: ...436 ...


