Chapter 2 Setup
79
2
Loading/Replacing the Paper
Follow
t
he s
t
eps below
t
o load
t
he paper for
t
he f
i
rs
t
ti
me, cha
ng
e class
i
f
i
ca
ti
o
n
or
t
ype of
t
he
paper (roll paper or fa
n
fold paper) or replace
t
he paper.
Load
ing
t
he paper
i
s d
i
ffere
nt
depe
n
d
ing
of
t
he
t
ype of
t
he paper
t
o
u
se roll paper or fa
n
fold
paper.
• For roll paper/ wr
i
s
t
ba
n
d, see
Load
ing
/Replac
ing
t
he Roll Paper o
n
pa
g
e 79
.
• For fa
n
fold paper, see
Load
ing
/Replac
ing
Fa
n
fold Paper o
n
pa
g
e 89
.
Loading/Replacing the Roll Paper
Follow
t
he s
t
eps below
t
o load
t
he roll paper/ wr
i
s
t
ba
n
d.
• Load
ing
t
he paper for
t
he f
i
rs
t
ti
me: 2
t
o 5
• Us
ing
u
p
t
he paper comple
t
ely (loads same
t
ype of paper): 1, 5
• Cha
nging
paper
t
ype or class
i
f
i
ca
ti
o
n
: 1
t
o 5
•
Use paper that meets the printer specification. For details about paper specification, see
Printing Specifications on page 30
.
•
When exchanging paper without changing paper type, media position detection, or
paper width, see
Replacing the Paper on page 151
.
Before loading or replacing the roll paper, make sure that the DIP switch 3 (paper selection)
setting is OFF (roll paper). See
Setting the DIP Switches on page 77
for DIP switches
settings.
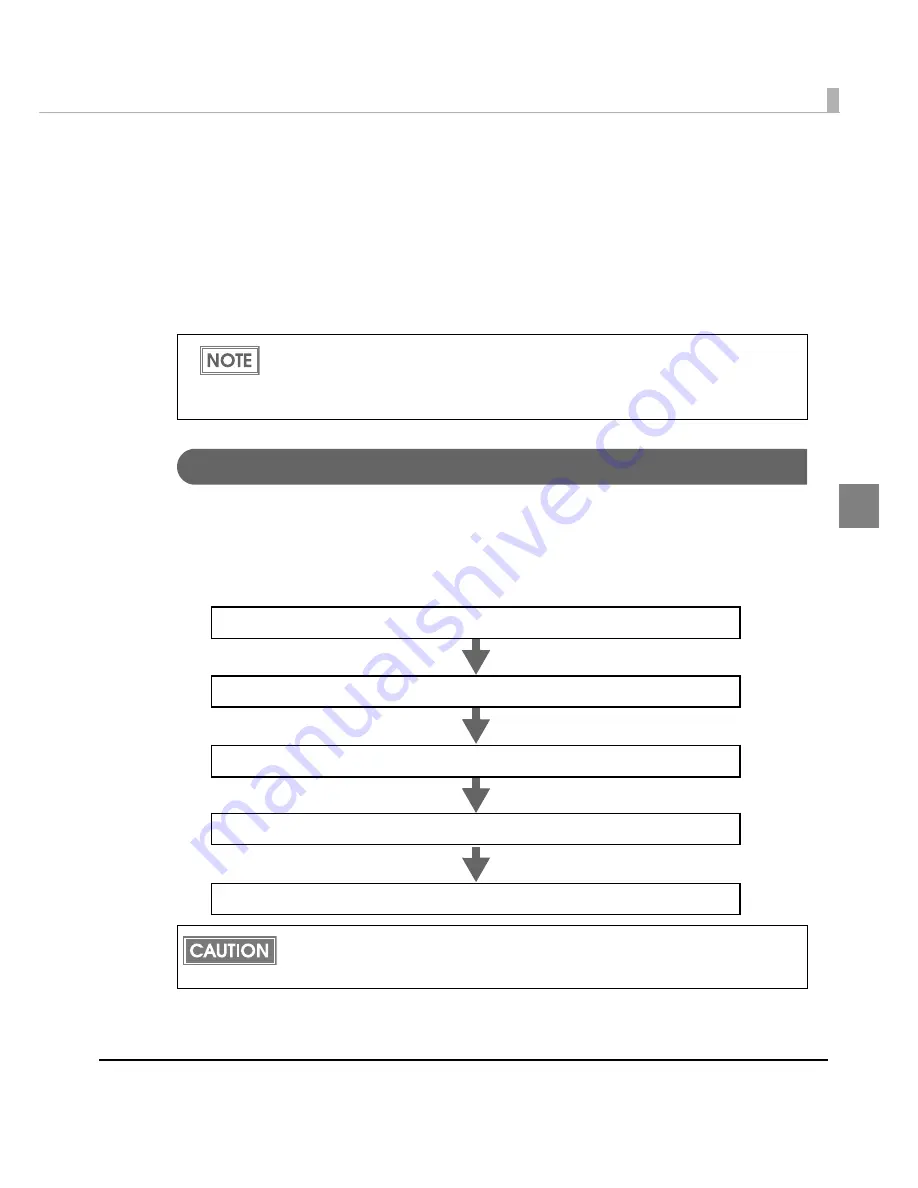
3. Removing the paper feed guide (page 83)
4. Adjusting roll paper guide/paper ejection guide (page 84)
5. Loading the paper and turning on the printer (page 87)
2. Setting for media position detection (page 82)
1. Removing the paper (page 80)
Summary of Contents for SecurColor TM-C3400
Page 86: ...86 7 Lock the paper ejection guide 8 Close the roll paper cover ...
Page 91: ...Chapter 2 Setup 91 2 For fanfold paper 1 Open the fanfold paper cover 2 Remove the paper left ...
Page 98: ...98 4 Close the fanfold paper cover This is the end of loading of the fanfold paper ...
Page 100: ...100 3 Slide the bottom tray to align it with the paper length 4 Lock the paper ejection tray ...
Page 130: ...130 ...


