Chapter 2 Setup
65
2
Connecting the Power Supply Unit (PS-180)
Use
t
he PS-180 or a
n
eq
ui
vale
nt
prod
u
c
t
as
t
he power s
u
pply
unit
.
Use
t
he AC cable
t
ha
t
mee
t
s safe
t
y s
t
a
n
dards of each co
unt
ry.
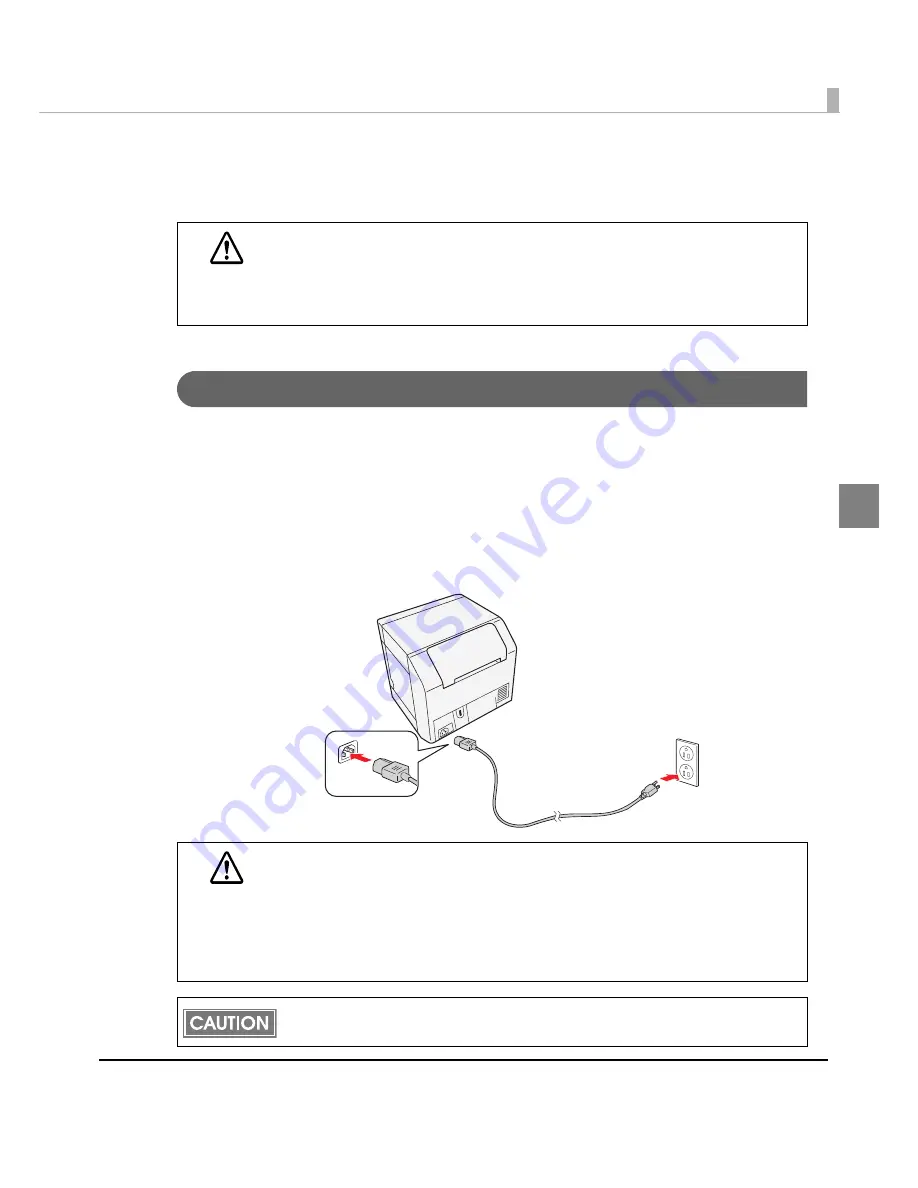
Connecting the AC Cable
1
Make sure the printer is off.
2
Make sure the connector of the DC cable is connected to the power
supply connector.
3
Insert the connector of the AC cable into the inlet of the AC adapter.
4
Insert the power plug of the AC cable into the wall socket.
WARNING
•
Always use the EPSON PS-180 or an equivalent product as the power supply unit.
Using a nonstandard power supply can result in electric shock or fire.
•
Should a fault ever occur in the EPSON PS-180 or equivalent product, immedi-
ately turn off the power to the printer and remove the power supply cable from the
wall socket.
CAUTION
•
Be sure to remove the AC cable from the wall socket whenever connecting or dis-
connecting the AC cable to the printer.
Failure to do so may result in damage to the AC adapter or the printer.
•
Make sure the wall socket power supply satisfies the rated voltage requirements
of the AC adapter. Never insert the AC cable into a socket that does not meet the
rated voltage requirements of the AC adapter.
Doing so may result in damage to both the AC adapter and the printer.
Before removing the DC cable connector from the PS-180, make sure the AC cable has
been removed. Hold the arrow-marked section of the connector and pull it straight out.
Summary of Contents for SecurColor TM-C3400
Page 86: ...86 7 Lock the paper ejection guide 8 Close the roll paper cover ...
Page 91: ...Chapter 2 Setup 91 2 For fanfold paper 1 Open the fanfold paper cover 2 Remove the paper left ...
Page 98: ...98 4 Close the fanfold paper cover This is the end of loading of the fanfold paper ...
Page 100: ...100 3 Slide the bottom tray to align it with the paper length 4 Lock the paper ejection tray ...
Page 130: ...130 ...


