39/76
MP120
2.15.2 TABLE PROGRAMMING
To program a table, proceed as follows:
1. type in the Installer code (factory setting: 000000), then press
ENTER
twice.
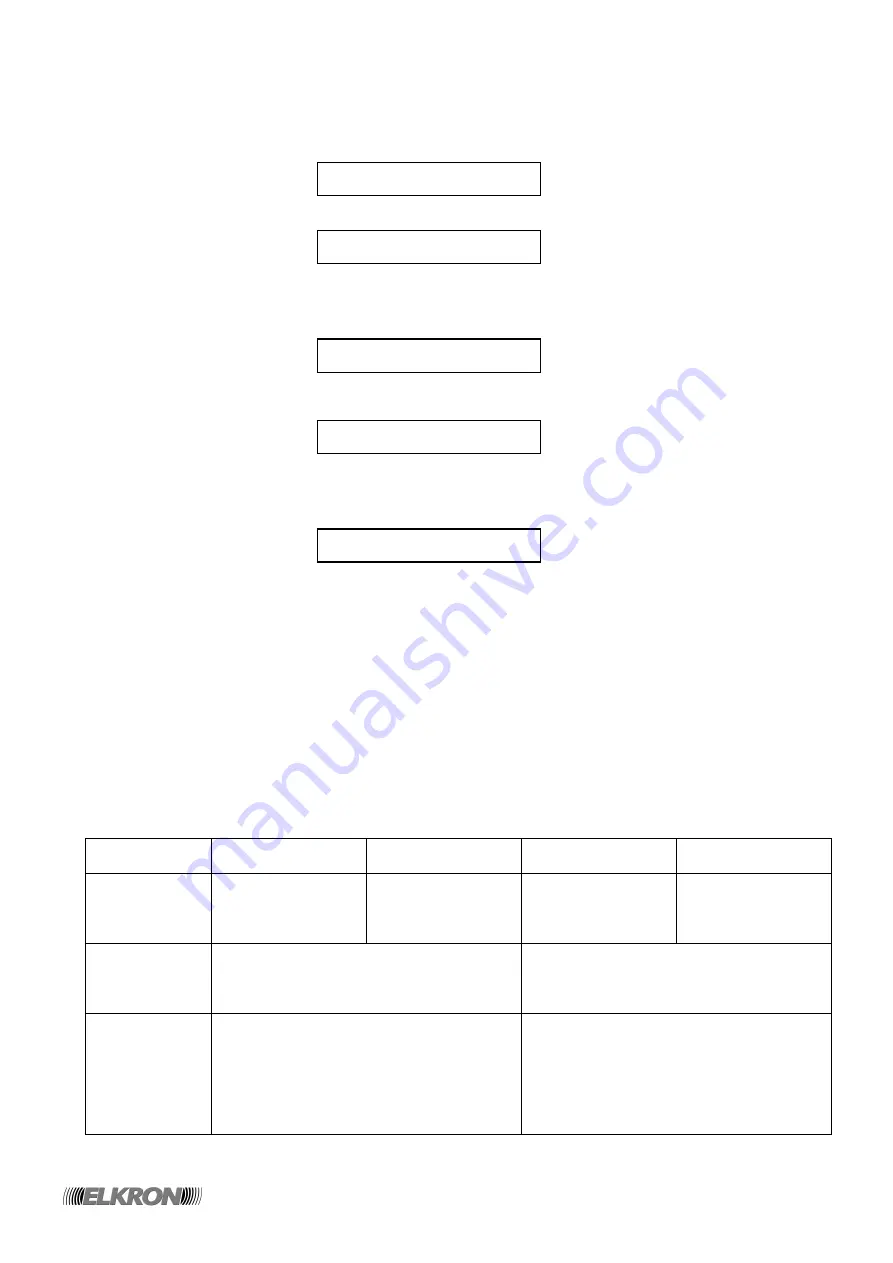
2. The following message will appear on the display:
Press ► until the message below appears:
Then press
ENTER
to confirm.
3. The following message will appear on the display:
Press ▼ until the message below appears:
where “n” indicates the number of the table you wish to program. Then press
ENTER
to confirm.
4. The following message will appear on the display:
where “n” indicates the number of the table, C1 indicates the first command, and “xxxxxx” is the description of
the command.
5. Press ▼ to select another command (C2, C3 etc.), if necessary, then press
ENTER
to confirm your choice.
Letter “C” will blink.
6. To modify the stored command, press
ENTER
again: the first letter of the command description will blink.
7. Use button ▼ to select the desired command (Not active = disabled; Actuation = antitheft system actuation;
Deactivation = antitheft system deactivation; Output Act. = output actuation; Output Deact. = output
deactivation), then confirm your choice by pressing
ENTER
.
8. Letter “C” will blink again. If you have chosen the “Not active” command, go to step 11.
9. Press ▼. The table below shows the items that will appear on the display and the actions you shall take.
Selected
command
Act.
Deact.
Output act.
Output deact.
The following
message will
appear on the
display
a:_ _ _ _ _ _ _ _
d:_ _ _ _ _ _ _ _
a:Output nn
d:Output nn
Meaning
Each dash indicates a sector: if a digit
appears instead, the sector with that number
will be affected by the command.
“nn” is the number for the output affected by
the command. If “No Output” appears, an
output has not been chosen yet (or outputs
have not yet been programmed as P.O.)
Action to be
taken
Press
ENTER
: letter “a” or “d” will blink. Type
in, through the keyboard, the numbers for
the sectors that are to be affected by the
command. If you type in the digit for an
existing sector, the latter will be erased and
a dash will appear instead. Confirm your
choice by pressing
ENTER
.
Press
ENTER
: letter “a” or “d” will blink. Use
button ▼ to select the P.O. output that is to
be affected by the command. Confirm your
choice by pressing
ENTER
.
WARNING! If no output has been
programmed as P.O. no selection can be
made.
10. Press ▼. The following message will appear on the display:
T n C 1 x x x x x x
T a b T y p e n
D a y T y p e P r o g .
D a i l y P l a n n e r
E v e n t M e m o r y


