


Back to Contents Page
System Board
Dell™ Inspiron™ XPS Service Manual
Removing the System Board
Replacing the System Board
Removing the System Board
The system board's BIOS chip contains the Service Tag, which is also visible on a barcode label on the bottom of the computer. The replacement kit for the
system board includes a CD that provides a utility for transferring the Service Tag to the replacement system board.
1.
Follow the instructions in "
Before Working Inside Your Computer
."
2.
Remove the
hard drive
.
3.
Remove the
optical drive
.
4.
Remove the
memory module(s)
.
5.
Remove the
Mini PCI card
.
6.
Remove the
modem
.
7.
Remove the
center control cover
.
8.
Remove the
keyboard
.
9.
Remove the
display assembly
.
10.
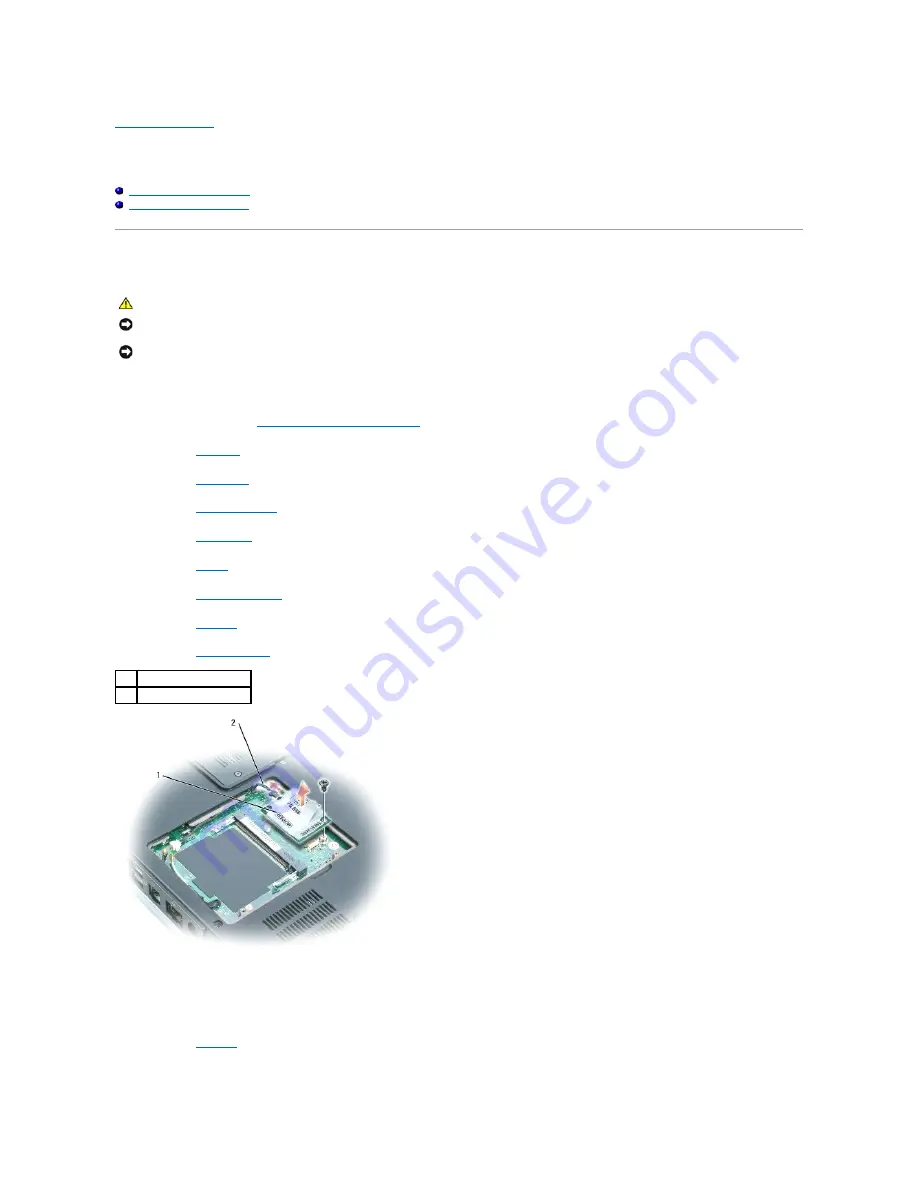
Turn the computer over and disconnect the modem cable from the system board connector.
11.
Disconnect the modem cable from the modem.
12.
Remove the
palm rest
.
13.
Remove the M2 x 3-mm screw that holds the stiffener bracket next to the hard drive cage and remove the stiffener bracket.
CAUTION:
Before you begin the following procedure, see the safety instructions in the
Product Information Guide
.
NOTICE:
To avoid electrostatic discharge, ground yourself by using a wrist grounding strap or by periodically touching an unpainted metal surface (such
as the back panel) on the computer.
NOTICE:
To avoid damaging the system board, you must remove the main battery before you begin working inside the computer.
1
modem
2
modem cable
Summary of Contents for Inspiron XPS
Page 11: ...Back to Contents Page ...
Page 25: ......
Page 33: ...Back to Contents Page ...
Page 52: ......
Page 57: ...3 Replace the cover Back to Contents Page 1 antenna cables 2 ...
Page 75: ...Back to Contents Page ...
Page 82: ...Back to Contents Page ...
Page 90: ......
Page 95: ...3 Replace the cover Back to Contents Page 1 antenna cables 2 ...
Page 110: ...Back to Contents Page ...
Page 113: ...Back to Contents Page ...
Page 120: ...Back to Contents Page ...