170
Adding and Replacing Parts
4
Replace the memory and Mini-Card cover, and tighten the two captive
screws (see "Installing the Memory and Mini-Card Cover" on page 168).
NOTICE:
If the cover is difficult to close, remove the module and reinstall it. Forcing
the cover to close may damage your Tablet-PC.
5
Insert the battery into the battery bay, or connect the AC adapter to your
Tablet-PC and an electrical outlet.
6
Turn on the Tablet-PC.
As the Tablet-PC boots, it detects the additional memory and automatically
updates the system configuration information.
To confirm the amount of memory installed in the Tablet-PC:
• In Windows Vista, click
Start
, and right-click
Computer
→
Properties
.
• In Windows XP, click
Start
, and right-click
My Computer
→
Properties
.
Mini-Card
Your Tablet-PC supports a wireless wide area network (WWAN) card and a
Wireless Local Area Network (WLAN) card; both Mini-Cards are installed
the same way, although they have different connectors on the system board. If
you ordered a Mini-Card with your Tablet-PC, the card is already installed.
CAUTION:
Before you begin any of the procedures in this section, follow the
safety instructions located in the
Product Information Guide
.
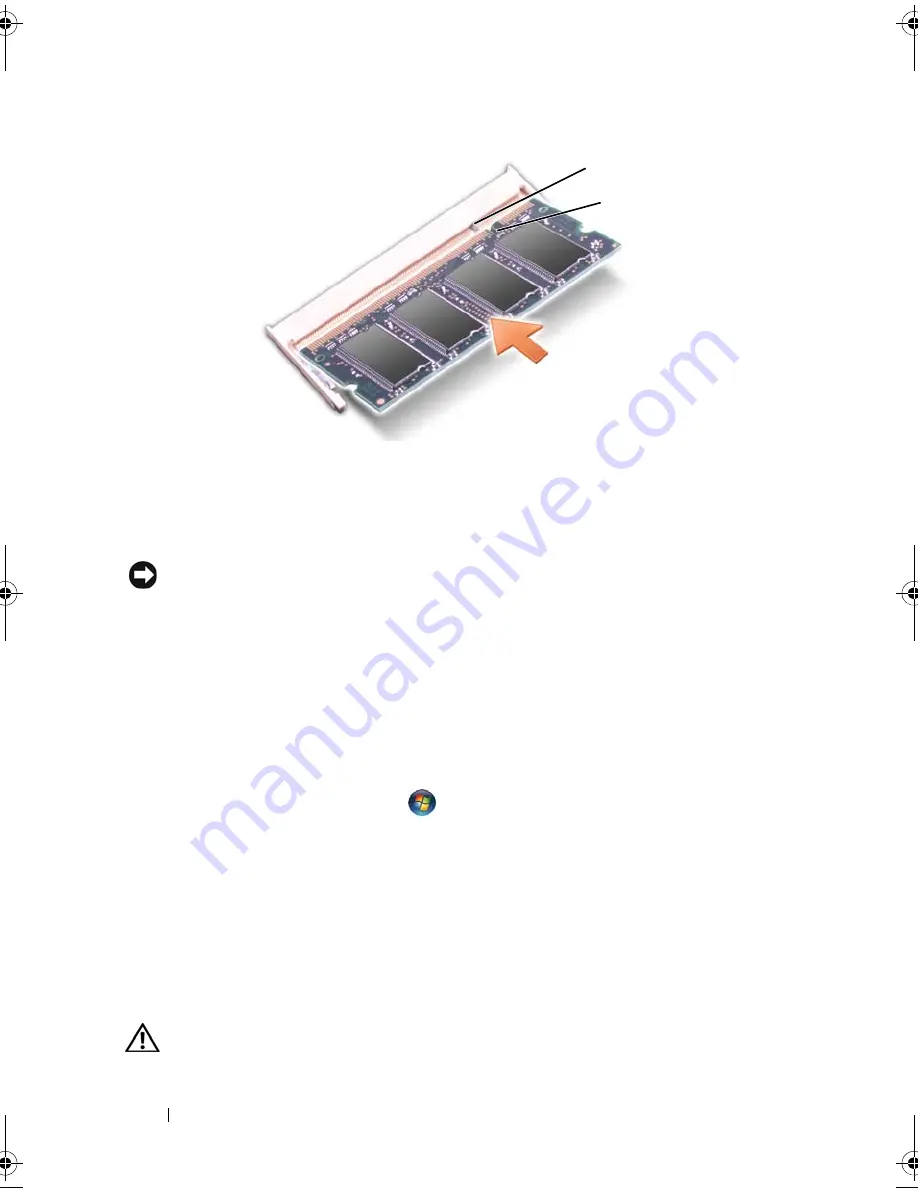
1
tab
2
notch
1
2
book.book Page 170 Tuesday, May 13, 2008 5:03 PM
Summary of Contents for blcwxfg - Latitude XT - Core 2 Solo 1.06 GHz
Page 1: ...w w w d e l l c o m s u p p o r t d e l l c o m Dell Latitude XT User s Guide Model PP12S ...
Page 50: ...50 About Your Tablet PC ...
Page 94: ...94 Setting Up and Using Your Tablet PC ...
Page 154: ...154 Reinstalling Software ...
Page 198: ...198 Adding and Replacing Parts ...
Page 216: ...Media Base Optional 216 ...
Page 224: ...224 Battery Slice Optional ...
Page 228: ...228 Traveling With Your Tablet PC ...
Page 248: ...248 Glossary ...


