BigIron RX Installation Guide
155
53-1001811-01
Replacing cooling system components
6
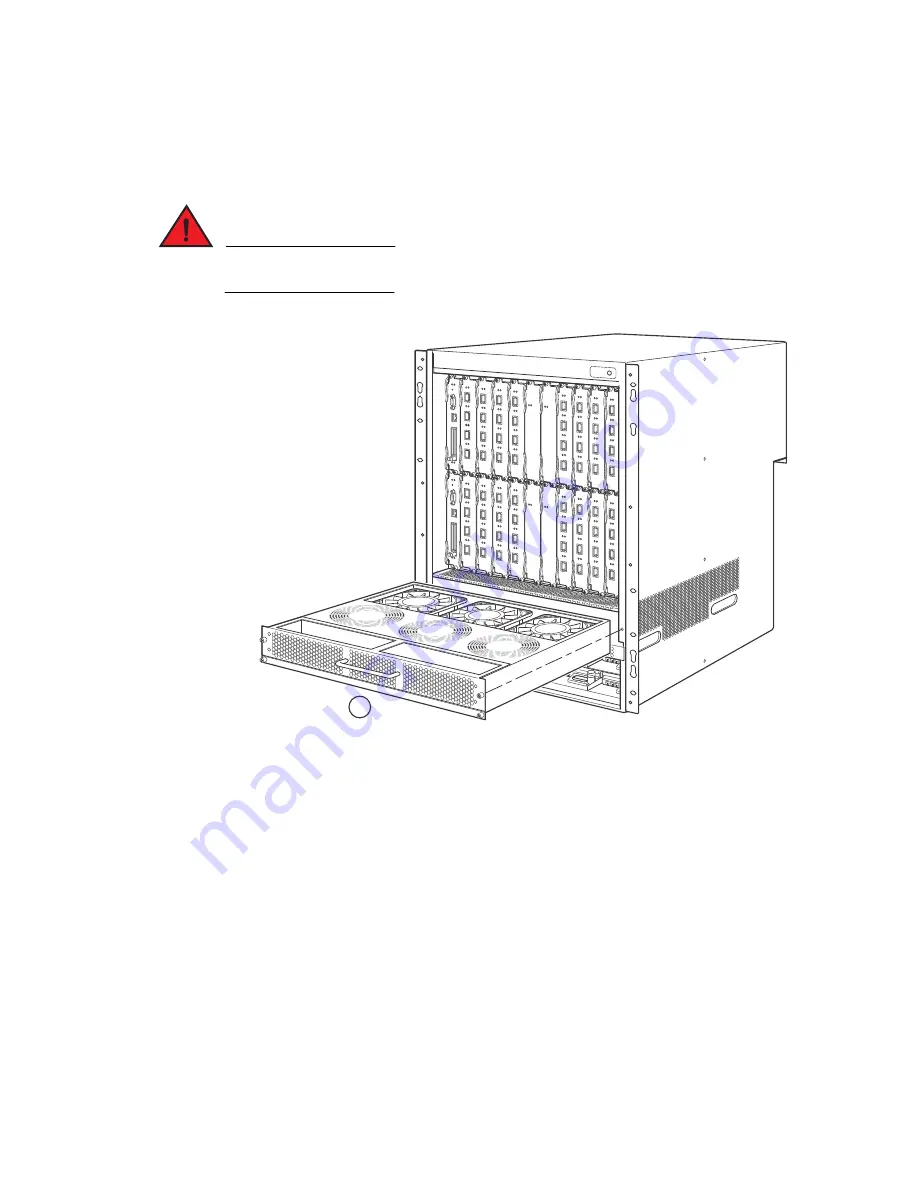
3. Remove the fan assembly from the chassis by grabbing the handle on the fan assembly and
pulling it toward you as shown in
Figure 79
. Pulling the enclosure unseats the fan assembly
connector from a chassis connector.
DANGER
Be careful not to insert your fingers into the fan while removing it from the chassis. The fan may
still be spinning at a high speed.
FIGURE 79
Removing a BigIron RX-16 front fan assembly
4. Insert the new fan assembly into the fan slot and push the enclosure in until the face plate is
flush with the chassis. Pushing the enclosure in seats the fan connector with the chassis
connector.
5. Secure the fan to the chassis by tightening the four captive screws.
6. Access the CLI, and enter the show chassis command to verify that the fans are operating
normally.
Replacing the fan assembly in the BigIron RX-4 and
BigIron RX-8
The BigIron RX-4 and BigIron RX-8 have a fan assembly accessible from the front of the chassis.
The fan assembly pulls air out of the chassis.
1
Fan assembly
1
Summary of Contents for BigIron RX-16
Page 12: ...xii BigIron RX Installation Guide 53 1001811 01 ...
Page 36: ...24 BigIron RX Installation Guide 53 1001811 01 Supported software features 1 ...
Page 100: ...88 BigIron RX Installation Guide 53 1001811 01 Verifying proper operation 2 ...
Page 110: ...98 BigIron RX Installation Guide 53 1001811 01 RJ 45 procedures 3 ...
Page 148: ...136 BigIron RX Installation Guide 53 1001811 01 Removing MAC address entries 5 ...
Page 240: ...228 BigIron RX Installation Guide 53 1001811 01 Internet drafts C ...


