Replacing the Fuser and Separator Roller
To avoid burns, do not replace the fuser immediately after printing, as the fuser gets very hot during this process.
CAUTION:
To prevent electric shock, always turn off the printer and disconnect the power cable from
the grounded outlet before cleaning the printer or performing maintenance.
CAUTION:
Before performing any of the following procedures, read and follow the safety instructions in
your
Owner's Manual
.
Dell fuser are available only through Dell. You can order more online at
http://www.dell.com/supplies
or by phone.
To order by phone, see your Owner's Manual.
Dell recommends Dell fuser for your printer. Dell does not provide warranty coverage for problems caused by using
accessories, parts, or components not supplied by Dell.
Removing the Used Fuser
NOTE:
Remove any print jobs from the center output tray, and close the multipurpose feeder cover before opening
the outer front cover.
1. Turn off the printer and wait for 30 minutes.
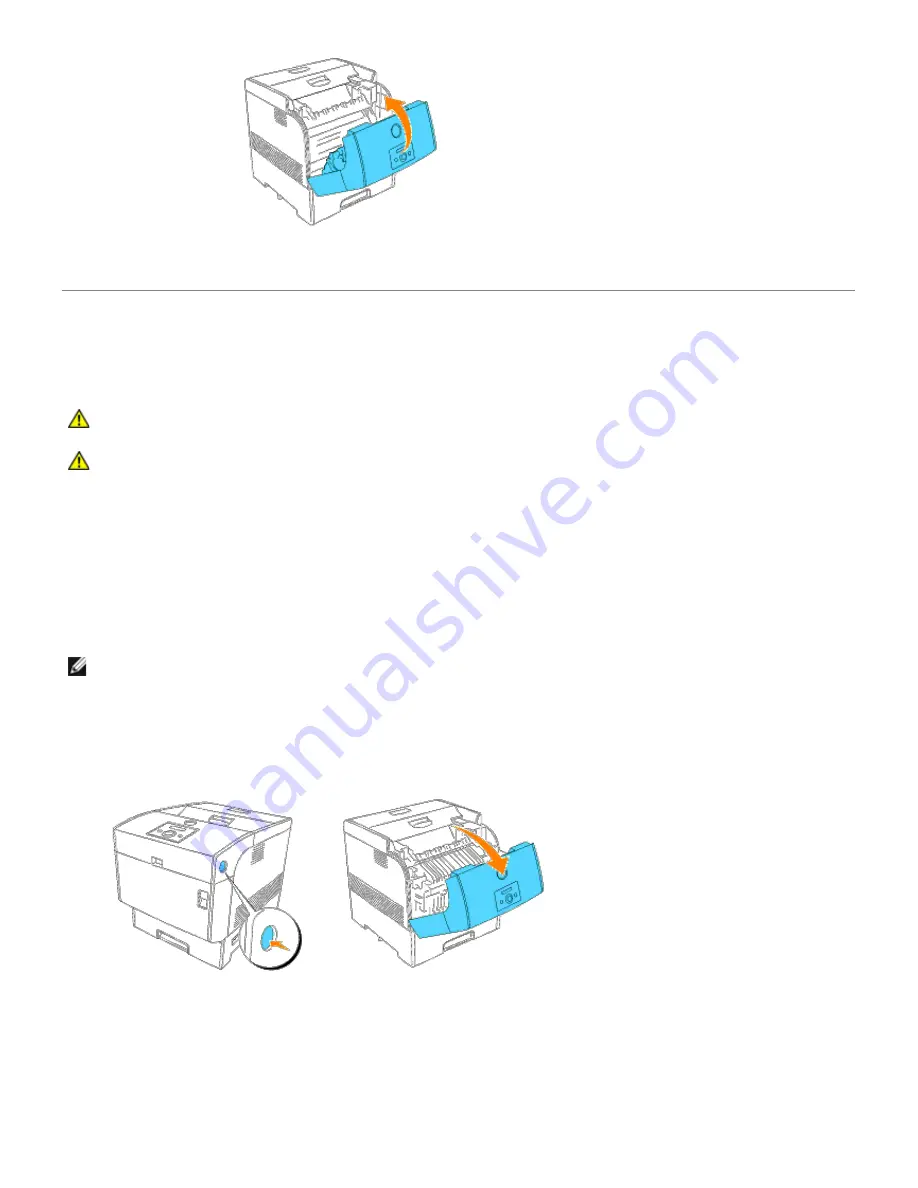
2. Push the side button and open the outer front cover.
3. Lift up the levers next to both ends of the fuser.
Summary of Contents for 5100cn
Page 37: ......
Page 41: ...7 Close the front cover ...
Page 73: ......
Page 89: ......
Page 155: ...5 Close the front cover 6 Insert the trays into the printer Push the trays in until they stop ...
Page 156: ......
Page 194: ......
Page 226: ...9 Reattach the paper tray cover to the back of the printer ...
Page 230: ......


