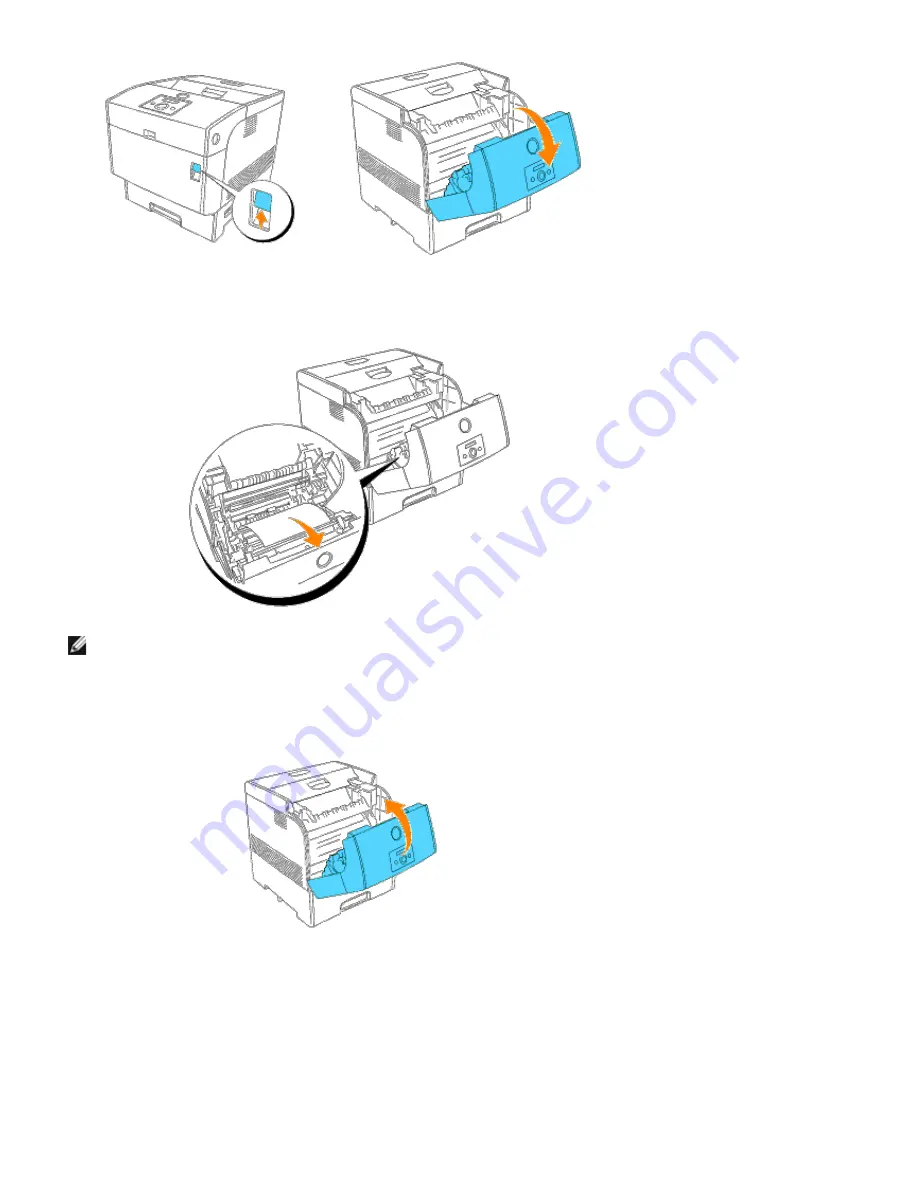
6. Remove the jammed paper if you see it. If you cannot see the jammed paper, go to step 7.
NOTE:
If a paper jam occurs in the fuser area, a sheet of paper may already have been fed from the tray. Make
sure there is no paper remaining inside the printer, using step 8 through 14.
7. Close the front cover.
8. Slowly, completely remove the tray from the printer.
If the printer is equipped with an optional tray module, remove the trays sequentially, starting with the bottom
one.
Summary of Contents for 5100cn
Page 37: ......
Page 41: ...7 Close the front cover ...
Page 73: ......
Page 89: ......
Page 155: ...5 Close the front cover 6 Insert the trays into the printer Push the trays in until they stop ...
Page 156: ......
Page 194: ......
Page 226: ...9 Reattach the paper tray cover to the back of the printer ...
Page 230: ......


