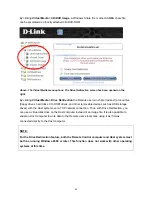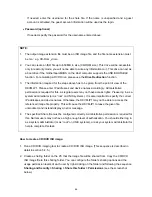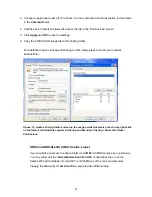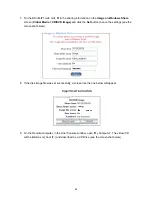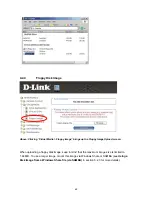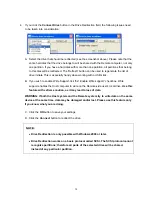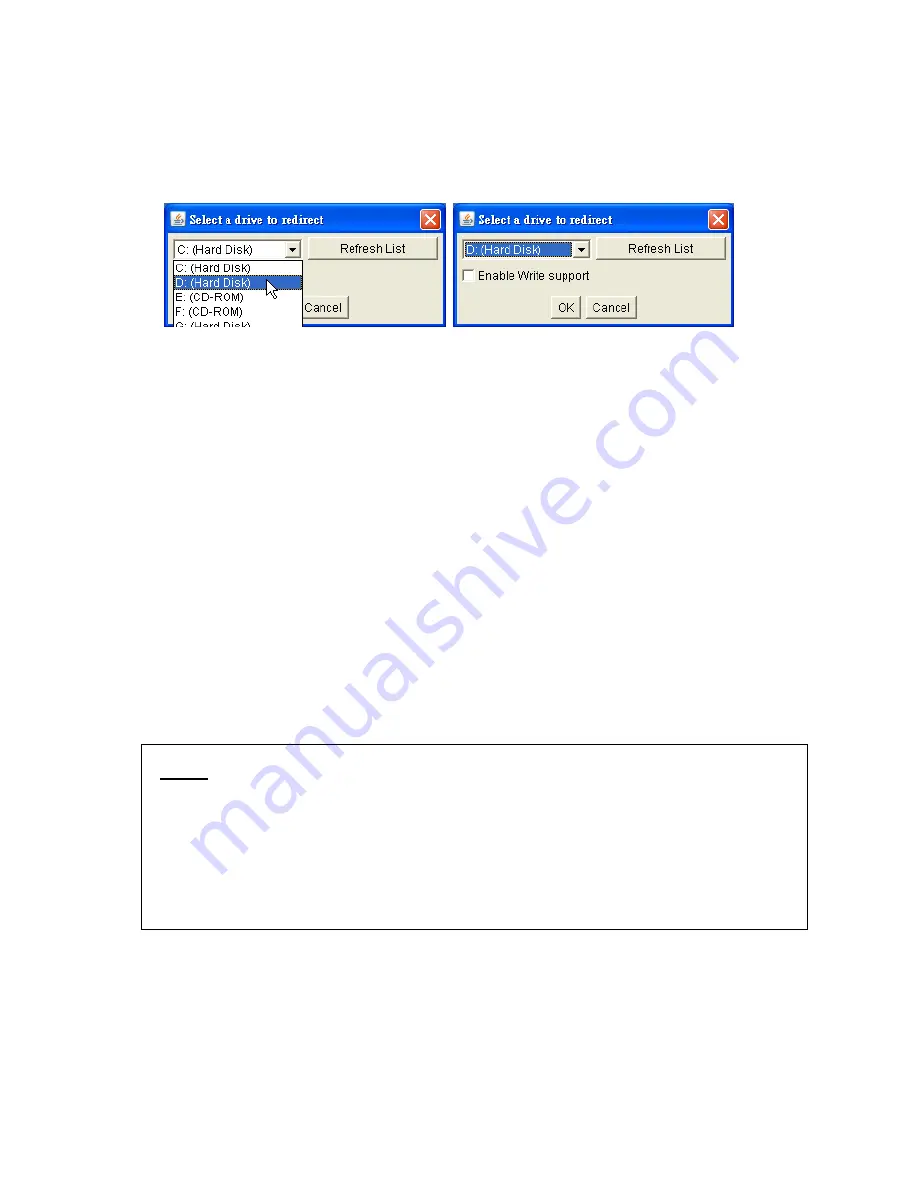
4. If you click the
Connect Drive
button in the Drive Redirection field, the following issues need
to be taken into consideration:
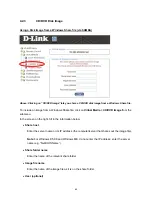
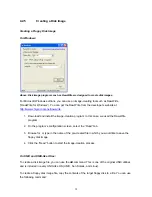
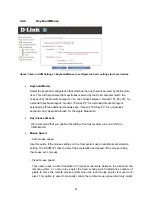
A. Select the drive that should be redirected (see the screenshot above). Please note that the
entire hard disk that the drive belongs to will be shared with the Remote computer, not only
one partition. If you have a hard disk with more than one partition, all partitions that belong
to this disk will be redirected. The “Refresh” button can be used to regenerate the list of
drive initials. This is especially handy when working with a USB stick.
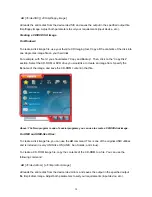
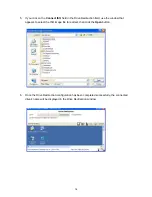
B. If you wish to enable Write Support, tick the” Enable Write support” checkbox. Write
support enables the Host computer to write on the Remote-side user’s local drive.
Use this
feature with extreme caution, as it may lead to loss of data.
WARNING:
If both the Host system and the Remote system try to write data on the same
device at the same time, data may be damaged and/or lost. Please use this feature only
if you know what you are doing.
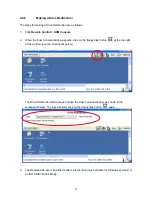
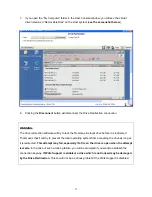
C. Click the
OK
button to save your settings.
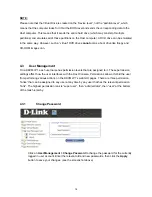
D. Click the
Connect
button to redirect the drive.
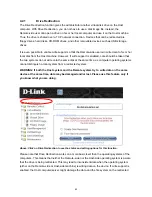
NOTE:
Drive Redirection is only possible with Windows 2000 or later.
Drive Redirection works on a basic protocol called SCSI. The SCSI protocol cannot
recognize partitions; therefore all parts of the selected drive will be shared,
instead of any particular partition.
75

