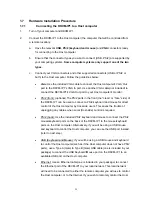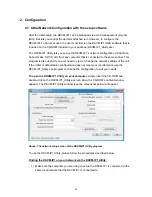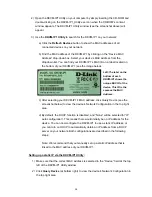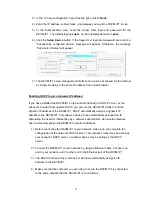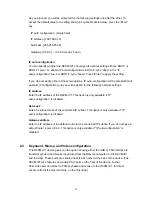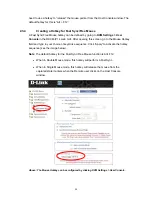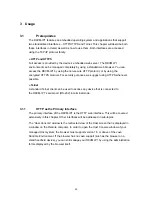
5) Open the DKVM-IP1 Utility on your setup computer by simply inserting the
CD-ROM and double-clicking on the DKVM-IP1_Utility.exe icon when the
CD-ROM’s content window appears. The DKVM-IP1 Utility window (see
screenshot above) will appear.
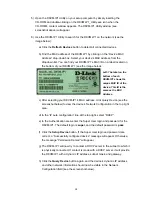
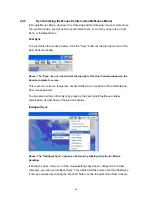
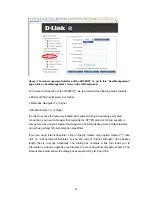
6) Use the DKVM-IP1 Utility to search for the DKVM-IP1 on the network (see the
image below):
a) Click the
Refresh Devices
button to detect all connected devices.
b) Find the MAC address of the DKVM-IP1 by clicking on the “Device MAC
Address” drop-down box. Select your device’s MAC address from the
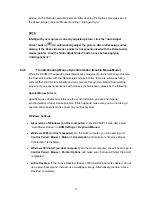
dropdown list. You can find your DKVM-IP1’s MAC ID on a label located on
the bottom of your DKVM-IP1 (see the image below).
Left: The label on the
bottom of each
DKVM-IP1 shows the
unique MAC ID of the
device. This ID is the
same as the MAC
Address.
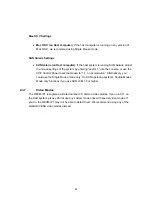
c) After selecting your DKVM-IP1’s MAC address, click Query Device (see the
screenshot below) to view the device’s Network Configuration in the top right
area.
d) In the “IP auto configuration” line at the top right, select “DHCP”.
e) In the Authentication area, enter the Super User login and password for the
DKVM-IP1. The default login is
super
, and the default password is
pass
.
f) Click the
Setup Device
button. If the Super User login and password are
correct, a “Successfully configured device” message will appear. Otherwise,
the message “Permission Denied” will appear.
g) The DKVM-IP1 will now try to contact a DHCP server in the subnet to which it
is physically connected. If contact is made with a DHCP server, it will provide
the DKVM-IP1 with a dynamic IP address, subnet mask, and gateway.
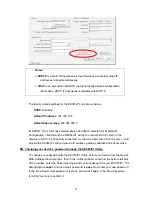
h) Click the
Query Device
button again, and the device’s dynamic IP address
and other network information should now be visible in the Network
Configuration field (see the screenshot below).
18

