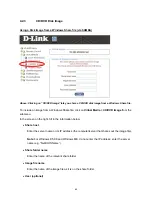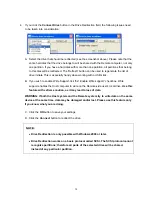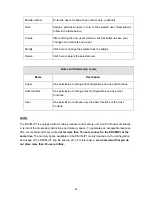
If needed, enter the username for the share file. If the name is unspecified and a guest
account is activated, the guest account information will be used as the login.
Password (optional)
If needed, specify the password for the username entered above.
NOTE:
1. The output image extension file must be an ISO image file, and the file name extension must
be ‘iso’, e.g. CD-Rom_vir.iso.
2. You can create an ISO file up to 650 MB in size (CD-ROM size). This drive will be accessible
only in read-only mode, you will not be able to write any information to it. This drive can act as
a boot drive if the motherboard/BIOS on the Host computer supports the USB BOOTABLE
function. For emulating a DVD Drive, please use the
Drive Redirection
function.
3. The information required for the steps above has to be given from the point of view of the
DKVM-IP1. Please enter IP addresses and device names accordingly. Administrative
permission is required for this, as regular users may not have access rights. Please log in as a
system administrator (or as “root” on UNIX systems). It is also important to specify the correct
IP addresses and device names. Otherwise, the DKVM-IP1 may not be able to access the
referenced image file properly. This will cause the DKVM-IP1 to leave the given file
unmounted, and instead display an error message.
4. The specified Share file must be configured correctly. Administrative permission is required for
this. Normal users may not have a high enough level of authorization. You should either log in
as a system administrator (or as “root” on UNIX systems), or ask your system administrator for
help to complete this task.
How to create a CD/DVD ISO image:
1. Run a CD/DVD imaging tool to create a CD/DVD ISO image. (This sequence is described in
detail in section 5.2.5.)
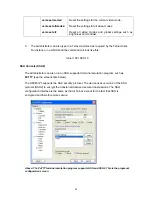
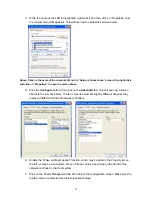
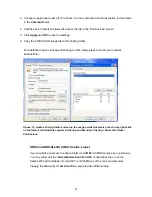
2. Create a sharing folder on the PC that the image file will be shared from. Copy the CD/DVD
ISO image file to this sharing folder. You can configure the folder’s sharing options and the
usage permission levels of each user by right-clicking on the folder and following the sequence
Sharing and Security > Sharing > Share this folder > Permissions
(see the screenshot
below).
66

