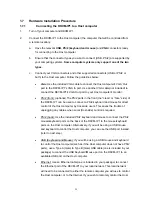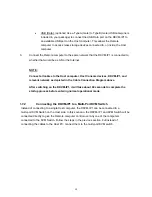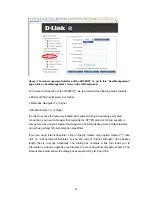
As you proceed, you will be prompted for the following settings one after the other. To
accept the default value for a setting shown in square brackets below, press the “Enter”
key.
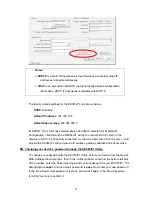
IP auto configuration: (empty field)
IP address: [192.168.0.70]
Net mask: [255.255.255.0]
Gateway: [0.0.0.0] -- (0.0.0.0 means “none”)
IP auto-configuration
You can specify whether the DKVM-IP1 should get its network settings from a DHCP or
BOOTP server. To enable IP auto-configuration via DHCP, type “dhcp” in the “IP
auto-configuration” line. For BOOTP, type “bootp”. Press “Enter” to apply the setting.
If you do not specify either of these two options, IP auto-configuration will be disabled(it will
be static IP configuration) and you will be asked for the following network settings:
IP address
Enter the IP address of the DKVM-IP1. This option is only available if “IP
auto-configuration” is disabled.
Net mask
Enter the subnet mask of the connected IP subnet. This option is only available if “IP
auto-configuration” is disabled.
Gateway address
Enter the IP address of the default router for the connected IP subnet. If you do not have a
default router, enter 0.0.0.0. This option is only available if “IP auto-configuration” is
disabled.
2.3
Keyboard, Mouse, and Video configuration
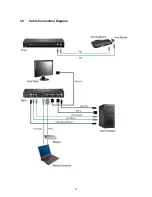
This DKVM-IP1 device gives you the option of using either the USB or PS/2 interface to
transmit keyboard and mouse input data (from the Remote computer) to the DKVM-IP1
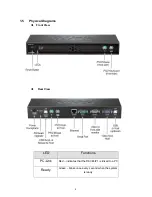
and the Host. These ports are situated next to each other at the back of the device. (The
DKVM-IP1 also features secondary PS/2 ports on the front of the device, so that
Host-side users can attach a PS/2 keyboard and mouse to the DKVM-IP1, for direct
Local control of the Host machine, on the Host side.)
21

