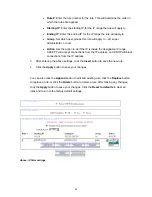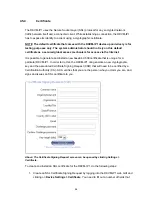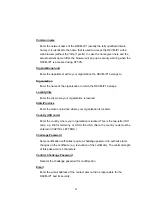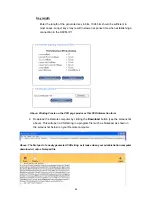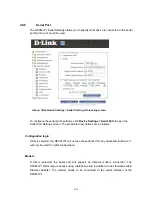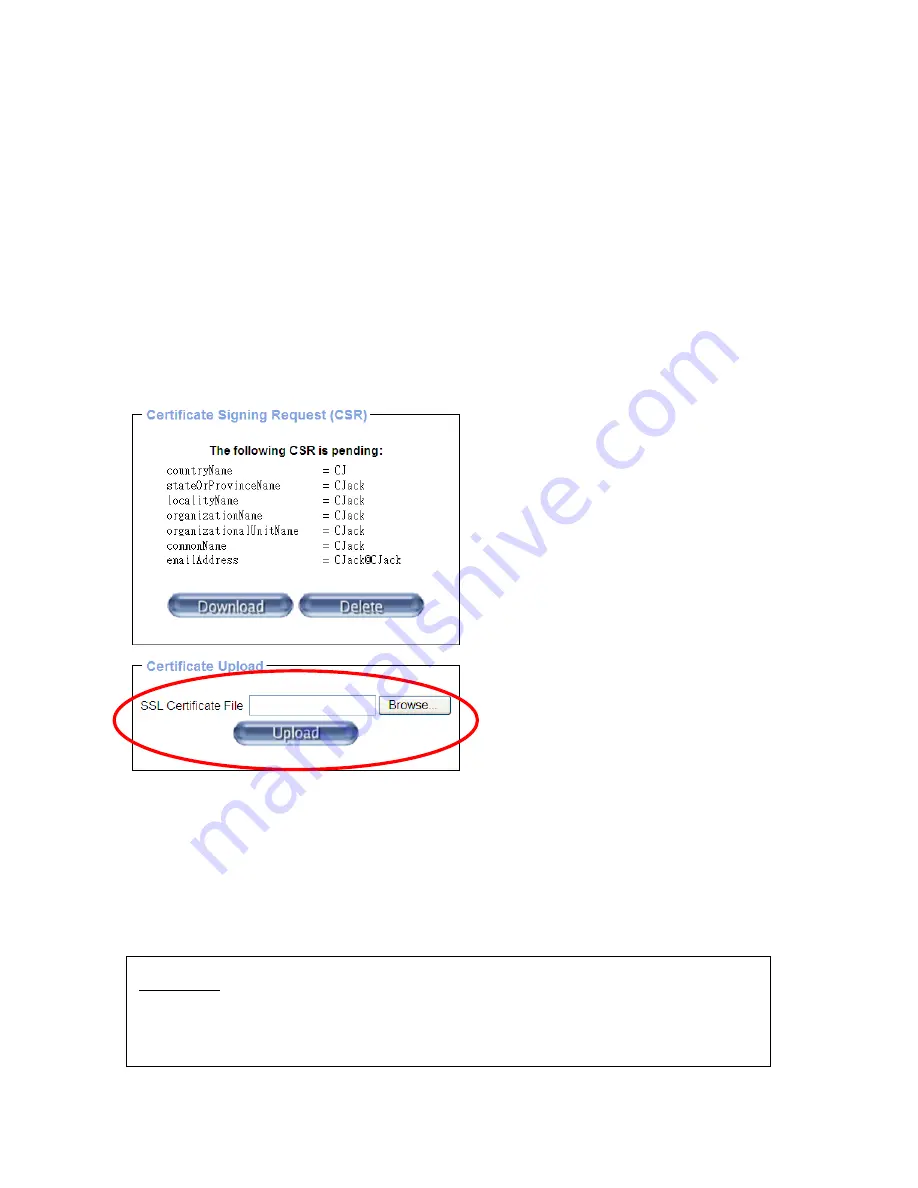
Above: A newly generated CSR string as it looks when it is displayed on the web GUI of the
DKVM-IP1.
3. Save the file of the CSR string (if it is not displayed in a file, copy and paste it onto a
word processing program file before you save it) and send it to a Certification Authority
(CA) for certification. You will get the new certificate from the CA after an
authentication process (the process will depend on the specific CA).
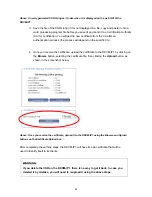
4. Once you receive the certificate, upload the certificate to the DKVM-IP1 by clicking on
the
Browse
button, selecting the certificate file, then clicking the
Upload
button, as
shown in the screenshot below.
Above: Once you receive the certificate, upload it to the DKVM-IP1 using the Browse and Upload
buttons on the Certificate Upload box.
After completing these three steps, the DKVM-IP1 will have its own certificate that will be
used to identify itself to its clients.
WARNING:
If you delete the CSR on the DKVM-IP1, there is no way to get it back. In case you
deleted it by mistake, you will need to reupload it using the above steps.
99

