36
Audio
Choose whether to receive the live sound source and select an audio
channel.
1.
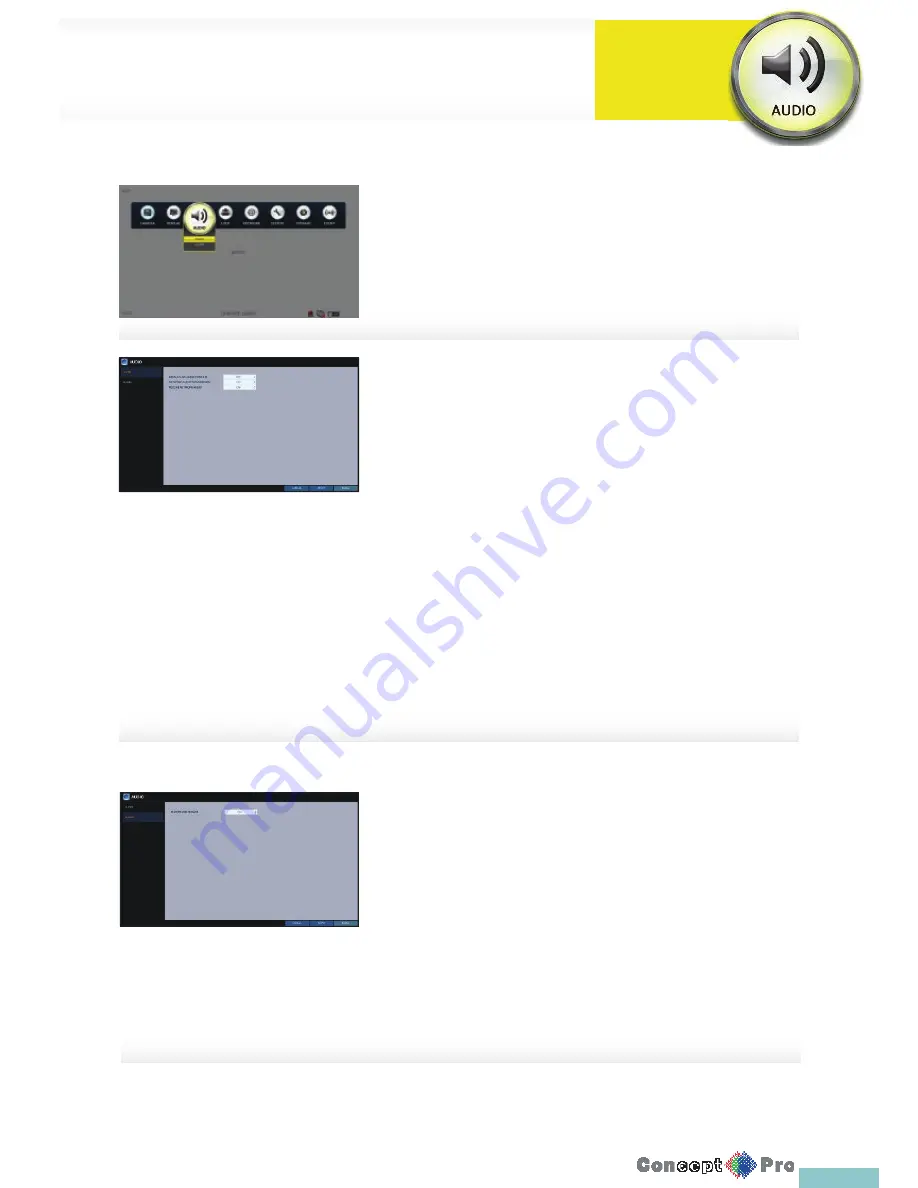
From <SYSTEM SETUP> - <AUDIO>, select <AUDIO>.
2.
Use the [
pqtu
/ENTER] buttons on the remote control or use the
mouse to select an item that you want to edit.
>
DEFAULT LIVE AUDIO CHANNEL: select an audio channel to
monitor on the live screen.
>
NETWORK AUDIO TRANSMISSION: decide if the DVR transfers
the audio signal to the remote client. DVR
ª
PC (Remote Client)
>
RECEIVE NETWORK AUDIO: decide if DVR receives the audio
signal from the remote client. PC (Remote Client)
ª
DVR
3.
To apply the change, click <APPLY> in the bottom of the screen.
4.
When done, press the [EXIT] button on the remote control or click
<CLOSE> in the lower screen. The confi rmation message appears and
you will return to the previous menu.
Buzzer Output
You can set to output the buzzer, if you use the remote control.
1.
From <SYSTEM SETUP> - <AUDIO>, select <BUZZER>.
2. Use the [
pqtu
/ENTER] buttons on the remote control or use the
mouse to select an item that you want to edit.
>
REMOTE CONTROLLER: specify the output of the beep when
you press a button on the remote control.
3.
To apply the change, click <APPLY> in the bottom of the screen.
4.
When done, press the [EXIT] button on the remote control or click
<CLOSE> in the lower screen. The confi rmation message appears and
you will return to the previous menu.
You can confi gure audio related settings (channel and network transfer) and
signal beep for remote control operations
Audio Settings
System
Settings
Summary of Contents for VXH960-16
Page 1: ...USER MANUAL 4 8 16 Channel Full HD DVR VXH960 4 VXH960 8 VXH960 16 ...
Page 121: ...118 NOTES ...
Page 122: ...119 NOTES ...
Page 123: ...120 NOTES ...
Page 124: ...VXH960 4 VXH960 8 VXH960 16 ...


