17
Press the
q
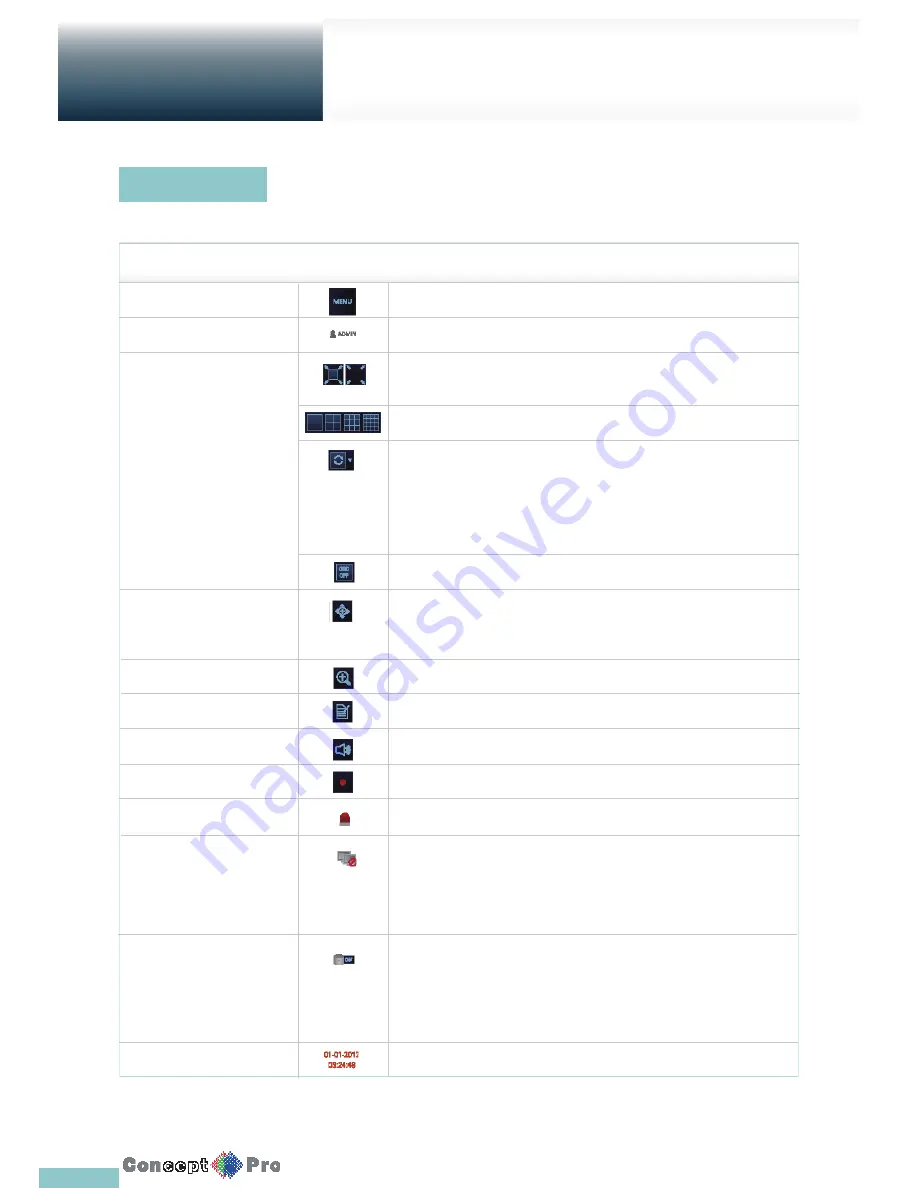
button on the remote control, or place the mouse in the lower area of the screen to display the status bar.
ITEM
Description
Menu Button
Select either the system setup, search and archiving menu.
User ID
Show the ID of the user who has currently logged in.
Screen Control Buttons Edit the screen layout to show the status bar and timeline at all times or only when
the mouse cursor hovers on the status bar/timeline.
Select a split screen mode.
Select Auto Sequence Mode.
When a user arranges channels on desired tiles of split screen, such setting is listed
for later access. Selecting a screen setup directly switches the screen mode as confi gured.
Display or hide the OSD menu on the screen.
PTZ
Move to the PTZ screen. You can control the PTZ operations of a PTZ-compliant
camera on the PTZ screen.
Zoom
Activate the Digital Zoom.
Quick Log
Display the log list of the recent recording events.
Audio Channel Selection Button
You can use the camera supporting the audio input to listen to the audio.
Panic Record
Start/stop the panic recording.
Alarm Indicator
Turns on if an event occurs. Click this to check the information of the event that occurred.
Network Connection Status
Check if a connection is made to the networok, a PC or a mobile device. Click
this to view the details of the concurrent users and to check the network connection status.
For more information, refer to “Network Setup”. (Page 39)
Disk Space
Show the disk space information. If you have set the disk overwrite mode, it will be
displayed “OW” (Over Write) from the start point of the overwriting. Click this to view
the details of the disk status. For more information, refer to “Disk Operations”. (page 48)
.
Date & Time
Display the current time and date.
Live Screen at a glance
Getting
Started
Status Bar
Summary of Contents for VXH960-16
Page 1: ...USER MANUAL 4 8 16 Channel Full HD DVR VXH960 4 VXH960 8 VXH960 16 ...
Page 121: ...118 NOTES ...
Page 122: ...119 NOTES ...
Page 123: ...120 NOTES ...
Page 124: ...VXH960 4 VXH960 8 VXH960 16 ...


