Chapter 2 RF Gateway 1 Configuration Quick Start
4
78-4025112-01 Rev H0
Configuring the IP Address Through the Front
Panel
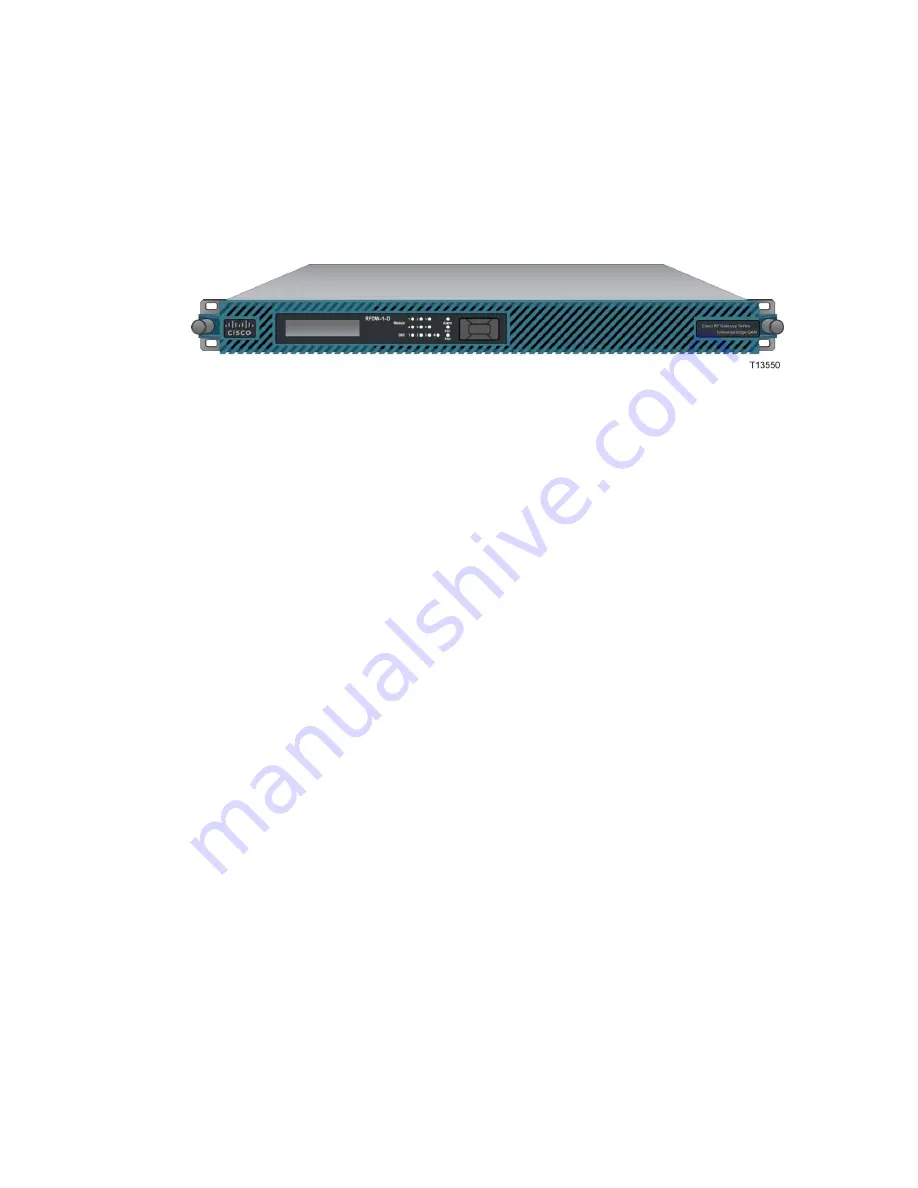
The RF Gateway 1 management port IP address can be configured using the LCD
and keypad located on the chassis front panel.
To Configure the Management Port IP Address
1
After the system fully initializes, use the keypad to page down until you see the
mgmt port IP address.
Note:
Use the up/down, left/right buttons for navigation and changes. Use the
center button for saving changes.
2
Page down to position the cursor in the
IP address
field. Use the left/right keys
to navigate the cursor below the numbers you want to change. Use the
up/down keys to make changes. Continue until all numbers are configured as
desired.
3
Use the center key to accept changes and exit the
mgmt port IP address
field.
4
Page right to find and configure the management port subnet mask and default
gateway. Configure each as desired.
5
Once finished, use the center key to enter and save information.
6
Reboot the RF Gateway 1. The management port IP address is not dynamically
configurable, thus reboot/power-cycle is required after changes.
7
The management port IP address can be validated by checking the configuration
settings on the LCD after reboot.
Note:
Alternatively, the operator can attempt to connect to the web GUI at the
new IP address via HTTP after reboot.
Summary of Contents for RF Gateway 1 Modules
Page 1: ...78 4025112 01 R ev H0 Cisco RF Gateway 1 Configuration Guide ...
Page 2: ......
Page 10: ...Contents viii 78 4025112 01 Rev H0 Electrical GbE SFP Transceiver 254 Glossary 255 Index 259 ...
Page 20: ...Important Safety Instructions xviii 78 4025112 01 Rev H0 ...
Page 24: ......
Page 26: ......
Page 48: ......
Page 128: ......
Page 150: ......
Page 170: ......
Page 174: ......
Page 178: ......
Page 192: ......
Page 248: ......
Page 260: ......
Page 272: ......
Page 282: ......


