5
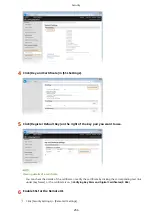
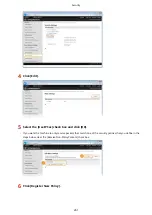
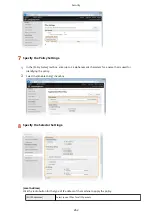
Select the [Use Proxy] check box and specify the required settings.
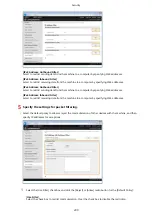
[Use Proxy]
Select the check box to use the specified proxy server when communicating with an HTTP server.
[HTTP Proxy Server Address]
Enter the address of the proxy server. Specify the IP address or host name depending on the environment.
[HTTP Proxy Server Port Number]
Change the port number as necessary. Enter a number between 1 and 65535.
[Use Proxy within Same Domain]
Select the check box to also use the specified proxy server for communication with devices in the same
domain.
[Use Proxy Authentication]
To enable authentication by the proxy server, select the check box and enter up to 24 alphanumeric
characters for the user name in the [User Name] text box.
[Set/Change Password]
To set or change the password for the proxy authentication, when it is enabled, select the check box and
enter up to 24 alphanumeric characters for the new password in the [Password] text box.
6
Click [OK].
LINKS
Using Google Cloud Print(P. 481)
Security
248
Summary of Contents for LBP253 Series
Page 1: ...LBP253x User s Guide USRMA 0769 00 2016 06 en Copyright CANON INC 2015 ...
Page 79: ...Printing 73 ...
Page 121: ...LINKS Printing via Secure Print P 116 Printing 115 ...
Page 197: ...3 Click OK 4 Click Close LINKS Setting Up Print Server P 192 Network 191 ...
Page 381: ...Troubleshooting 375 ...
Page 467: ...For more information about this function see Basic Printing Operations P 74 Appendix 461 ...
Page 499: ...Appendix 493 ...
Page 506: ...Manual Display Settings 0U6X 0HF Appendix 500 ...


