Chapter 1
1-13
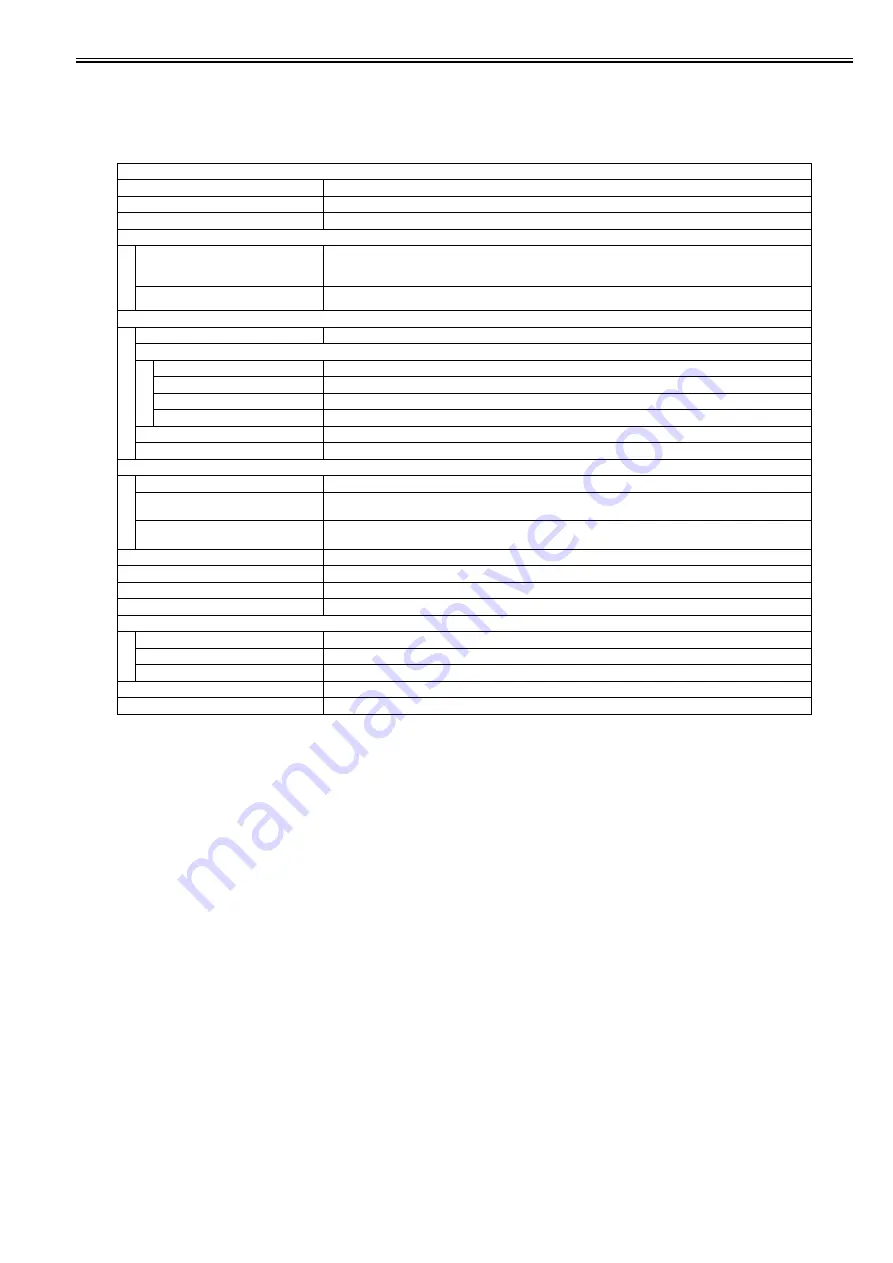
1.2.3.7 Printer Settings
0020-9811
*: default settings
*2: Only when the PCL Printer Kit is attached.
*3: Only when the Barcode Printing Kit is attached.
T-1-9
Printer Settings
Item
Settings
Number of Copies
1 to 999 Copies 1*
2-Sided
1-Sided *, 2-Sided
Paper Feed
Default Paper Size
LTR, LGL, STMT, EXEC, FLSC, OFI, B-OFI, M-OFI, G-LTR, G-LGL, COM10, Monarch, DL, ISO-c5, ISO-B5,
A4, A5, B5
(*: A4(For all excluding USA, Canada), LTR(Only for USA, Canada))
Default Paper Type
Plain *, Plain H, Recycled Paper, Color, Heavy 1, Heavy 2, Transparencies, Labels, Rough, Envelope
Printing Quality
Gradation level
High Gradation 1 *, High Gradation 2
Toner Density
Cyan (C)
-8 (Lighter) to +8 (Darker) (0*)
Magenta (M)
-8 (Lighter) to +8 (Darker) (0*)
Yellow (Y)
-8 (Lighter) to +8 (Darker) (0*)
Black (Bk)
-8 (Lighter) to +8 (Darker) (0*)
Save Toner
OFF*/ON
Line Control
Resolution Priority *, Gradation Priority
Layout
Margin Direction
Long Edge *, Short Edge
Unit of Measure
Millimeter, Inch
(*: Millimeter (For all excluding USA, Canada), Inch(Only for USA, Canada))
Margin
mm: -50.0 to +50.0 mm Width 0.5 mm (0.0)
in: -1.97 to +1.97 inch Width 0.01 inch (0.00)
Auto Error Skip
OFF*/ON
Collate
OFF*/ON
Timeout
OFF/Timeout (5 to 300 Seconds) 15*
Color Mode
Auto Switch *, Color, Black and White
Gradation Settings
Gradation
OFF*/Smooth 1/Smooth 2
Graphics
OFF/ON*
Image
OFF/ON*
Compressed Image Output
Output *, Display Error Message
Initialize Printer Settings
Initialize settings? (No, Yes)
Summary of Contents for iR C1020 Series
Page 1: ...Sep 8 2008 Service Manual iR C1020 Series iR C1021i ...
Page 2: ......
Page 6: ......
Page 18: ...Contents ...
Page 19: ...Chapter 1 Introduction ...
Page 20: ......
Page 22: ......
Page 57: ...Chapter 2 Installation ...
Page 58: ......
Page 60: ......
Page 73: ...Chapter 3 Basic Operation ...
Page 74: ......
Page 76: ......
Page 81: ...Chapter 4 Main Controller ...
Page 82: ......
Page 84: ......
Page 97: ...Chapter 5 Original Exposure System ...
Page 98: ......
Page 100: ......
Page 112: ......
Page 113: ...Chapter 6 Original Feeding System ...
Page 114: ......
Page 116: ......
Page 132: ......
Page 133: ...Chapter 7 Laser Exposure ...
Page 134: ......
Page 136: ......
Page 143: ...Chapter 8 Image Formation ...
Page 144: ......
Page 146: ......
Page 180: ......
Page 181: ...Chapter 9 Pickup and Feed System ...
Page 182: ......
Page 213: ...Chapter 9 9 29 F 9 79 1 2 3 ...
Page 214: ......
Page 215: ...Chapter 10 Fixing System ...
Page 216: ......
Page 218: ......
Page 233: ...Chapter 11 External and Controls ...
Page 234: ......
Page 263: ...Chapter 12 e maintenance imageWARE Remote ...
Page 264: ......
Page 266: ......
Page 275: ...Chapter 12 12 9 F 12 27 ...
Page 280: ......
Page 281: ...Chapter 13 Maintenance and Inspection ...
Page 282: ......
Page 284: ......
Page 286: ......
Page 287: ...Chapter 14 Measurement and Adjustments ...
Page 288: ......
Page 290: ......
Page 293: ...Chapter 15 Correcting Faulty Images ...
Page 294: ......
Page 296: ......
Page 317: ...Chapter 16 Error Code ...
Page 318: ......
Page 320: ......
Page 331: ...Chapter 16 16 11 ...
Page 332: ......
Page 333: ...Chapter 17 Special Management Mode ...
Page 334: ......
Page 336: ......
Page 343: ...Chapter 17 17 7 ...
Page 344: ......
Page 345: ...Chapter 18 Service Mode ...
Page 346: ......
Page 348: ......
Page 388: ......
Page 389: ...Chapter 19 Upgrading ...
Page 390: ......
Page 392: ......
Page 396: ...Chapter 19 19 4 3 Click Next F 19 4 4 Select a USB connected device and click Next F 19 5 ...
Page 397: ...Chapter 19 19 5 5 Click Start F 19 6 6 Click Yes F 19 7 Download will be started F 19 8 ...
Page 399: ...Chapter 19 19 7 ...
Page 400: ......
Page 401: ...Chapter 20 Service Tools ...
Page 402: ......
Page 404: ......
Page 407: ...Sep 8 2008 ...
Page 408: ......


