Creating and Using Templates
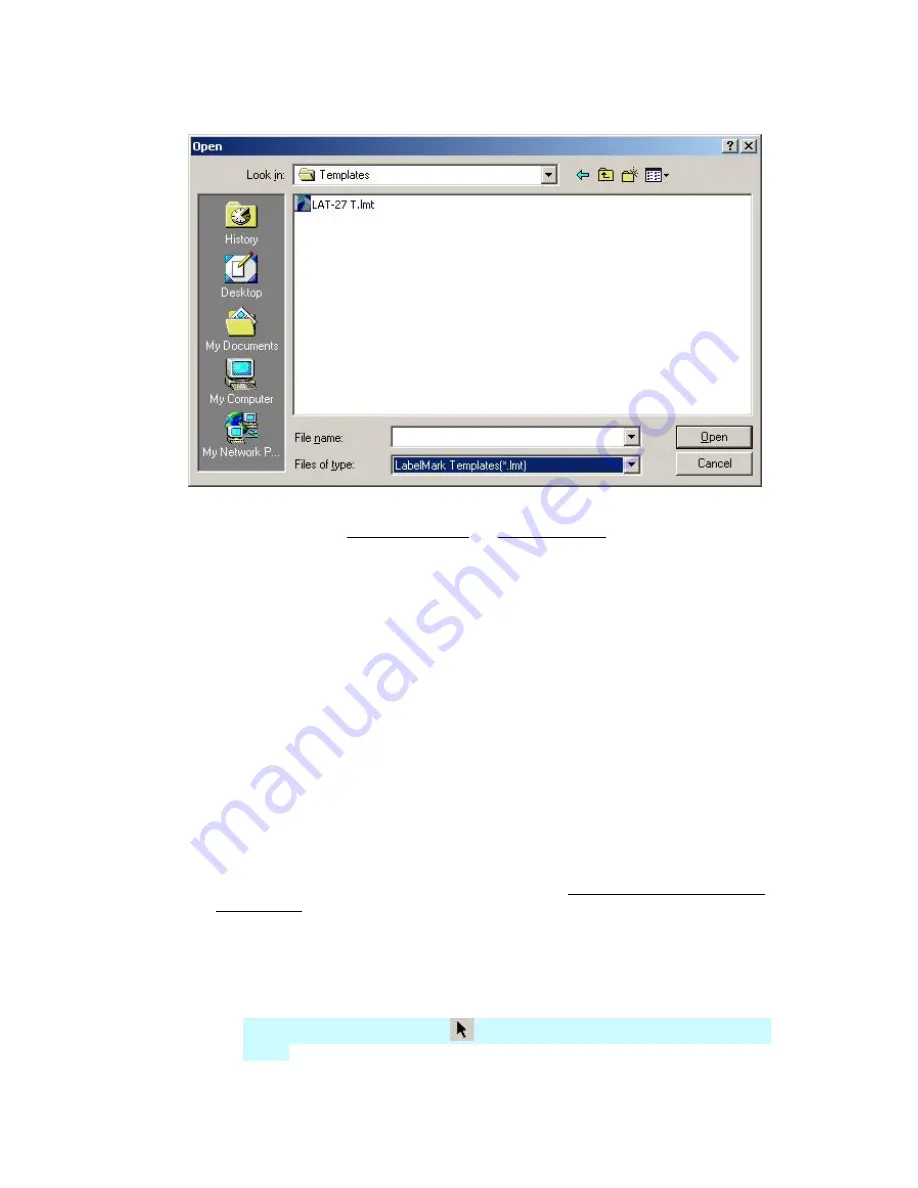
2. Select the template you want to edit and click
Open
:
3. Follow the instructions in Creating a Template and Template Toolbar to modify the template.
4. Select
File
Save
to save the updated template.
5. Select
File
Close
to close the template.
Creating a Label File from a Template
To create a new label file based on a template:
1. Prepare to create the file:
From the
Welcome
screen, select
Use a template to create new file
and click
OK
.
If the application is already active, select
File
New…
o
Select the
File
radio button.
o
Select the
Use template
check box.
2. Click
the
Browse…
button, select the desired template file and click
Open
.
3. Click
OK
to create your new file.
4. Enter data in the unlocked fields:
You can import data into the file from another source (see Importing Data into a File Based
on a Template).
Use the arrow keys on the keyboard to move through the unlocked fields. Use the
Tab
key to
move to the next label (
Shift
+
Tab
to move to the previous label).
You can also click a green data entry box to enter text or barcode information as appropriate:
o
Type text in text fields.
o
In
LabelMark Plus
, use the
Select
tool to double-click the green-outlined data entry
objects.
Creating and Using Templates
69
Summary of Contents for LabelMark 3.1
Page 1: ...LabelMark 3 1 User Guide...
Page 2: ......
Page 6: ......
Page 26: ......
Page 72: ......
Page 102: ......
Page 104: ...LabelMark 3 1 User Guide 98 Symbols Guide...
Page 105: ...Symbols Guide Symbols Guide 99...
Page 106: ......


