LabelMark 3.1 User Guide
WireMarking Labels
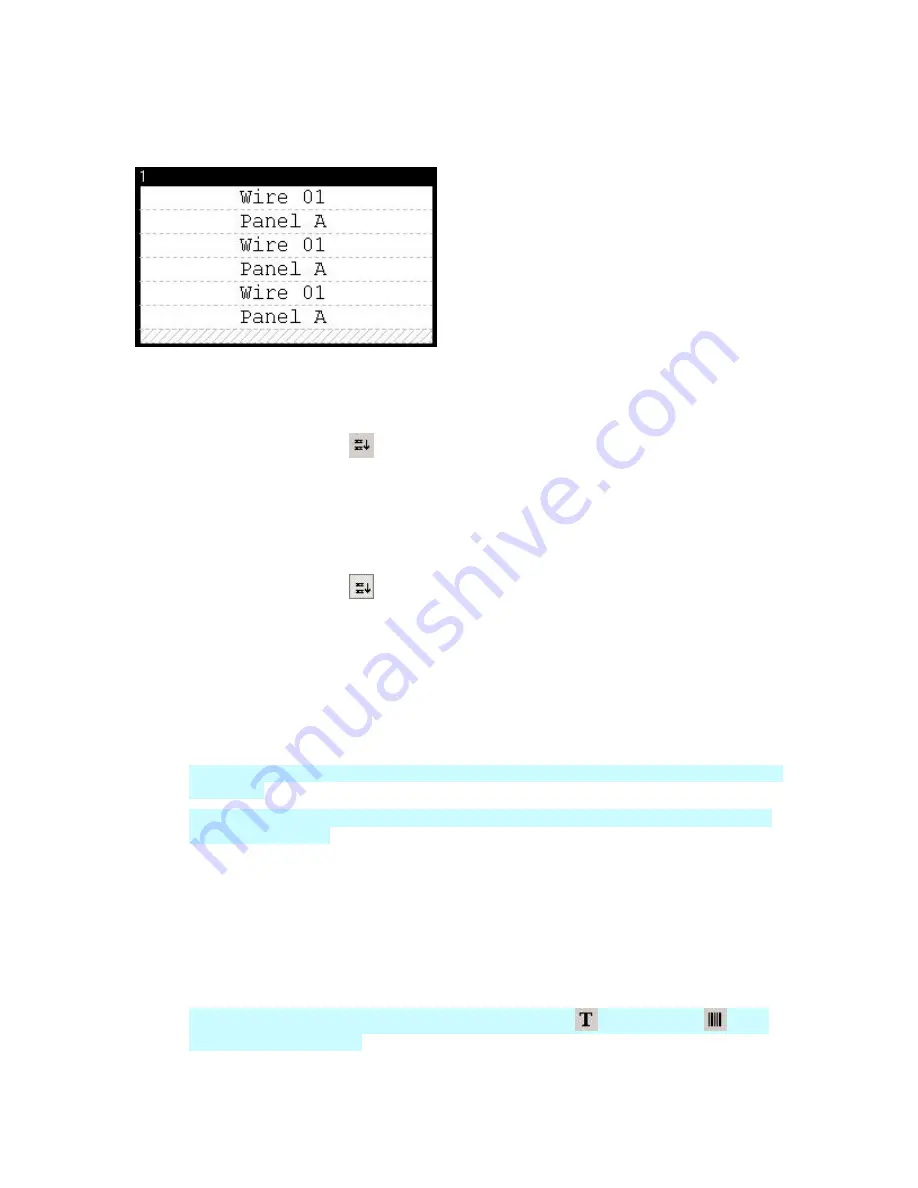
When you WireMark a label(s), text copies down the label as many times as it will fit.
To create WireMarked labels:
1. Enter text on the label(s).
2. Select the label(s) you want to WireMark (see
Selecting Text and Labels
)
3. Click
the
WireMark
icon
on the
Action
toolbar.
Note:
You can also click the WireMark icon before typing text on the label or select
Wiremark
under the
Formatting
tab
in the
User Defaults
section (
Tools
User Defaults…
) to turn on
wiremarking for all labels by default.
To remove WireMarking from labels:
•
Select the label(s).
•
Click the
WireMark
icon
again.
Additional WireMarking notes:
•
You can WireMark multiple lines of text.
•
The gray hatch marks represent a partial line(s) of text – you are not allowed to place anything in
this area and it will not print.
•
You can modify a WireMarked label by changing its text.
•
Users commonly bottom align WireMarked labels.
•
WireMarking creates a text block in
LabelMark Plus; however, you cannot place any other objects
on the label
.
•
When using
LabelMark Plus
, you must turn off wiremarking for any individual label you wish to
add non-text objects to.
Serializing Labels (Simple)
The serialization feature automatically generates serial data based on the values entered in the
Serialization
Attributes
dialog. The process described below is for simple serialization. For more complex serialization
options, see
Serializing Labels (Advanced)
.
To access the
simple serialization
feature:
1. Click the desired location on the label to place the serialization information.
LabelMark Plus
Note:
In
LabelMark Plus
, select the
Text
icon
or
Barcode
icon
before
clicking the desired location.
28
Basic LabelMark Techniques
Summary of Contents for LabelMark 3.1
Page 1: ...LabelMark 3 1 User Guide...
Page 2: ......
Page 6: ......
Page 26: ......
Page 72: ......
Page 102: ......
Page 104: ...LabelMark 3 1 User Guide 98 Symbols Guide...
Page 105: ...Symbols Guide Symbols Guide 99...
Page 106: ......


