-
68
-
■
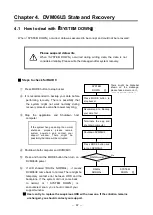
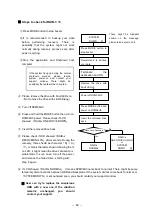
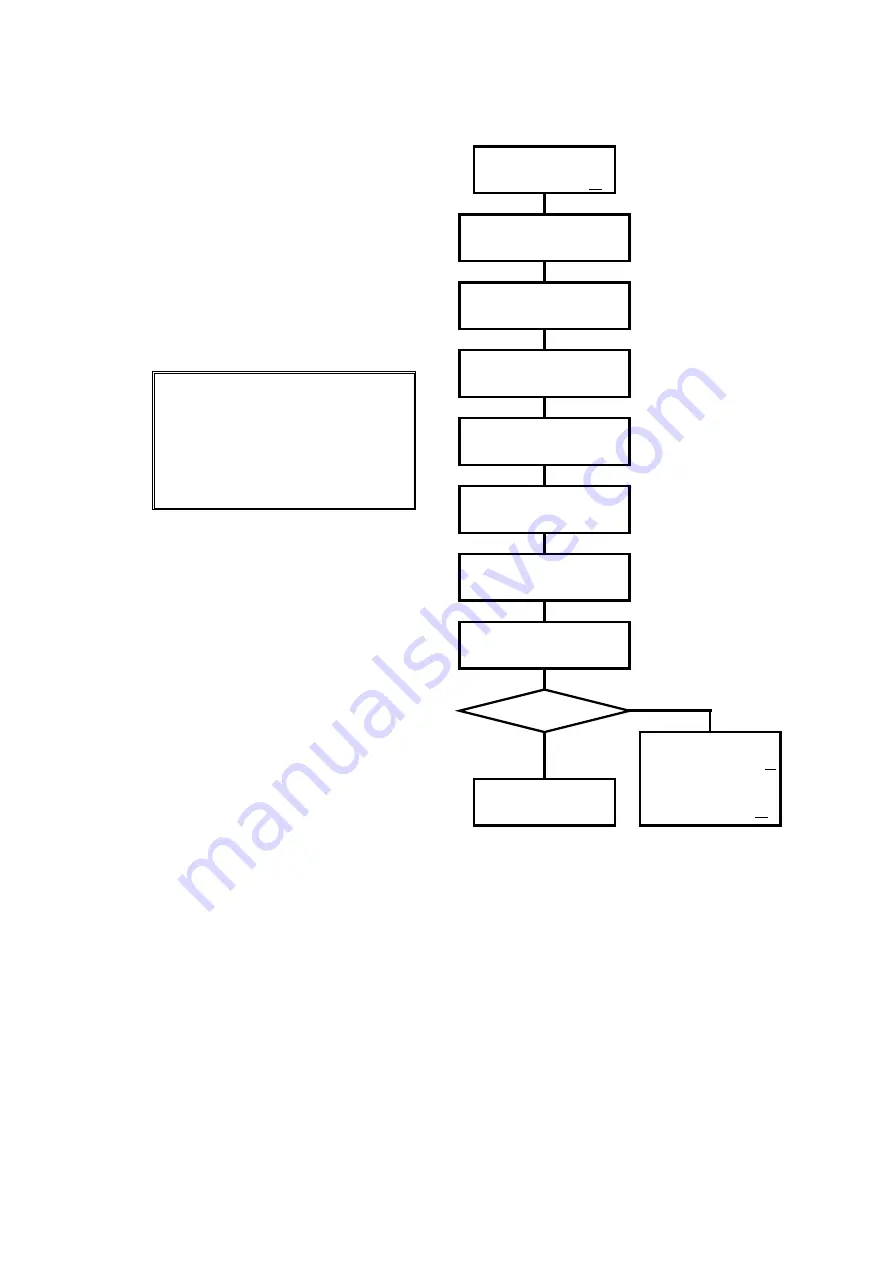
Steps to check for RAID-6
①
Press MODE button to stop buzzer
②
It is recommended to backup your data
before performing recovery. There is
possibility that the system might not work
normally during recovery process even after
power recycling.
③
Stop the application and Shutdown host
computer
If the system hangs up during the
normal shutdown process,
please remain system power-on
and contact your support
window. There might be
possibility that data will be
corrupted.
④
Please remove two drives with Fault LEDs on
(
Not to remove the drive with LED blinking
)
⑤
Power off DVM06U3
⑥
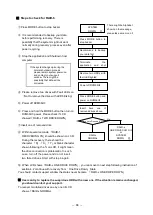
Press and hold the MODE button then turn on
DVM06U3 power. Please check if LCD
showed
「
RAID-x TWO DRIVE DOWN
」
⑦
Insert one of removed drive
⑧
Within several seconds
、「
RAID-1
RECOVERING 0%
」
should be shown on LCD.
During the recovery, there should be
character
「
R
」、「
X
」、「
Y
」
or blank character
shown following the % on LCD, it might mean
the drive connection is problematic. In such
case, turn off the power and do not insert
two failed drives. Start with step 6 again.
⑨
When LCD shows
「
RAID-x ONE DRIVE DOWN
」
, you can move to next step following instruction of
section 4.2 continue with recovery from
「
One Drive Down
」
State
You should contact support window the status never became
「
RAID-x ONE DRIVE DOWN
」
※
User can try to replace the suspicious HDD with a new one. If the situation remains unchanged,
you should contact your support.
To recover two failed drives one by one till LCD
shows
「
RAID-x NORMAL
There might be Alphabet
shown on the message,
please take a memo on it
Yes
No
SYSTEM
DOWN
○
Press MODE button to
stop buzzer
Recommend to backup
your data first
Terminate
the
application
and
shut
down OS
Press MODE button and
power on DVM06U3
RAID-x
NORMAL
RAID-x
ONE DRIVE DOWN
○
or
SYSTEM
DOWN
○
Power off DVM06U3
Remove two HDDs with
fault LED lighted
Insert
back
one
of
removed drives above
Recovery Succeed
?
Summary of Contents for DVM06U3
Page 9: ...8...
Page 17: ...16 1 5 Name and Function of each part Front side Rear Side...
Page 21: ...20...
Page 53: ...52 2 8 3 IP Setup for MAC OS X Click System Preferences Click Network Icon...
Page 55: ...54...
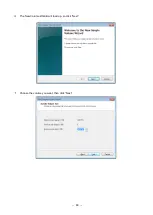
Page 61: ...60 The New Volume Wizard will load up so click Next Choose the volume you want then click Next...
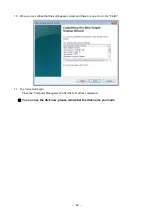
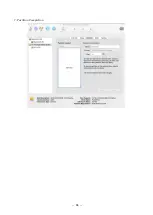
Page 67: ...66 7 Partition Completion...


